By November 2018, I had finished exactly one quilt that year. One! I had much bigger plans, but this baby triangle quilt was the reality, and I was pretty happy to finally have it finished.
This project started several years earlier as a king-size bed quilt. I cut hundreds of triangles, lost steam, and ended up with one of those UFOs, or unfinished objects, that hangs around forever. Then a friend from college had a baby, and these fabrics happened to match the nursery. Suddenly, that very ambitious bed quilt had a much more manageable future.
The result is a modern baby quilt made without a pattern, using 8½-inch, 60-degree triangles. From piecing and glue basting to walking foot quilting and machine binding, here is how I put it together, including the little techniques that made the process easier.
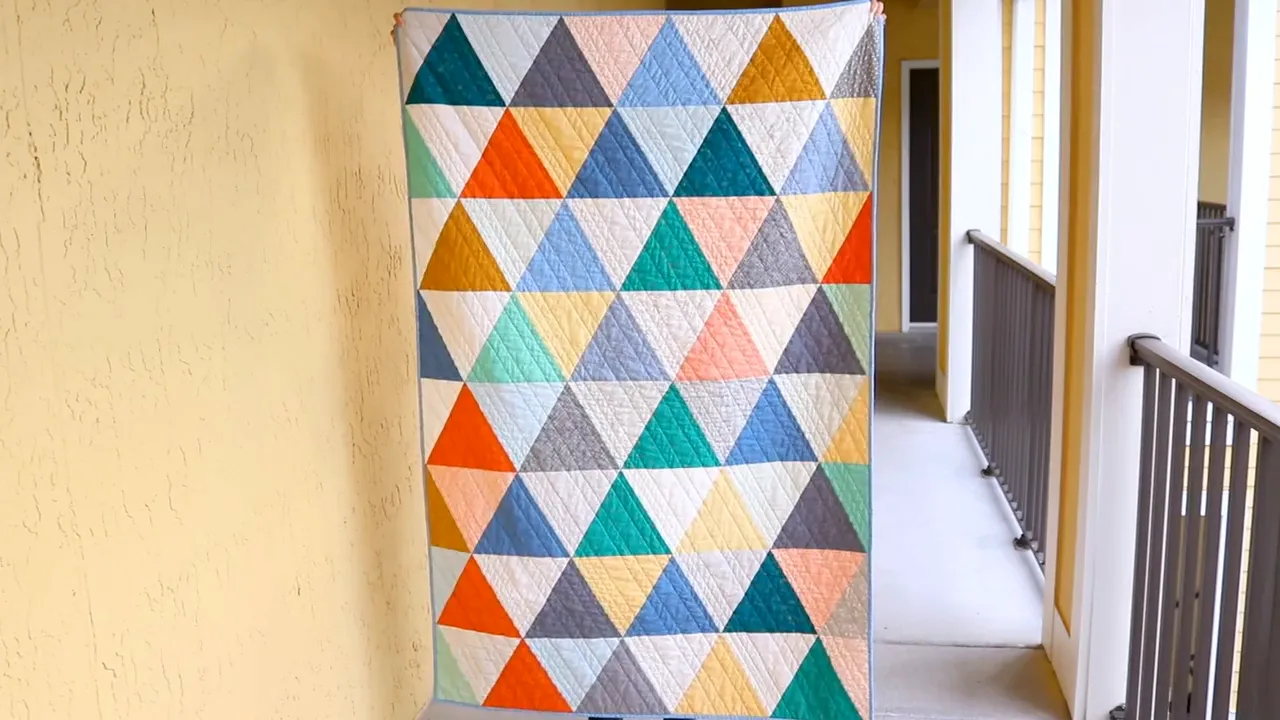
Table of Contents
- Materials and Tools I Used
- 1. Piece the Triangles into Rows
- 2. Glue Baste the Rows for Crisp Points
- 3. Baste the Quilt Layers with Curved Safety Pins
- 4. Quilt with a Walking Foot and Guide Arm
- 5. Trim and Square the Quilt
- 6. Make Double-Fold Quilt Binding
- 7. Attach the Binding to the Front
- 8. Finish the Binding by Machine
- A Finished Quilt Beats a Forgotten Pile of Fabric
Materials and Tools I Used
My triangles came from Carolyn Friedlander’s Botanics collection, which is now out of print. You do not need that particular collection to make this style of quilt. Scrap fabric works, too, as long as your triangles are cut consistently.
- Quilt top: Fabric cut into 8½-inch, 60-degree triangles using a Creative Grids ruler.
- Backing: A prewashed Target 100% organic cotton flat sheet.
- Batting: The middle layer of the quilt sandwich.
- Binding: Fabric cut into 2½-inch-wide strips.
- Thread: Mostly Aurifil 40-weight cotton thread, in several colors.
- Piecing supplies: A sewing machine, iron, and Elmer’s washable school glue.
- Basting and quilting supplies: Curved safety pins and a walking foot with a guide arm.
- Finishing tools: Quilting rulers, a rotary cutter, scissors, and Wonder Clips.
I used Creative Grids rulers throughout the project and a Gingher rotary cutter for trimming. The specific tools are simply what I used, not a requirement to copy every brand.
1. Piece the Triangles into Rows
There really is no complicated pattern here. I sewed triangles together to form rows, then joined the rows into a quilt top. I tried to alternate lighter and darker fabrics so the individual triangles would stand out.
The important detail is how you position two triangles before sewing. Do not try to line them up point to point with no overlap. Offset the tips by about ¼ inch. That little bit of overhang allows the edges to line up when you open the pieces after sewing.
It can feel slightly wrong before the seam is sewn, but the opened unit is what matters. I pressed my seam allowances toward the darker fabric as I worked along each row.
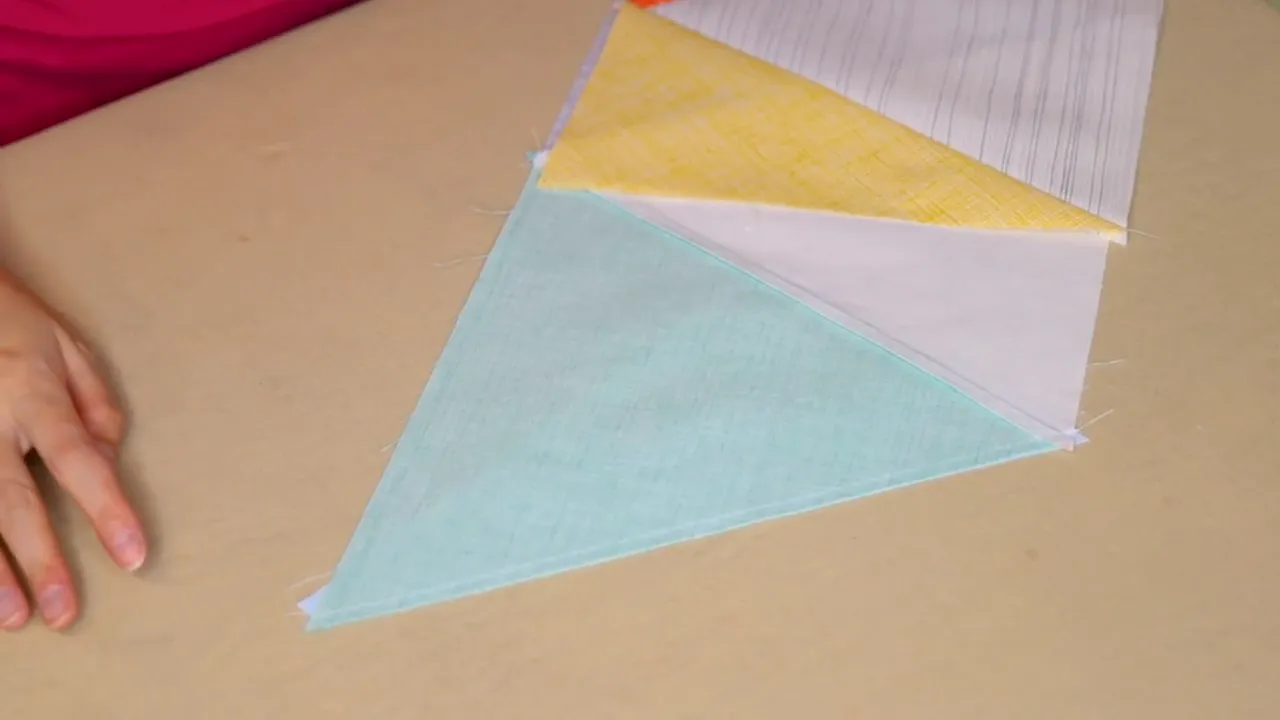
With a triangle quilt, taking a moment to check those first joins is worthwhile. You want the row to open into an even strip before you repeat the process across the rest of the quilt.
2. Glue Baste the Rows for Crisp Points
Once the rows were pieced, I used one of my favorite tricks for matching the triangle points: glue basting with Elmer’s washable school glue.
This is temporary positioning before sewing, not a replacement for the seam. The glue helps hold the matched intersections where you want them instead of letting them shift on the way to the needle.
- Bring two rows together and carefully match the triangle points.
- Apply a small amount of washable school glue at a matched point.
- Press that area with a dry iron to hold it in position.
- Repeat at the other points, then glue baste the sections between them.
- Sew the rows together.
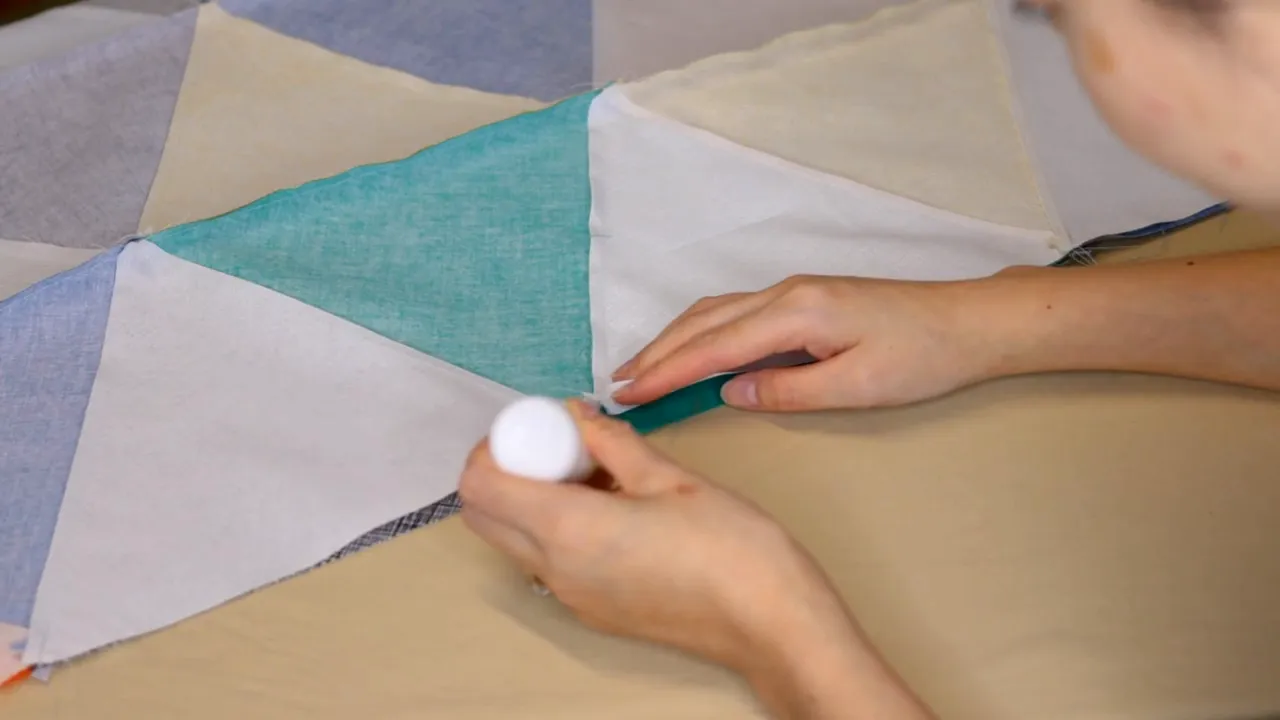
I start at the points because those are the places I most want to get right. Once they are secured, I fill in between them. That extra preparation gave me nice, crisp intersections without having to fight the alignment while sewing.
For a closer explanation of this technique, I also have a glue basting demonstration for matching quilt points.
3. Baste the Quilt Layers with Curved Safety Pins
With the quilt top finished, it was time to hold the top, batting, and backing together for quilting. For this stage, I used curved safety pins.
I have tried spray basting, but in my experience the spray gets everywhere. Curved safety pins are what I prefer, and I use them for all my quilts. They hold the layers together, and I remove them as I quilt, before they reach the needle.
There are two different kinds of basting happening in this project:
- Glue basting the piecing: Holds fabric edges and matched points together before sewing the seams.
- Pin basting the quilt sandwich: Holds the quilt top, batting, and backing together before quilting.
A Budget-Friendly Quilt Backing
The backing is actually a Target sheet that cost me about $3. I love using their organic cotton sheets for quilt backs, and this one was a particularly good bargain.
I prewashed the sheet before using it. The solid coral backing also makes a nice contrast to all the colors and prints on the front.
4. Quilt with a Walking Foot and Guide Arm
For the quilting, I kept things fairly simple: straight-line echo quilting at an angle. The stitching echoes the triangle shapes, with randomly spaced outlines rather than perfectly uniform spacing throughout.
I highly recommend a walking foot for this kind of quilting. It helped keep my layers feeding together more evenly, with less shifting and puckering.
I also used the guide arm that came with the walking foot. I had barely used it before this project, but it worked out really nicely. The guide gives you a reference alongside the foot as you stitch another line.
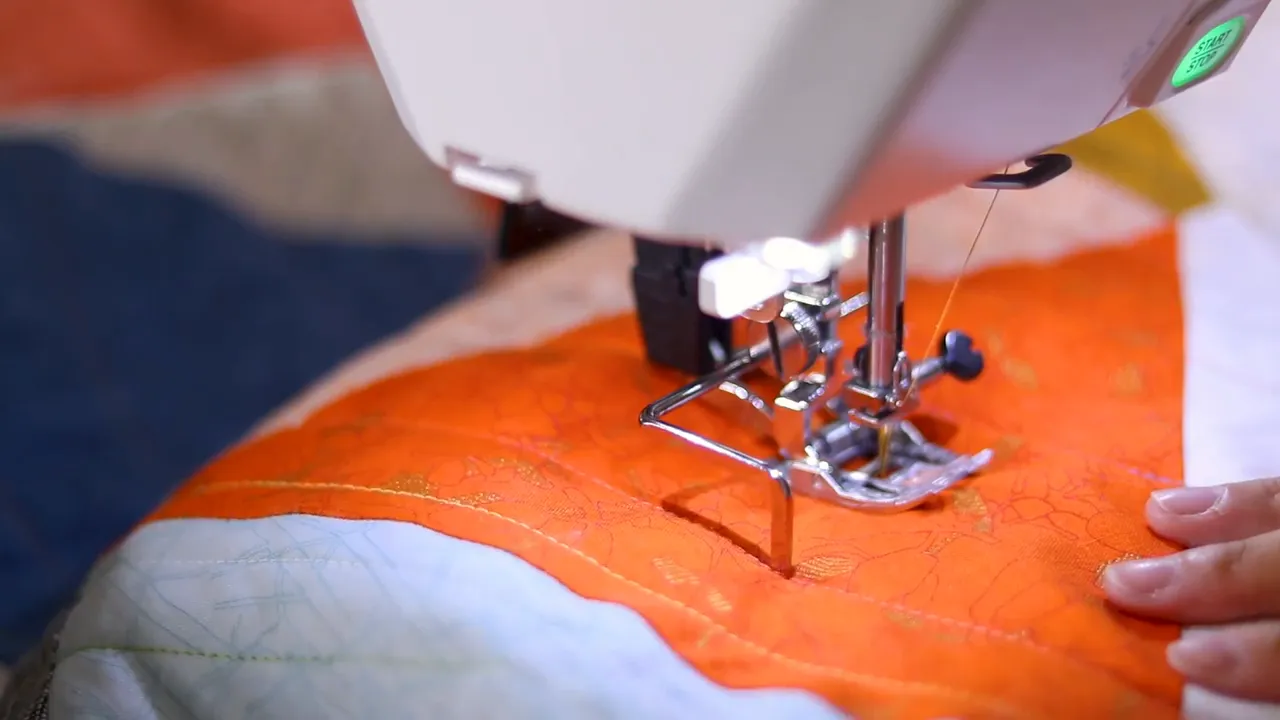
Two choices helped shape the quilting:
- Alternating the direction of my passes: I changed the direction I was sewing to help limit shifting and keep the quilting more even.
- Changing thread colors: I used several colors of mostly 40-weight Aurifil cotton thread for a little extra visual interest.
This part did take a while, but not as long as you might expect once you keep moving through it. A simple quilting design still involves plenty of stitching, especially when you add several echo lines.
5. Trim and Square the Quilt
After quilting, I trimmed away the excess batting and backing with my quilting rulers and rotary cutter.
This is also the point where I checked the corners. I used the ruler’s right-angle edges and markings to make sure the corners were square rather than simply following an uneven outer edge.
Square corners and straight edges give the binding a better starting point. I worked around the quilt, repositioning the rulers as needed.
6. Make Double-Fold Quilt Binding
I cut my binding strips 2½ inches wide and used a method I learned in Deb Karasik’s quilt binding class. The glue basting approach for preparing and joining the binding is hers, and I cannot take credit for it. Her quilt binding tutorial is a helpful companion for the joining details.
Estimate How Many Strips You Need
Measure all the way around your quilt to find its perimeter. Using about 40 inches of usable length per fabric-width strip, divide that perimeter by 40 to get a rough strip count.
Round up and give yourself extra. You need some allowance for joining the strips and finishing the binding ends, so do not plan on an exact perimeter-length piece.
Join and Press the Strips
- Position and glue baste the binding strip joins using Deb’s method.
- Chain piece the prepared joins, sewing one after another before cutting them apart.
- Clip the connecting threads and trim the excess fabric at the joins.
- Gently separate the glue-basted seam allowances and press the seams open.
- Fold the long binding strip in half lengthwise and press.
That gives you the double-fold binding, ready to attach. I rolled mine up to keep the long strip organized.
7. Attach the Binding to the Front
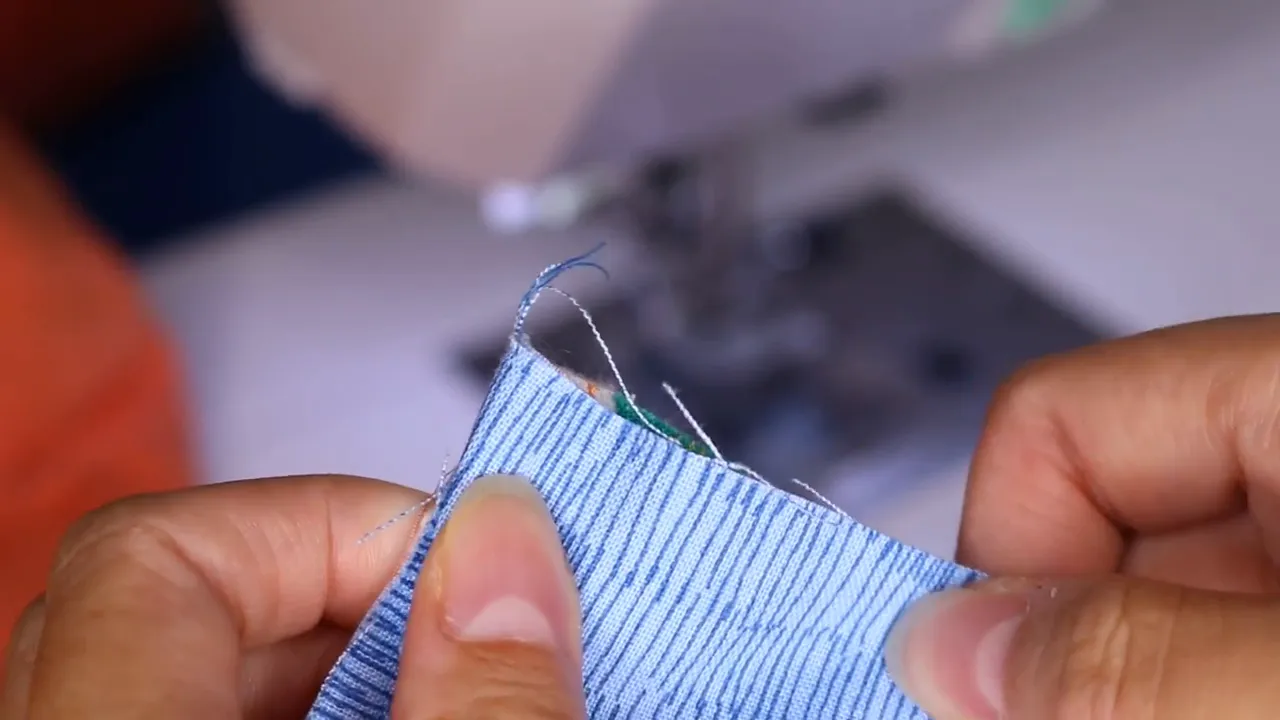
I sewed the binding to the front of the quilt with a ¼-inch seam allowance, aligning the binding’s raw edges with the quilt edge. I left a section unsewn so I could join the beginning and ending tails later.
Fold the Corners
At each corner, I stopped ¼ inch before the edge, left the needle down, and pivoted so I could stitch diagonally off the corner.
Then I folded the loose binding away from the quilt to create a diagonal fold, brought it back down along the next side, and started sewing that side. These folds create the fabric needed for the mitered corner.
Join the Binding Tails
When I reached the gap between the beginning and end, I used Deb’s method again. I opened the binding, pinned it along the quilt edge, and positioned the tails to establish where the final join needed to go.
After glue basting and sewing that join, I trimmed the excess, opened the glued seam allowances, refolded the binding lengthwise, and stitched the remaining section to the quilt front. The goal is a continuous binding that fits the edge without pulling or bunching.
8. Finish the Binding by Machine
Before folding the binding to the back, I pressed it flat and then pressed it away from the attachment seam. This helped prepare it to wrap around the quilt edge.
Next, I folded the binding all the way to the back and held it in place with Wonder Clips. Since I planned to finish by stitching in the ditch from the front, I paid particular attention to the amount of binding overlapping on the back.
The back binding needs to extend far enough to be caught by that final stitching line. I used the ends of the clips as a visual guide to keep the overlap consistent around the quilt.
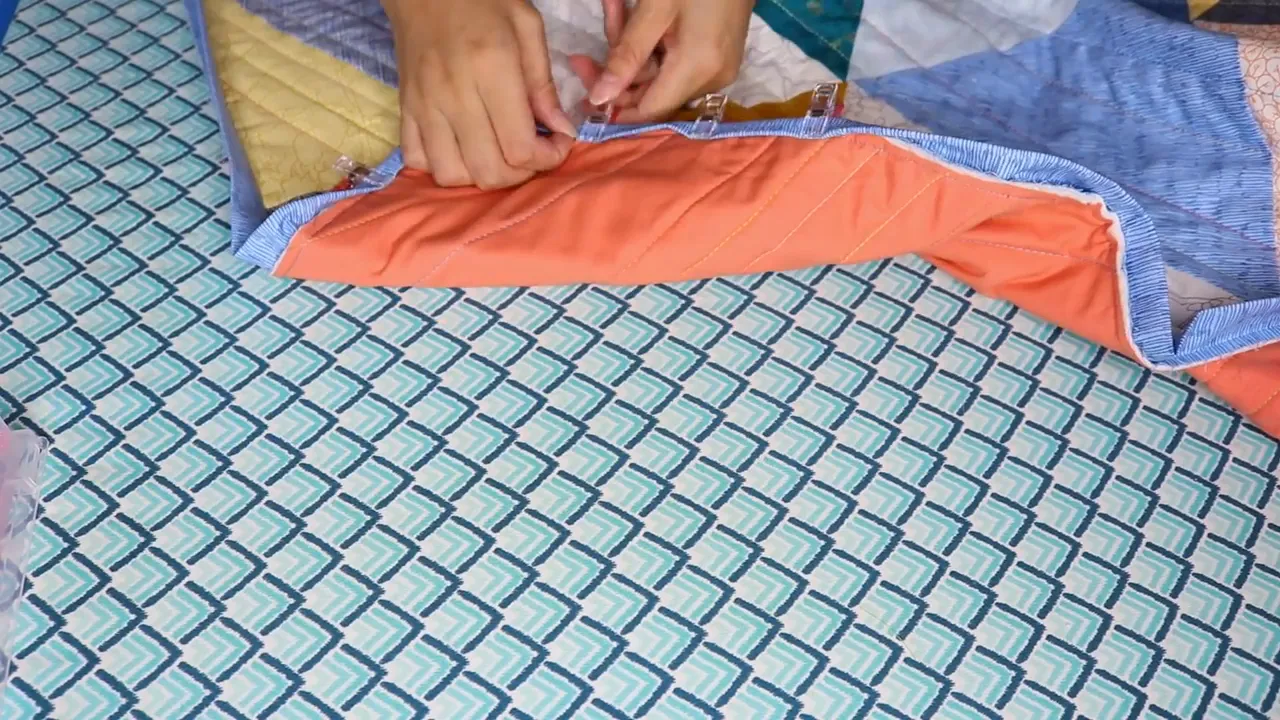
Then I turned the quilt front-side up and slowly stitched in the ditch, right along the seam between the quilt top and the binding. That stitching caught the folded binding on the back.
Go carefully, and check the back when you are done. If you miss a few spots, you can stitch those sections again or close them by hand. On this quilt, the stitching caught the binding all the way around, so the binding was finished entirely by machine.
A Finished Quilt Beats a Forgotten Pile of Fabric
I added an embroidered label for the recipient as a final personal touch. After all that time sitting unfinished, the triangles were finally part of a quilt ready to give to someone.
This was a fun, simple project with no pattern required. Consistently cut 60-degree triangles, a mix of light and dark fabrics, and a few helpful finishing techniques were enough to bring it together.
My favorite part might be that it did not have to remain the king-size quilt I originally imagined. Changing the plan made it possible to finish something useful and personal. And if you are less of a procrastinator than I am, yours should take considerably less than a year!


