The free arm was one of the reasons I purchased the Brother Skitch PP1 embroidery machine. I have had my share of issues with this machine, but being able to slide a finished pouch over the arm and embroider just one side? That is a genuinely useful feature.
For this project, I personalized an army green zipper pouch for my husband with the name of his YouTube channel, Moore Approved. It was a fairly quick stitch-out, with a little magnetic hoop wrangling, a much-needed trial run, and some crossed fingers along the way.
This project is not sponsored. I purchased everything I used, and the results here reflect my own experimenting with this particular machine and pouch.
What I Used for This Pouch Project
- Brother Skitch PP1 embroidery machine
- 4 x 4-inch magnetic embroidery frame
- A large, heavy-duty zipper pouch with a separate black synthetic lining
- A simple two-line lettering design prepared in the Brother Artspira app
- Size 80/12 Organ ballpoint needle
- 40-weight Glide embroidery thread in a cream color
- Small scissors for trimming thread and jump stitches
I had also purchased the smaller 3 x 3-inch magnetic frame, but this pouch was large enough to try the 4 x 4-inch frame.
The pouch came from a three-pack I bought on Amazon. I had already been experimenting with the others, and one arrived with a large slash in it that made it unusable. This green one was my last pouch, so naturally there was a little pressure to have things go reasonably well.
The outer material felt thick and stiff, and I believe it was polyester. Inside was a separate black lining that looked like polyester or nylon. I was not certain of the exact fiber content, but the stiffness turned out to matter for how I approached the embroidery.
Preparing the Lettering and Finding the Center
I created a simple design with “Moore” on the first line and “Approved” underneath. I believe the lettering came from one of the free fonts in the Brother Artspira app. Nothing complicated here, just a personalized detail for an everyday pouch.
To find the center, I folded the pouch in half and pressed along the fold with my hands to make a crease. Not super scientific, but it gave me a visible vertical reference line.
I also checked the zipper direction before deciding which side would be the front. Then I planned the design placement: centered from side to side, but a little closer to the zipper rather than centered vertically over the entire pouch.
Adding my own hoop alignment marks
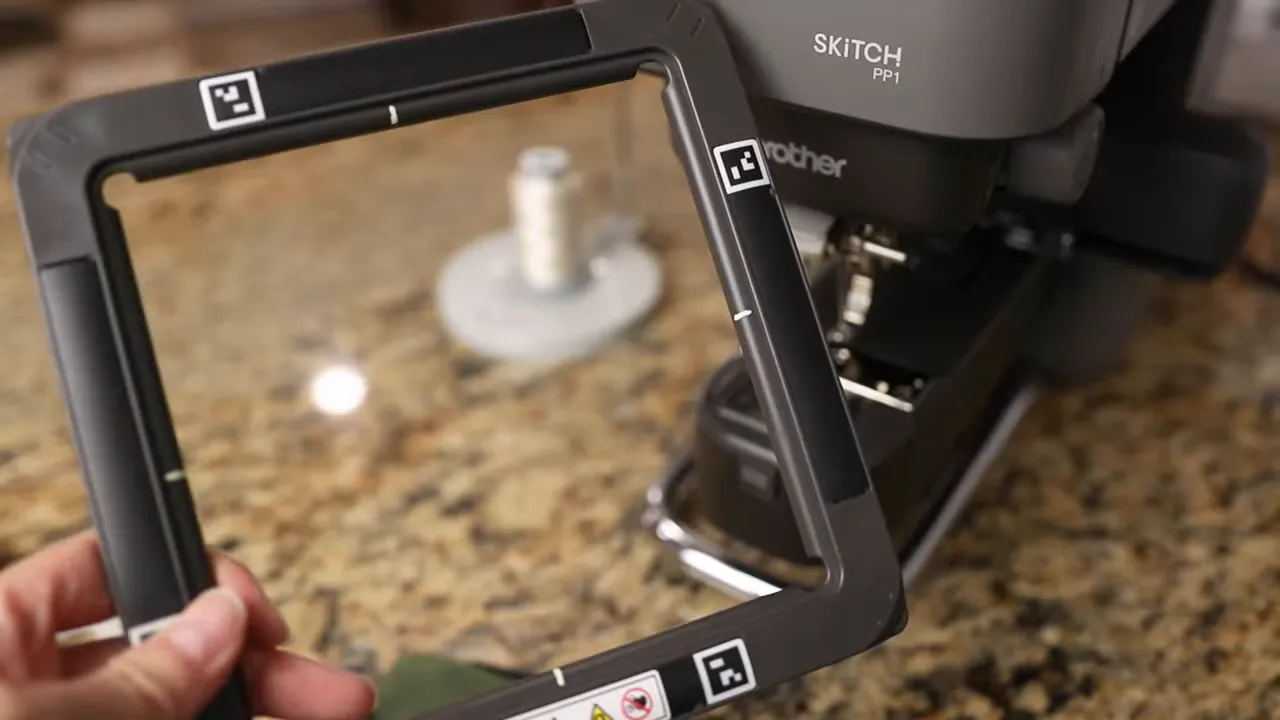
One thing that made placement trickier was that my magnetic frame did not come with center alignment markings or a placement template. I found the center points myself and added small marks to the top of the hoop using Angelus leather paint.
Those homemade marks gave me something to line up with the pouch crease. Without them, I would have been doing even more eyeballing than I already was.
Hooping a Finished Zipper Pouch
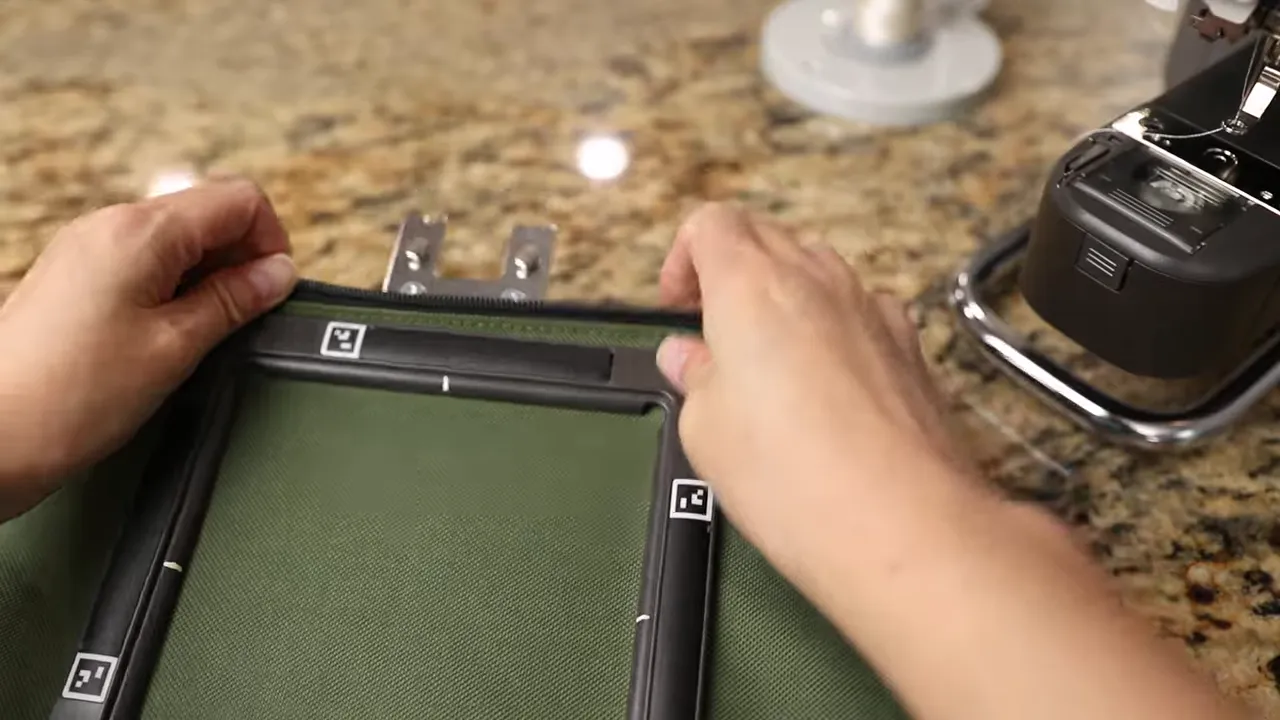
The important part of hooping this project was getting the lower portion of the frame inside the pouch, behind the side I wanted to embroider. The magnetic top frame then sat on the outside, holding that front panel and its lining between the frame pieces.
Here is the basic process I used:
- Lay the pouch flat and position the top frame where the embroidery should go.
- Align the frame’s center marks with the crease in the pouch.
- Open the zipper and slide the lower frame inside the pouch, behind the front panel.
- Bring the magnetic frame pieces together.
- Check the top and bottom alignment, then reposition as needed.
- Push out the boxed bottom corners so the pouch has room to open around the machine arm.
The magnets are strong, so this was not a perfectly smooth, one-and-done operation. I turned the pouch around, slid the frame slightly, and lifted the top frame again when I needed a bigger adjustment.
Expect a little back and forth. Getting the top aligned does not automatically mean the bottom is aligned, too. I checked both before calling it good.
Why I skipped stabilizer on this particular pouch
Yes, I embroidered this one without stabilizer. That was a decision based on testing, not a blanket recommendation for every zipper pouch.
On an earlier attempt, I tried temporary spray adhesive with tearaway stabilizer, and it left things gunky. I also did a test stitch-out on another pouch from the pack without stabilizer, and that result looked fine.
Because this material was already very thick and stiff, I decided to use the same approach for the final pouch. The successful test on the same type of blank was what gave me enough confidence to try it. I would not assume a softer or differently constructed pouch would behave the same way.
Where the Skitch Free Arm Really Helps
Once the pouch was hooped, I slid it over the Skitch’s free arm and attached the frame to the machine. This is where that feature earns its keep.
The front panel sits in the embroidery area while the back of the pouch stays underneath and out of the stitching path. Instead of trying to flatten the entire finished item around a larger machine bed, there is room for the pouch to wrap around the arm.
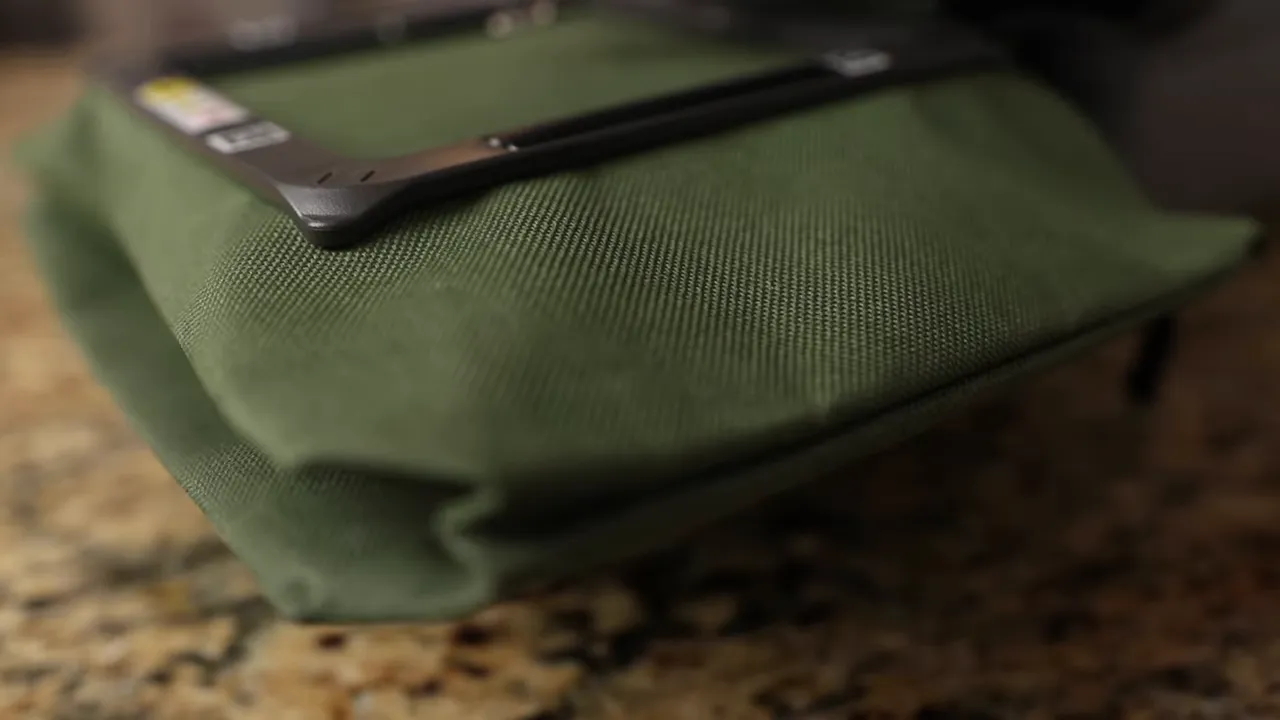
This capability can also make items such as pillow covers and onesies easier to manage, provided they fit and have enough clearance. The big benefit is keeping the opposite side of the item from accidentally getting stitched into the design.
There is an important distinction with a lined pouch, though: I was stitching through the outer fabric and the lining of the front panel. The free arm kept the opposite pouch panel out of the way. It did not keep the front lining separate from the embroidery.
Run the Outline Before Starting the Embroidery
If you take one practical tip from this project, make it this: use the trial run or tracing feature before stitching an awkwardly shaped item.
Artspira has a trial-run function that moves the frame around the design area so you can check clearance. Many embroidery machines offer a similar outline or tracing feature.
I am very glad I used it. During the first pass, the moving setup knocked my spool stand out of the way. That was exactly the sort of interference I wanted to discover before the actual embroidery started.
I moved the stand and ran the outline again. The second pass looked good.
For a finished pouch, check more than just whether the lettering fits inside the hoop. Pay attention to the whole item as the frame travels, including the pouch body, zipper area, and anything sitting beside the machine.
Needle, Thread, Tension, and Stitching
For the stitch-out, I used an 80/12 Organ ballpoint needle and 40-weight Glide thread in cream. The design estimate was about 10 minutes, and I knew there would be a few small jump stitches to trim between parts of the lettering.
After the first stitches, I paused to trim the starting thread tail, then continued.
I had also increased the upper-thread tension based on my earlier test stitch-outs. I had been seeing too much top thread on the underside and not enough bobbin thread showing, so I adjusted the tension upward for this project.
That is a report of what my setup needed, not a specific tension setting to copy. I did not record a numeric setting, and the finished underside was difficult to evaluate precisely because the top and bobbin threads were so close in color.
The Skitch made a few of those slightly scary noises it sometimes makes. Given my previous experience with the machine, I was definitely hoping everything would stay on track. Fortunately, the lettering finished without a major project-ending problem.
The Finished Pouch and the Inside Stitching
With the embroidery finished, I removed the frame from the machine and inspected both sides. The front lettering looked pretty good, with small jump stitches still needing a trim.
I will fully admit that I was fairly casual about the hooping process. Even so, once the magnetic frame came off, the design did not look noticeably crooked to me.
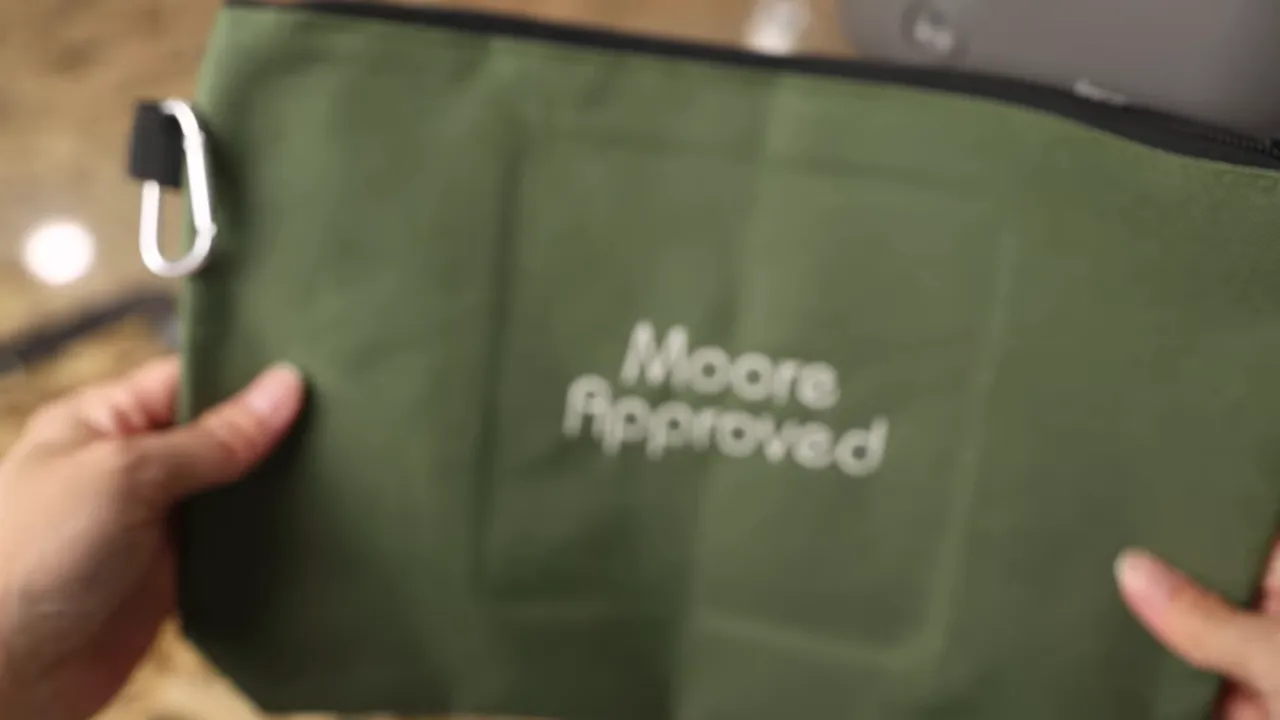
Inside, the back of the design was visible on the black lining, as expected. There were connecting threads, and although I initially considered cleaning everything up, I probably would not bother trimming every interior connection on this particular pouch. It is on the inside.
I did have to increase the tension quite a bit, and I still could not clearly distinguish how much bobbin thread was showing because the thread colors were so similar. My assessment was simply that the back looked okay, not that I had achieved some perfectly verified tension balance.
For this specific stiff pouch and simple lettering design, the result without stabilizer looked acceptable to me.
My Take on the Brother Skitch PP1 Free Arm
This project does not erase the reliability issues I have had with the Brother Skitch PP1. It has not been the most dependable machine in my sewing space.
But I do appreciate the free arm and the convenient magnetic hoop design. When the machine works, being able to embroider a finished pouch this way is really nice.
The parts worth carrying into another project are straightforward: test your blank, give yourself useful alignment references, make small hooping adjustments, and run the outline before committing to stitches. That trial run alone saved me from starting with something already in the machine’s way.
And the final result? A personalized pouch for my husband that I think looks pretty okay. Not every project needs to be elaborate to be useful and fun.


