Cleaning the bobbin area is not the most exciting part of machine embroidery, but you have to do it. After a 3D puff embroidery project, I found little pieces of foam inside my Brother PE900, and those bits were surprisingly persistent. I was still finding them weeks later.
Here is how I removed the bobbin case, cleaned out the accumulated debris, and put everything back together. Many home single-needle embroidery machines, especially Brother models, have a similar setup, but check your machine’s instructions before taking anything apart.
1. Remove the Needle Plate Cover, Bobbin, and Bobbin Case
Before beginning maintenance, turn the machine off and follow the safety and cleaning instructions in your model’s manual. You can find model-specific documentation through the Brother support site.
The bobbin and bobbin case are separate pieces. The bobbin holds your thread; the plastic-and-metal bobbin case is the holder surrounding it. To reach the area underneath:
- Remove the needle plate cover surrounding the bobbin opening.
- Lift out the bobbin.
- Lift out the entire bobbin case and set it aside.
With the case removed, you can see the circular area underneath and the surrounding spaces where debris collects. Mine had quite a bit of material in there, including little pieces of foam from the puff embroidery.
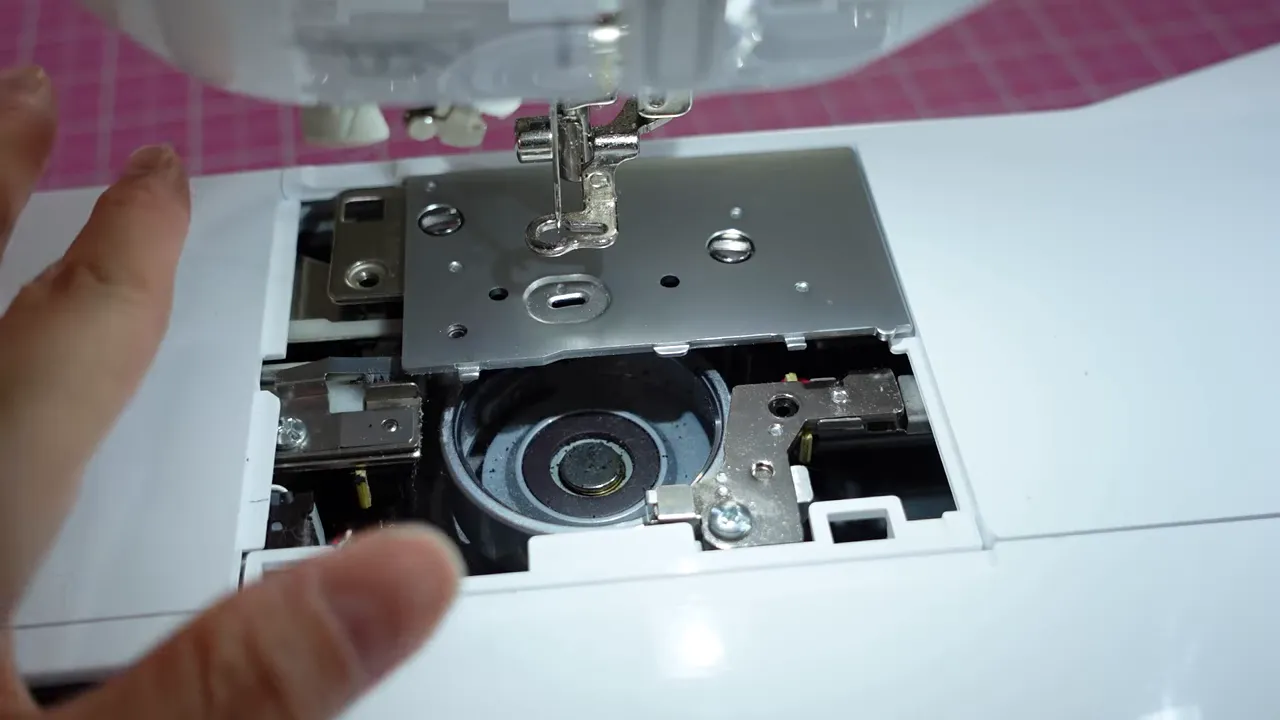
2. Vacuum Out the Loose Debris
I tried my small, battery-operated RYOBI wet/dry vacuum to pull out the loose material. It helped, but it did not get everything. Some foam bits were still stuck inside afterward.
The important distinction is suction, not blowing. I would not use a blower to clean this area because I do not want to push debris farther into the machine. The goal is to remove it, not relocate it somewhere harder to reach.
For this cleanup, the vacuum was a useful first pass rather than the whole solution.
3. Clean the Remaining Bits by Hand
Next, I used cotton swabs to pick up the pieces the vacuum left behind. I worked around the exposed circular area and the accessible edges, then cleaned the inside of the removed bobbin case as well.
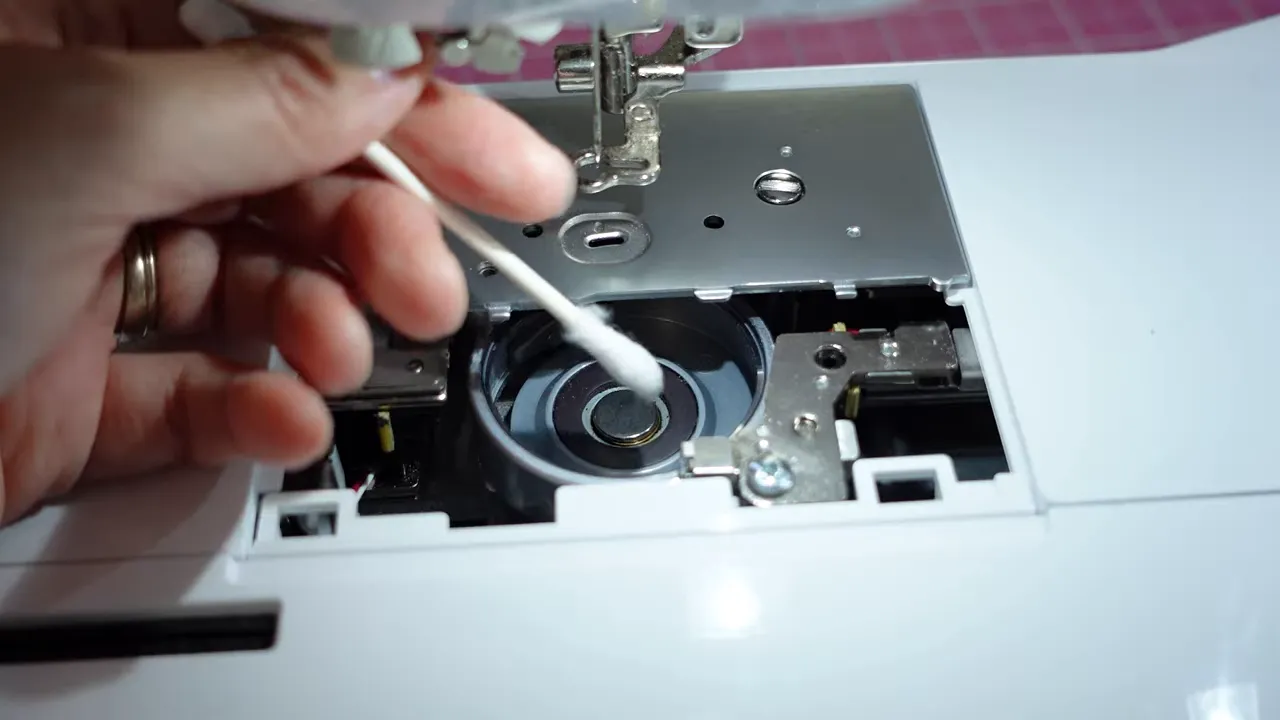
This was where the stubborn foam needed extra attention. The vacuum had made a difference, but the swabs picked up more of the material that was clinging to the surfaces.
If you use 3D puff foam regularly, give the bobbin area some extra attention during cleanup. I had not expected so many tiny pieces to end up there. The foam was fun for the project, but cleaning up after it was a little frustrating.
4. Reinstall the Bobbin Case and Cover
Once the area is clean, the bobbin case goes back into its circular opening. On my PE900, I use the small arrow and raised bump as orientation references, positioning them toward the front beside the corresponding part of the machine.
The case settles into position with a slight click-like feel. Pay attention to how it seats rather than simply dropping it into the opening.
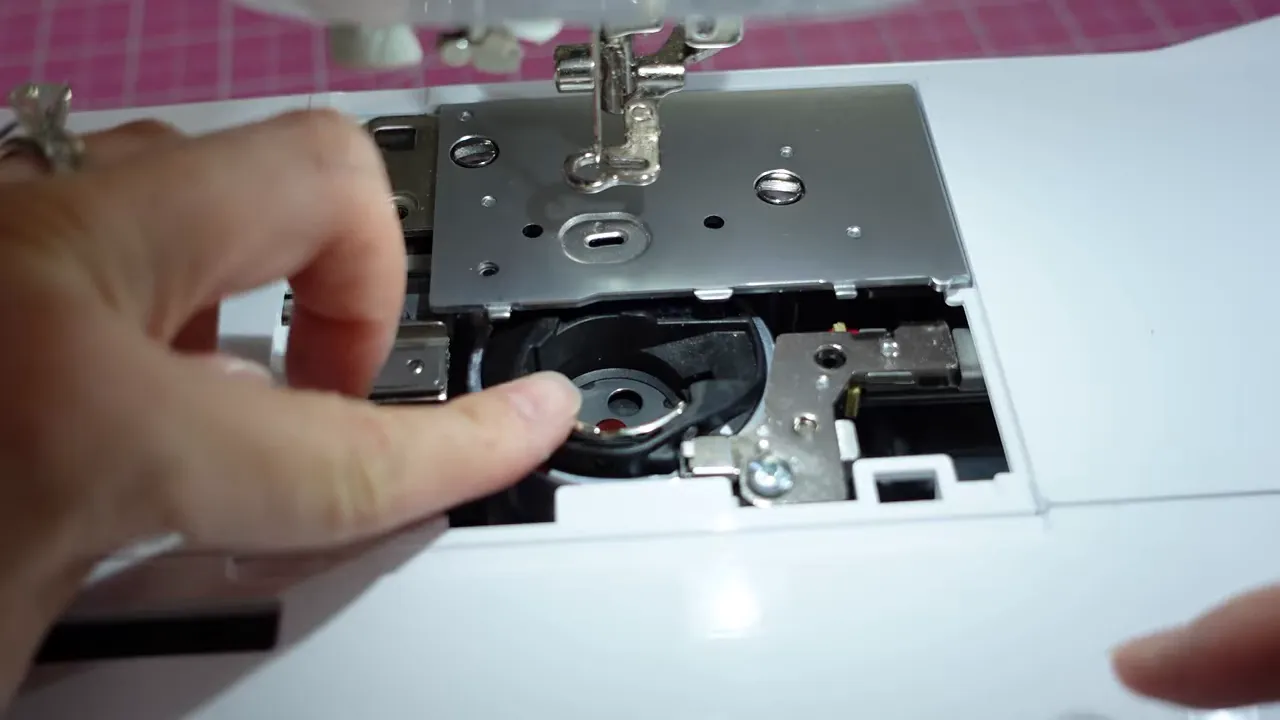
Then replace the needle plate cover, insert the bobbin, route the thread according to your machine’s instructions, and replace the small clear bobbin cover.
A Small Maintenance Job Worth Doing
My cleanup took a combination of vacuuming and hands-on attention. The loose debris came out first, and the cotton swabs handled the remaining bits, including the inside of the bobbin case.
I am not a sewing machine technician, so this is routine cleaning, not a repair or troubleshooting procedure. If something does not fit back correctly or your machine needs more than a cleanup, contact Brother Product Support for model-specific help.
Maintenance day may not be glamorous, but getting all that foam out of the bobbin area was worth it.


