Changing the needle on the Brother PE900 is a quick job. The main things to remember are to install the new needle with the flat side facing the back, push it all the way up to the stop, and secure the needle clamp screw.
Here’s the needle I usually use and my simple process for swapping it out.
The Embroidery Needle I Use
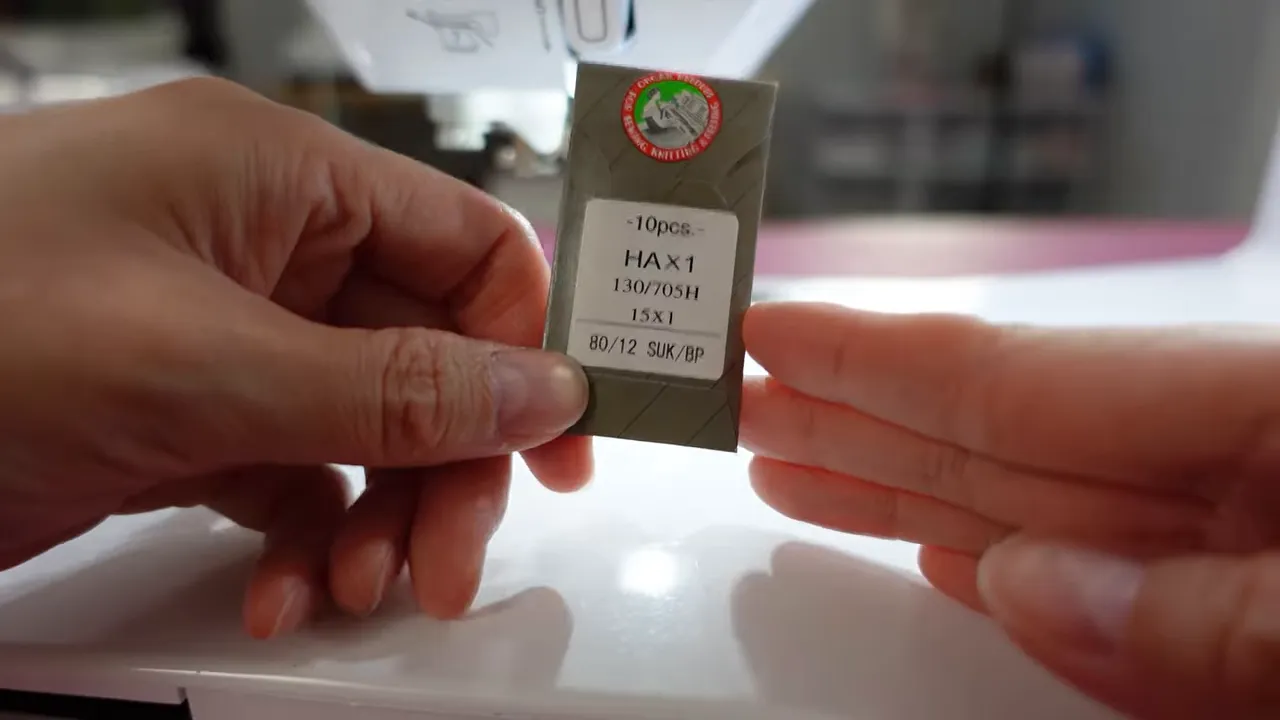
My go-to is an Organ ballpoint needle in size 80/12. I find these work pretty well for most of my embroidery projects. Ballpoint needles are a good choice for knits because the rounded point helps avoid cutting into the knit material.
I usually use 40-weight embroidery thread, and the 80/12 has worked well for that setup. A lot of people use 75/11 needles, but 80/12 is simply the size I’ve had good results with. It’s my usual choice, not a requirement for every project.
What to Have Handy
- A fresh needle suited to your project.
- A screwdriver that fits the needle clamp screw.
- A container to keep the used needle safely contained.
I keep my old needles in an empty multivitamin bottle rather than leaving them loose where they could stick somebody. Keeping used needles contained is the useful part of that tip; check your local disposal guidance before throwing the filled container away.
1. Loosen the Screw and Remove the Old Needle
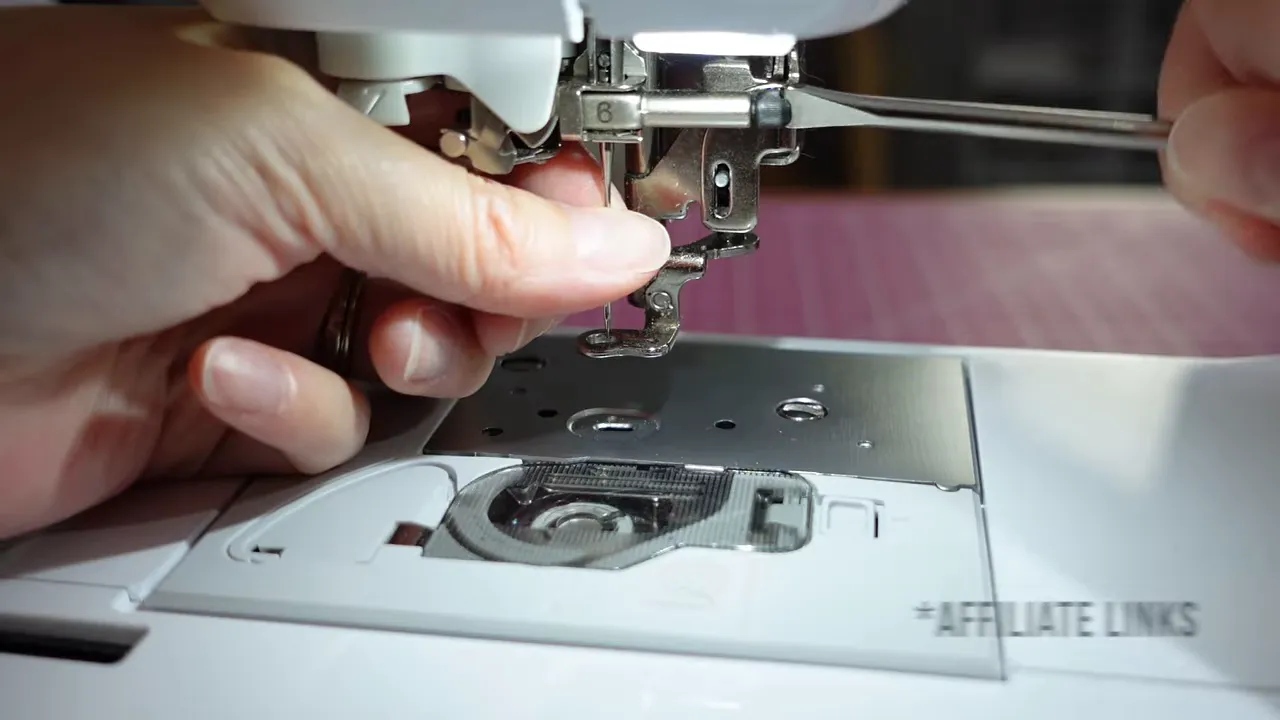
Use the screwdriver to get the needle clamp screw started. Once it’s loose enough, you should be able to pull the old needle down and out of the clamp.
Keep hold of the needle as you loosen the screw, then put it straight into your used-needle container.
2. Insert the Fresh Needle With the Flat Side at the Back
Open the new needle’s little paper package. These always remind me a bit of gum wrappers.
Find the flat side on the thick upper portion of the needle. That flat side needs to face the back of the machine.
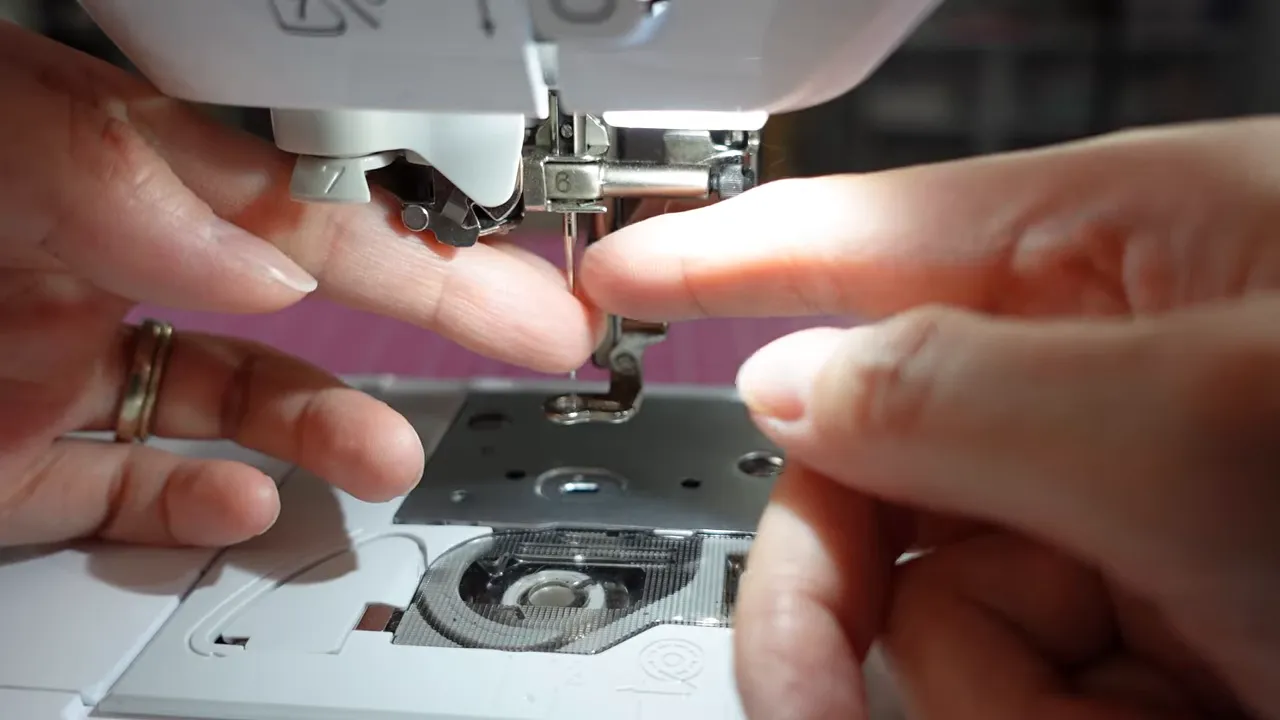
Slide the needle up into the clamp, keeping that orientation. Push it all the way up until it reaches the metal stop. You want it fully seated before tightening the screw.
3. Tighten the Needle Clamp Screw
While holding the needle in place, tighten the screw with your fingers first. Then use the screwdriver to snug it up a little more so the needle stays securely in place.
That’s it for the needle swap: flat side back, needle fully up, screw secure. Those are the three details I pay attention to each time.
For machine-specific questions or anything that isn’t fitting as expected, contact Brother Product Support. I can share the process I use, but I’m not a sewing machine technician.


