The Brother PE800 is one of those machines I wasn't sure I needed. Then I started using it, and the longer I had it, the more reasons I found to embroider something.
After about six months of ownership, I've had a chance to get comfortable with the basics, try built-in designs, import purchased designs, and stitch out custom logos. My overall impression? This is an easy-to-use embroidery machine with a lot of useful features. The color touchscreen is a big part of that, but so is the convenience of having a dedicated embroidery machine ready to go.
Whether you're considering a PE800 or already have one and aren't quite sure where to start, here's how the main functions work, from winding the bobbin to changing thread colors.
Table of Contents
- Key Takeaways
- What the Brother PE800 Can Do
- Included Accessories and the Extras I Like
- Getting Comfortable With the Color Touchscreen
- Importing and Saving Embroidery Designs
- How to Wind and Install the Bobbin
- How to Thread the Brother PE800 Needle
- How to Hoop Fabric and Stabilizer
- Changing Thread Colors During a Design
- My Brother PE800 Review After Six Months
Key Takeaways
- The PE800 is an embroidery-only machine with a 5 x 7-inch embroidery area.
- The color touchscreen supports useful design editing without separate software for every adjustment.
- Correct thread routing, counterclockwise bobbin placement, and taut hooping are essential setup steps.
- After six months of smooth operation, I rated the PE800 9 out of 10.
What the Brother PE800 Can Do
First, an important distinction: the Brother PE800 is an embroidery-only machine. It does not double as a regular sewing machine. For me, that's a benefit because I don't have to switch between sewing and embroidery setups.
The PE800 is an upgrade to the popular Brother PE770. Its main features include:
- A 5 x 7-inch embroidery area.
- 138 built-in embroidery designs.
- 11 built-in lettering fonts, including seven English fonts.
- A full-color LCD touchscreen.
- A USB port for importing embroidery designs.
- Built-in memory for saving designs.
- On-machine editing tools for arranging and customizing designs.
There's a comfortable amount of workspace under the throat of the machine. The power switch and power-cord connection are on the side, along with the USB port. That USB connection is especially useful because you're not limited to the designs that come with the machine.
Included Accessories and the Extras I Like
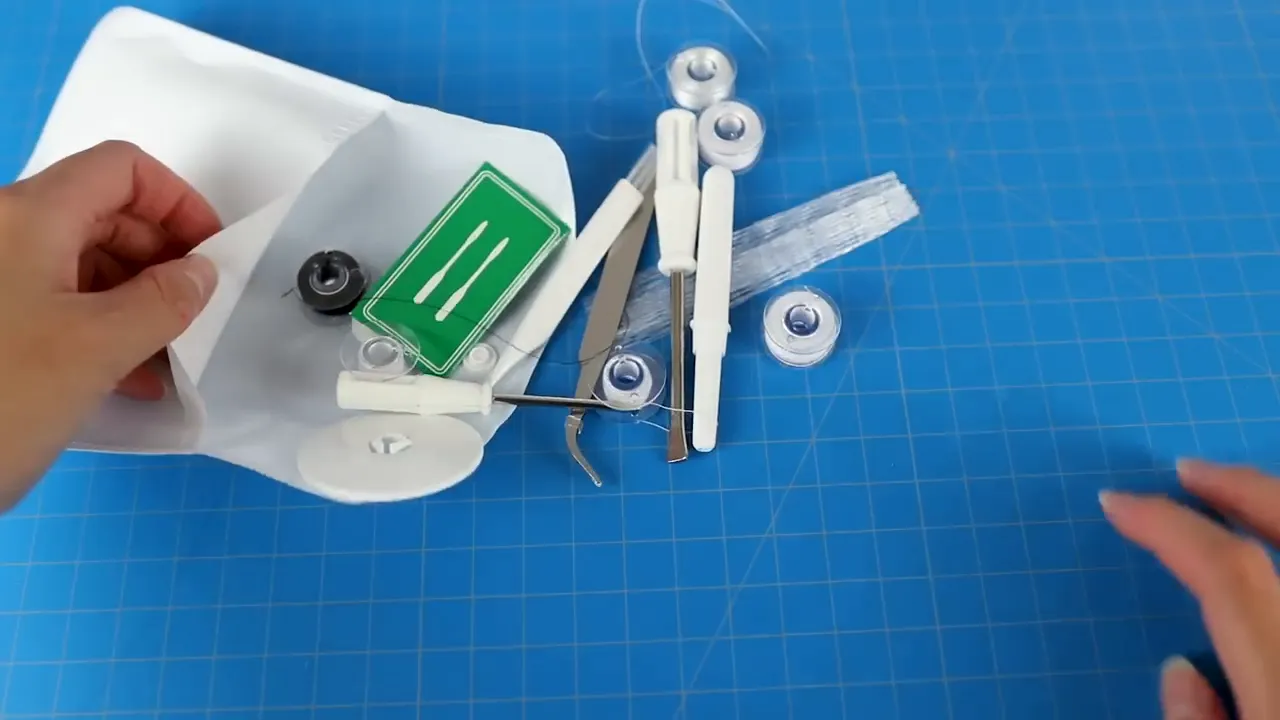
The PE800 comes with standard accessories such as a seam ripper, a small screwdriver for adjustments, extra bobbins, and a thread net. Extra bobbins are always welcome in my sewing space!
The thread net helps keep thread from unraveling too freely off the spool, which can be useful with metallic or other delicate threads.
A few additional supplies I like having nearby are:
- Air-soluble fabric markers for marking placement.
- Curved embroidery scissors for reaching thread tails.
- Appliqué scissors for trimming fabric during appliqué projects.
- Extra needles, including ballpoint needles when appropriate for the fabric.
- Additional compatible embroidery hoops for different projects.
You don't need to collect every accessory before starting, but the right small tools make the process more comfortable. Curved scissors, in particular, get plenty of use around here.
Getting Comfortable With the Color Touchscreen
The touchscreen is one of my favorite things about the Brother PE800. Everything is in full color, so it's much easier to get a feel for a design before stitching it.
It's also one of the main reasons I chose this model over the PE770. I wanted the upgraded display, menu options, and ability to do more editing directly on the machine.
Choosing Built-In Designs and Fonts
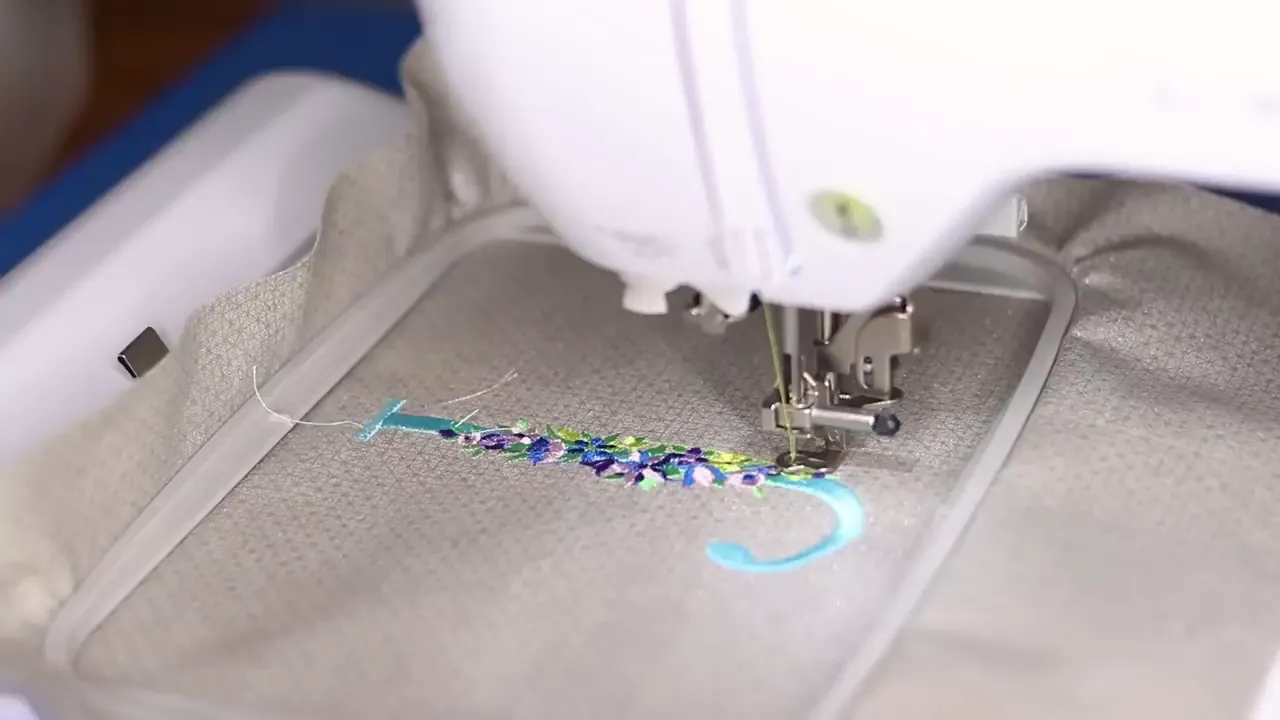
You can browse the included designs on the screen and select a hoop size to help identify which designs fit within that hoop. I was pleasantly surprised by how many of the built-in designs were actually appealing and useful to me.
I've completed several projects using only what's already on the machine. The lettering I've tried has stitched out nicely, too, so there's plenty to experiment with before purchasing additional designs.
Editing Designs Without Separate Software
You can do quite a bit of layout work without leaving the machine. Depending on the selected design and available controls, the editing options include:
- Combining designs into a layout.
- Moving a design within the embroidery area.
- Increasing or decreasing design size.
- Rotating or mirroring a design.
- Changing stitch density where that option is available.
Rotation is especially handy if an item needs to be hooped in a different direction. Rather than forcing the item into an awkward orientation, you can adjust the design to suit the way it's positioned.
These are editing tools for embroidery designs, not a replacement for having artwork digitized. For example, I had my Sewing Report logo digitized before bringing it into the machine.
Customizing the Display and Machine Settings
The settings menus offer more flexibility than I initially realized. You can change the frame display, add a center reference or grid, and adjust how the embroidery area appears. Those visual guides are helpful when you're trying to line things up.
You can also:
- Display thread information as color names or numbers.
- Select from several built-in embroidery thread brand references.
- Adjust the maximum embroidery speed.
- Switch measurements between inches and millimeters.
- Adjust embroidery thread tension.
- Choose the needle's up or down stop position.
- Check the machine's stitch count.
I slowed the maximum embroidery speed down a bit because the default felt fast for my comfort level. Being able to personalize that setting is something I appreciate.
And yes, I only discovered the needle-position setting while taking a closer look through the menus for this guide. Even after months of use, I was still finding features!
Importing and Saving Embroidery Designs
The built-in memory lets you save designs you've arranged on the machine. You can also bring in purchased or custom-digitized embroidery designs using a USB flash drive.
I've used this feature quite a lot. My flash drive contains monograms, appliqué designs, and logos I've had digitized for myself and friends. Many of my purchased designs have come from Etsy and EmbroideryDesigns.com.
Once a design is loaded, you can select it on the screen and use the available editing tools to position, resize, or rotate it before stitching.
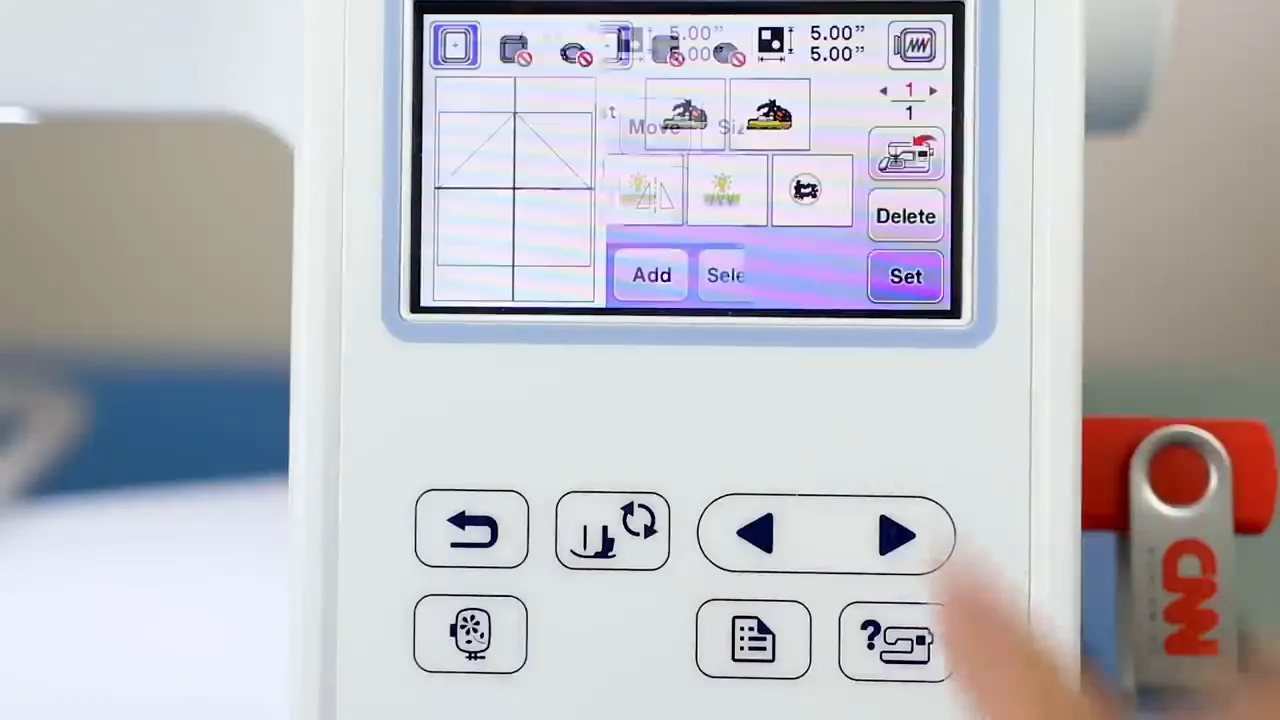
The combination of USB importing and on-machine editing gives you a lot more room to experiment than the built-in design library alone.
How to Wind and Install the Bobbin
Winding the bobbin and threading the upper thread use different paths, so pay attention to the guides printed on the machine. Keep the operation manual nearby for the exact routing and machine-specific instructions.
Winding the Bobbin
- Place the thread spool on the spool pin and secure it with a spool cap.
- Follow the bobbin-winding guides, beginning with guides 1 and 2.
- Route the thread around the bobbin-winding tension disc, following the color-coded diagram.
- Pass the thread end through the hole in the bobbin.
- Place the bobbin on the winding spindle and push the spindle to the right.
- Start winding. The start/stop button turns yellow when the machine is ready for bobbin winding.
The screen displays a bobbin-winding message while that function is active.
Installing the Bobbin
- Remove the bobbin cover.
- Place the bobbin into the case so the thread unwinds counterclockwise.
- Pull the thread through the guides around the bobbin opening.
- Draw it through the final guide, which also cuts the thread.
- Replace the cover.
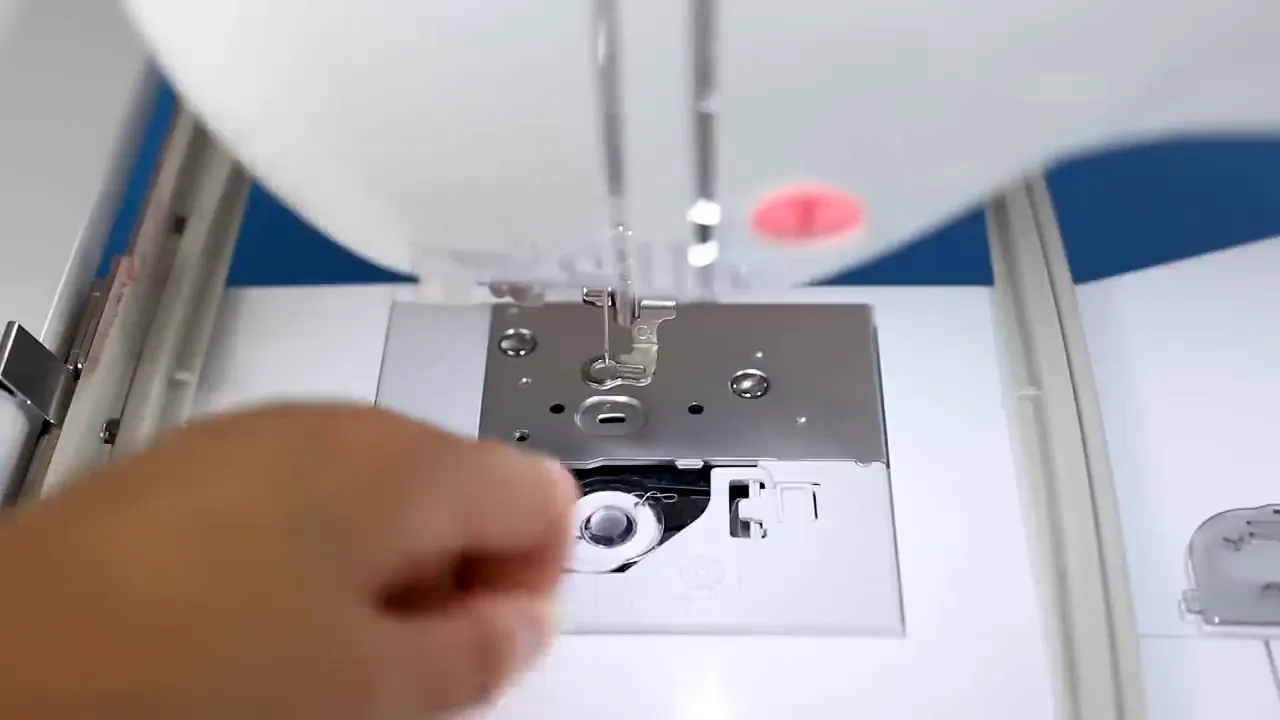
Bobbin direction matters. Take a moment to check it against the diagram rather than simply dropping the bobbin in and moving on.
How to Thread the Brother PE800 Needle
The upper thread follows a slightly different route from the bobbin-winding thread. The numbered path is helpful, but there are a couple of small guides that deserve extra attention.
- Raise the presser foot and bring the needle to its highest position.
- Put the embroidery thread on the spool pin and secure it with the spool cap.
- Pass the thread through guides 1 and 2, then follow the upper-thread path down and around the front channels.
- Catch the thread in the take-up lever. This is the small hook-like part nested inside the machine's front opening.
- Bring the thread down through the guide just above the needle.
- Follow the needle-threader guide and cutter path.
- Lower the automatic needle-threader lever to thread the needle.
- Gently draw the thread loop through. I find curved scissors helpful for reaching it.
The take-up lever is easy to overlook because it's tucked inside the machine. Don't skip that part of the thread path, and make sure the needle is fully raised before using the automatic threader.
How to Hoop Fabric and Stabilizer
For the basic setup demonstrated here, the stabilizer goes underneath the fabric, and both layers are secured in the embroidery hoop.
- Separate the inner and outer hoop pieces.
- Lay the stabilizer over the outer hoop.
- Place the fabric on top of the stabilizer.
- Press the inner hoop into place, keeping the layers smooth.
- Tighten the hoop screw so the fabric is taut.
- Turn the hoop over and check the back for loose areas or wrinkles.
- Attach the hoop to the embroidery carriage and secure it with the locking lever.
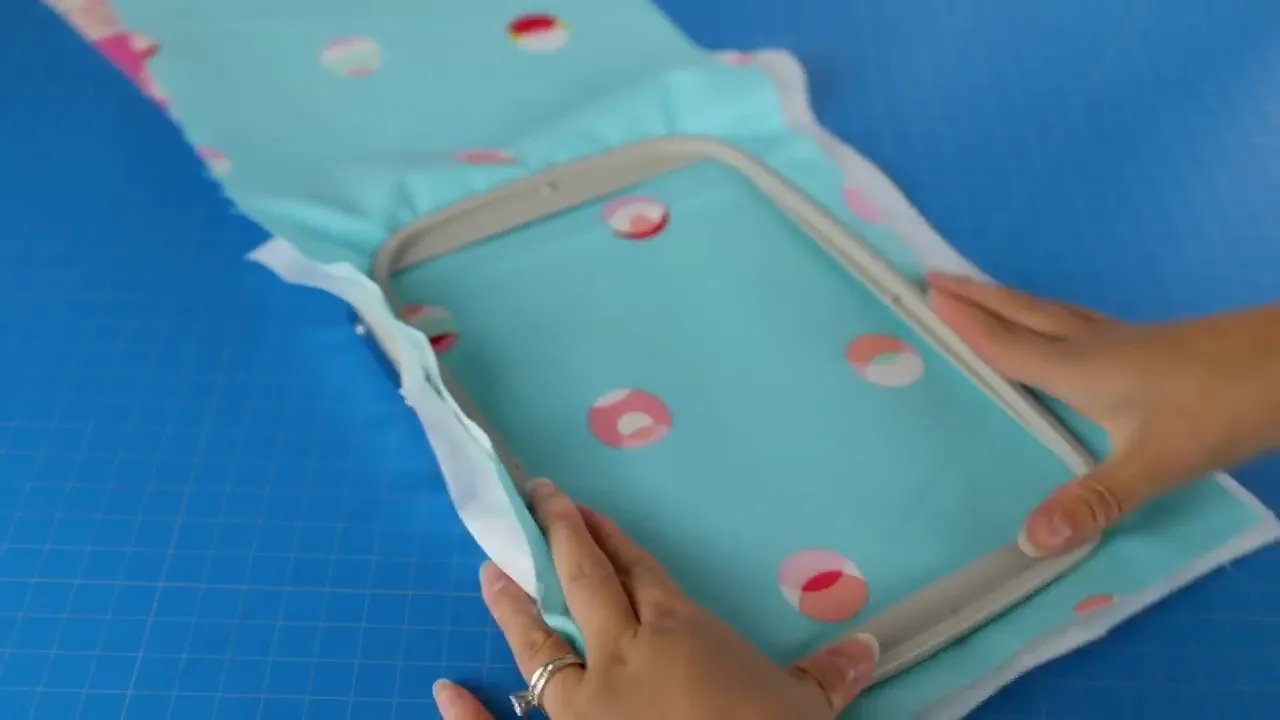
Check both sides of the hoop before attaching it to the machine. It's worth taking a little extra time here to make sure the layers are smooth and secure.
Stabilizer selection is a topic of its own. For more detail, my guide to embroidery stabilizer types covers that part of the process, and my embroidery basics guide goes further into hooping, needles, and thread.
Once stitching begins, I like to tidy up thread tails as I work. Stop the machine before reaching into the needle area to trim them.
Changing Thread Colors During a Design
Color changes mean switching out the upper thread spool and rethreading the machine. It takes a little time, but the process becomes familiar pretty quickly.
- Make sure the machine is stopped.
- Raise the presser foot to release the upper-thread tension.
- Gently remove the current upper thread.
- Place the next color on the spool pin and secure the spool cap.
- Rethread the machine using the same upper-thread path, including the take-up lever and needle-area guide.
- Use the automatic needle threader, then continue with the next color section.
The important detail is raising the presser foot before removing and replacing the thread. You want that tension released rather than pulling against it.
My Brother PE800 Review After Six Months
Would I recommend the Brother PE800? Yes. I'd give it a solid 9 out of 10.
Operation has been smooth, I've had very few hiccups, and I honestly don't have a major complaint from my first six months of use. This isn't sponsored or endorsed by Brother. I purchased the machine myself, and I've really enjoyed having it in my sewing space.
The Features That Made It Worthwhile
The color touchscreen, useful editing tools, and 5 x 7-inch embroidery area make the PE800 feel quite capable. The hoop size gives me room for a good variety of projects, and I don't have to move to separate software for every small layout adjustment.
At the time of my original review, the machine was priced at around US $600. That is a historical price, not a current quote. At that price, I thought it offered very good value, especially compared with embroidery machines costing thousands of dollars.
I had been on the fence about buying an embroidery machine for a while. The PE800's upgrades over the PE770 were enough to persuade me, and I'm glad I made the purchase.
Why I Prefer a Dedicated Embroidery Machine
I previously had a Brother SE400, which combines sewing and embroidery. For whatever reason, I never felt quite as comfortable using its embroidery setup as I do with the PE800.
That's a personal preference rather than a claim that combination machines are bad. I simply like having an embroidery-only machine that's ready whenever I want to use it. There's no need to switch units back and forth.
Is the PE800 Beginner-Friendly?
In my experience, yes. The touchscreen is approachable, the menus offer useful options, and the basic workflow becomes familiar with practice. I don't think someone new to embroidery needs to be intimidated by it.
That said, don't skip the operation manual. This guide covers the basic workflow, but the manual is important for exact threading diagrams, troubleshooting, and settings. If you need a digital copy, start with Brother's official support site and search for the PE800.
For more project examples and model-specific help, I've also put together a Brother PE800 tutorial series.
My biggest surprise wasn't a particular menu option or built-in design. It was how often I found myself wanting to use the machine. I started out wondering what I'd embroider, and now I'm very glad to have embroidery as another option for my projects.


