Baby sewing projects are almost unfairly cute. A tiny knit hat? Adorable. A pair of little snap-tab booties? I still cannot get over them. And when those handmade gifts are useful, too, that is a pretty great combination.
These are five projects I made for my friend Alison and her husband, Lynn, who were expecting their first baby: a simple blanket, bandana bibs, knit hats, baby booties, and burp cloths. There is a nice mix of quick finishes and one more involved project, so you can make a single gift or put together a whole coordinated set.
I used my Brother CS7000i for the sewing-machine work and a serger for a few finishing steps. A walking foot is my favorite for most sewing tasks, and I used it throughout the machine-sewn portions of these projects.
Table of Contents
- 1. Simple Baby Blanket: No Pattern Required
- 2. Baby Bandana Bibs With Plastic Snaps
- 3. Quick Baby Knit Hats
- 4. Baby Booties: The Most Involved, but So Worth It
- 5. Super Simple Home Cloths: Burp Cloths and Unpaper Towels
- Make the Gift Set Personal With Fabric
1. Simple Baby Blanket: No Pattern Required
This blanket is a great excuse to use those single-yard cuts of fabric sitting in your stash. You do not need a printed pattern, just two coordinating fabrics and quilt batting. I chose cheerful prints from the Lotus Pond collection.
What you need
- Two 1-yard cuts of fabric, approximately 36 by 42 inches each
- Quilt batting larger than the trimmed fabric on all sides
- Pins, a quilting ruler, and a rotary cutter
- An iron and a chopstick or point-turning tool
- An optional handmade label
Prepare and sew the layers
- Place the fabrics right sides together. Line up the edges as closely as possible. The cuts probably will not be exactly the same size, and that is fine.
- Square up the edges. Fold the paired fabrics in half, then in half again. Trim the excess from the two unfolded sides.
- Add the batting. Unfold the fabric and lay it flat on top of the batting, keeping the two fabric right sides together. Pin all three layers.
- Sew around the perimeter with a 1/2-inch seam allowance. At each corner, stop with the needle down, lift the presser foot, and pivot 90 degrees. Leave an opening of about 8 inches for turning.
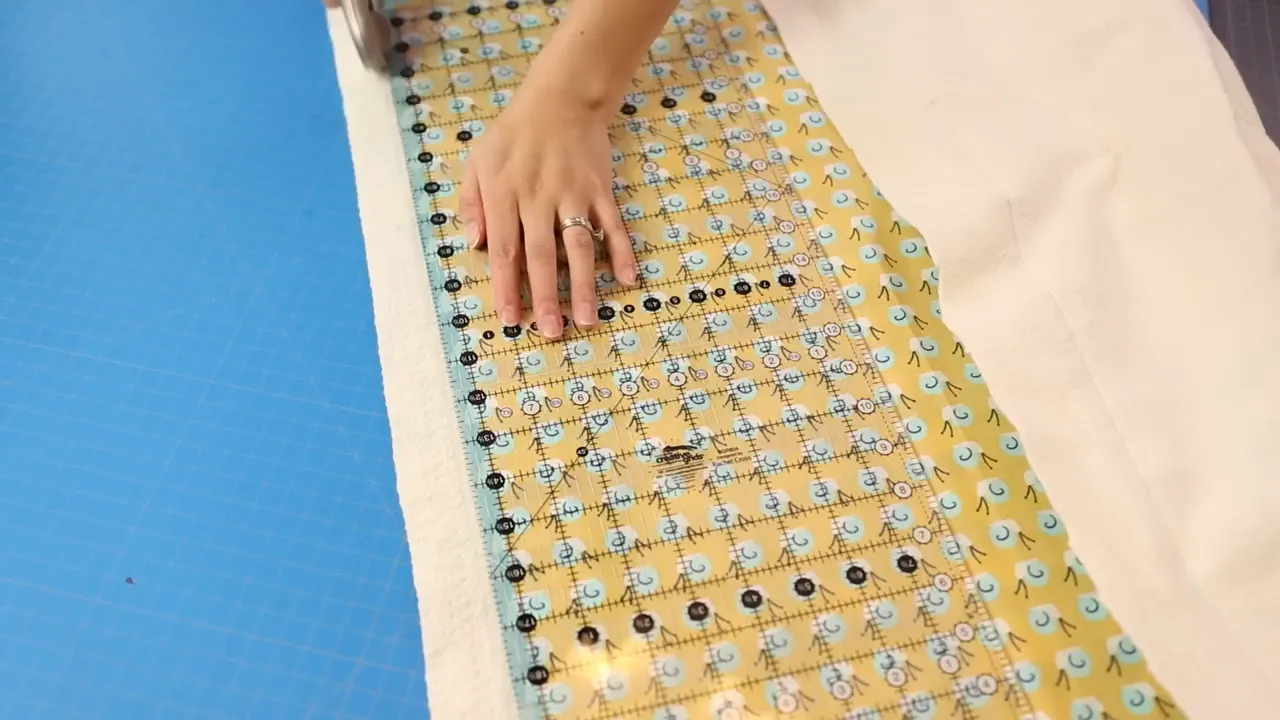
To trim the excess batting, fold the fabric seam allowance back out of the way. Place a quilting ruler along the fabric edge and use a rotary cutter to remove the extra batting without cutting the fabric.
Turn, press, and topstitch
- Clip all four corners to reduce bulk, taking care not to cut through the stitching.
- Press the seam allowances back at the turning opening.
- Pull the blanket right side out through the opening. You may have to wrestle with it a little!
- Work the seams out along each edge and gently shape the corners with a chopstick or turning tool. Do not push so hard that you pop the stitches.
- Press the blanket flat and topstitch around the perimeter, catching the folded edges at the opening.
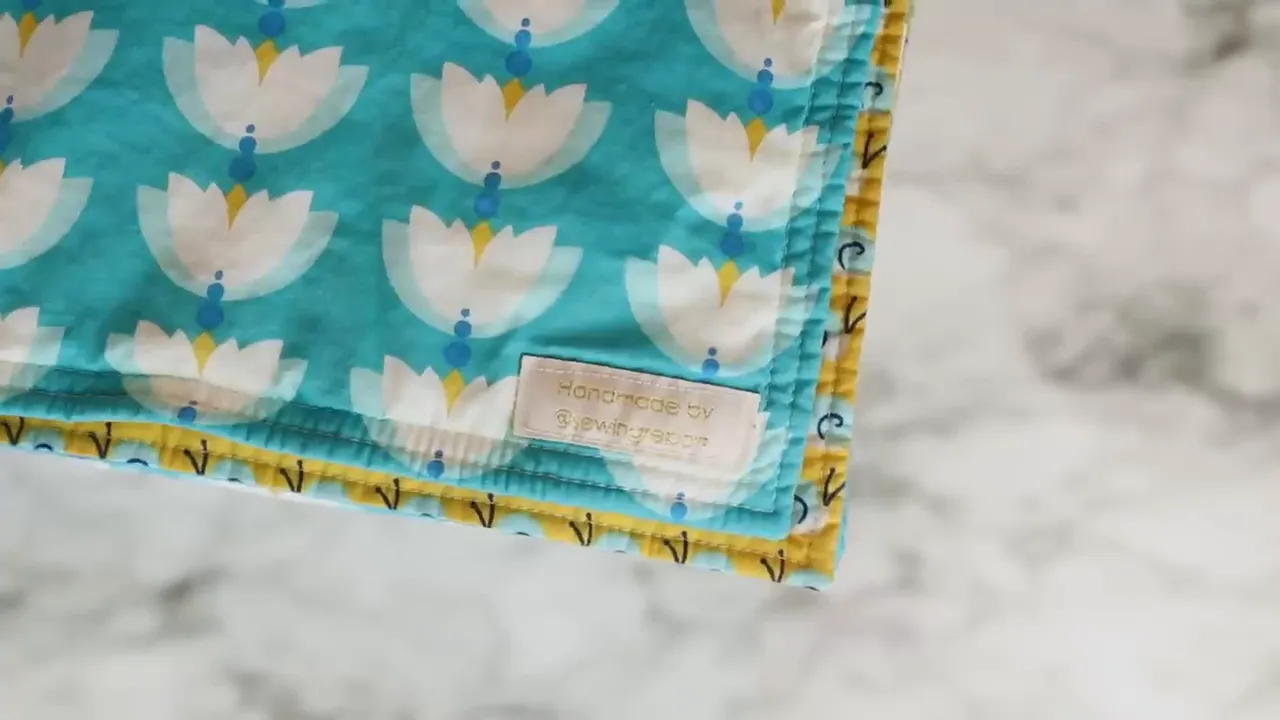
I added two rows of topstitching, one about 1/4 inch from the edge and another about 1/2 inch from the edge. When you return to the starting point, overlap the stitching for a few inches to secure it. A handmade label in one corner is a fun finishing touch.
My finished blanket measured approximately 35 by 40 inches, but you can use the same construction method for other sizes.
A note for gifting: A handmade blanket is not loose bedding for an infant’s sleep space. Include a reminder to follow the NIH safe sleep guidance, which calls for keeping blankets and other soft items out of the baby’s sleep area.
2. Baby Bandana Bibs With Plastic Snaps
Bandana bibs are easy to personalize with fabric, and this is a pattern I found straightforward to follow. I mixed quilting cotton, flannel, and waffle-weave terry cloth for different combinations of prints and textures.
Use the free bandana bib pattern from Project Nursery by Grey House Harbor. I traced my pattern onto heavy stabilizer so I could reuse it for multiple bibs.
Cut and assemble the bib
- Trace and cut one front and one back piece.
- Place the pieces right sides together.
- Pin the perimeter, or glue baste it with Elmer’s washable school glue and a hot, dry iron. Leave about 4 inches unbasted for turning.
- Sew around the perimeter with a 1/4-inch seam allowance, leaving the turning opening unsewn. Backstitch at the beginning and end.
- Clip the corners to reduce bulk, then turn the bib right side out.
- Gently shape the points with a turning tool or chopstick and press the bib neatly.
Here is a handy machine-specific detail: on my Brother CS7000i, with the walking foot attached and the needle position set to 3.0, lining the fabric edge up with the foot’s inside metal guide gave me a 1/4-inch seam allowance. Check that measurement on your own setup rather than assuming every foot is identical.
Topstitch and add the closure
Fold the turning-opening seam allowances inside and glue baste them closed. Topstitch close to the edge, but skip the curved section that touches the baby’s neck. I left that section without topstitching so it would feel softer against the skin. Backstitch at both ends of the topstitching.
For the closure, I used plastic KAM snaps from a kit. Make a hole at the snap placement with the included awl, insert the snap components, and secure them with the snap pliers. Pay attention to the direction of the pieces so the bib ends fasten together correctly.
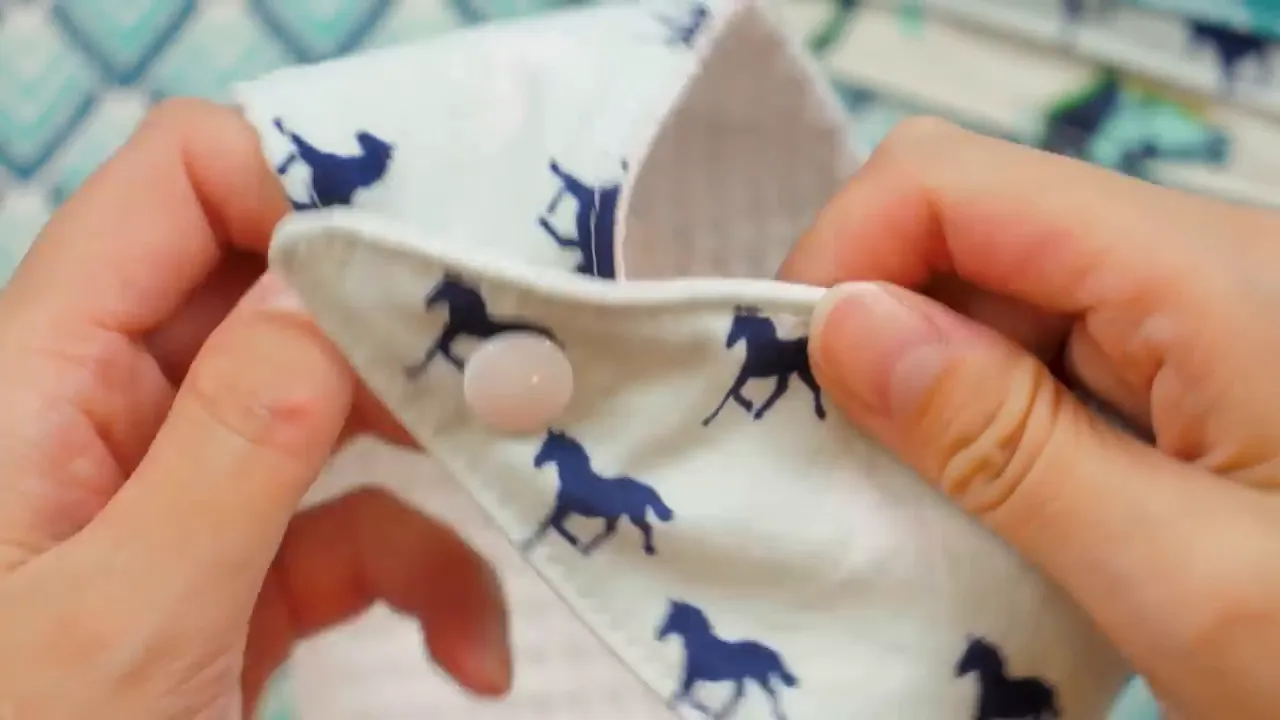
If snap installation is new to you, my KAM snaps demonstration goes into more detail. The same closure technique comes up again on the baby booties.
3. Quick Baby Knit Hats
These little hats are fast to sew and a great scrap buster. I have used this pattern quite a few times, and it works well with cotton or cotton-blend knits.
The free baby knit hat pattern from Coral + Co. uses just four fabric pieces: two crown pieces and two band pieces. Use the pattern’s sizing and fabric guidance when cutting.
Sew the crown and band
- Pin the crown darts. Fold each crown piece right sides together at the dart and pin the dart edges.
- Pin the band side seams. Place the band pieces right sides together and pin the short sides.
- Sew the pinned seams. Use a 1/4-inch seam allowance and backstitch at the beginning and end.
- Clip and press. Carefully snip the inner corner at each dart so the seam allowances can open. Press the dart and band seam allowances open. A tailor’s ham or sleeve roll makes these small areas easier to press.
- Fold the band. Match its side seams and fold it in half with wrong sides together, bringing the raw edges together.
- Join the crown pieces. Place them right sides together, pin around the curved top, and sew with a 1/4-inch seam allowance.
Attach the band
With the crown right side out, position the folded band around its opening, matching the raw edges and side seams. Pin in place.
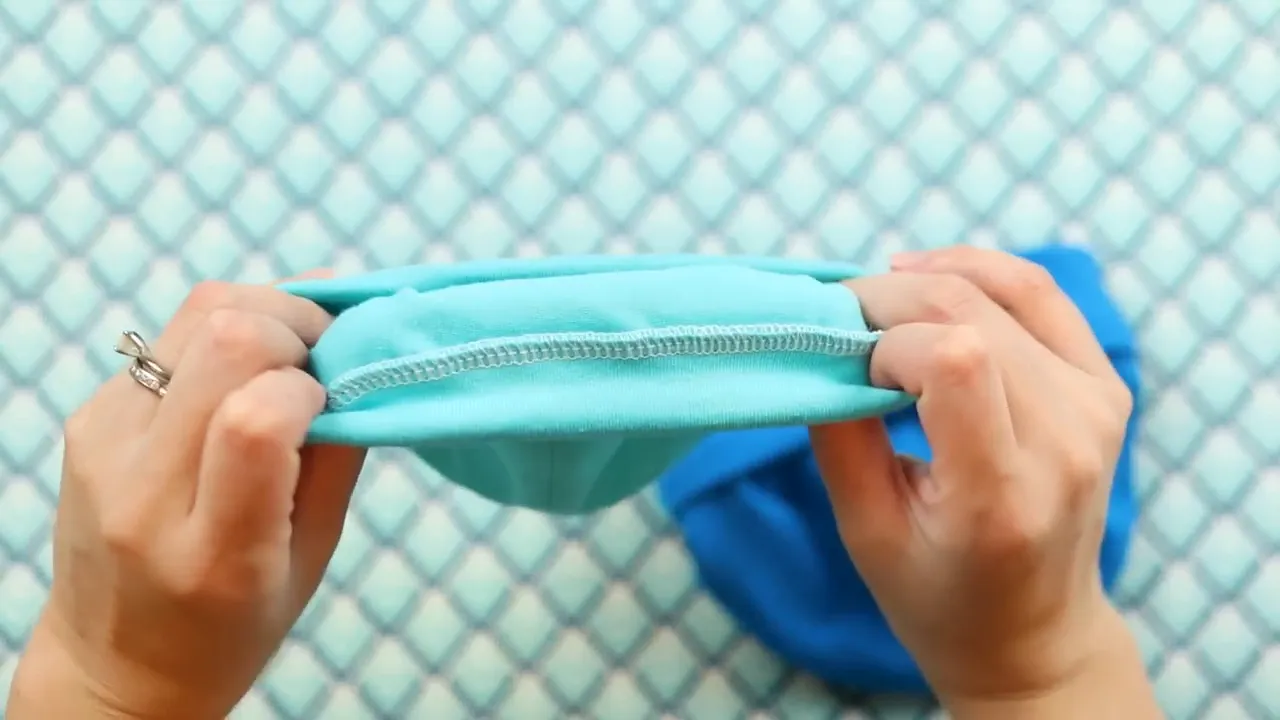
The band is smaller than the crown opening. That is intentional. Stretch the band as you sew so it matches the crown, rather than trying to force both pieces to lie together without stretching.
I used my serger for this seam to give the inside a cleaner finish. Once the band is attached, fold it up into a cuff. That is it: a seriously cute little hat.
4. Baby Booties: The Most Involved, but So Worth It
These booties were my first attempt at a project like this, and a few steps definitely tripped me up. They were the most time-consuming of the five gifts, but finishing them was so satisfying. I would absolutely make them again.
I used the free baby booties pattern from Handmade in the Heartland. Keep the pattern handy for the cutting layout, placement markings, and notches. Those details matter when you start fitting the tiny pieces together.
Prepare the soles, tongues, and backs
For each sole, place the two fabric pieces wrong sides together with a layer of sew-in interfacing between them. Pin all three layers. Pin the tongue pieces right sides together as well.
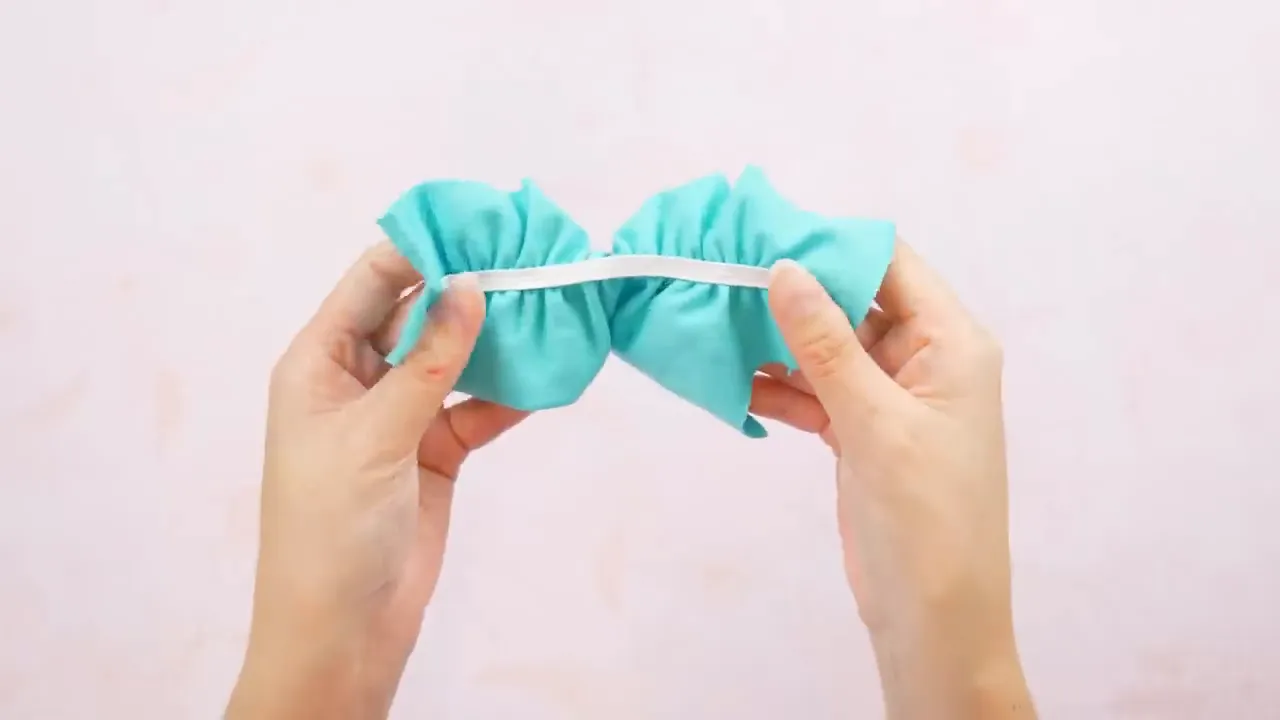
The elastic on the back pieces was the trickiest part for me. I initially tried a 3 1/2-inch piece pinned at the ends and center of the marked line, but holding and stretching that short piece while sewing did not go well.
What worked better was starting with a longer piece of elastic:
- Cut a 4 1/2-inch length of elastic and mark a 3 1/2-inch working section on it.
- Place the elastic on the wrong side of the back fabric piece, aligning the first elastic mark with the corresponding fabric mark.
- Start stitching a little before that first mark. Backstitch to anchor the elastic, then sew up to the mark.
- Stretch the elastic until its second mark meets the mark at the other end of the fabric line.
- Continue stitching, keeping the elastic stretched and supporting the piece behind the presser foot with your other hand.
- At the end mark, stitch forward and back to secure the elastic, then trim off the extra length.
The extra elastic gives you something to hold while getting the seam started. Once released, it gathers the fabric along the back.
Sew the individual sections
- Secure the soles. Stitch the three sole layers together with a seam allowance of 1/4 inch or less.
- Switch to a 1/2-inch seam allowance for the remaining construction. Sew the tongue pieces together as directed by the pattern, backstitching at both ends.
- Finish the tongues. Trim the seam allowances, turn right side out, and press.
- Sew the backs. Pin each pair right sides together, leaving the pattern’s turning opening unsewn. Backstitch at the beginning and end, and take the curves slowly.
- Trim and turn. Reduce the back-piece seam allowances and turn the pieces right side out.
Attach the uppers to the soles
Match the center notches and secure the tongue and back sections around each sole. During assembly, the surfaces you want on the outside of the finished bootie face inward.
You can use pins, but I used glue basting to hold the pieces. Stretch and arrange the back and tongue sections so they overlap well at the sides, following the pattern’s placement.
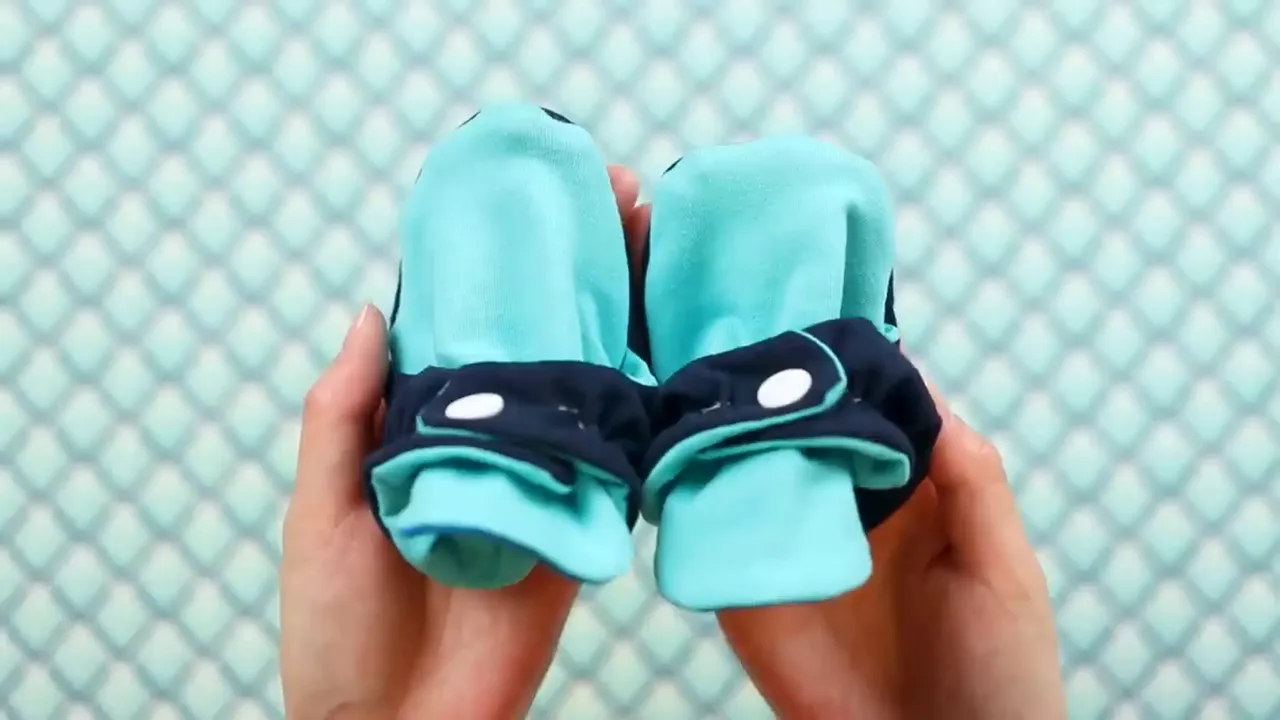
Sew or serge around the sole, then turn the bootie right side out. Add plastic KAM snaps to the tabs using the same awl-and-pliers process as the bib.
There are more steps here than in the other projects, but the finished result is just adorably freaking cute.
5. Super Simple Home Cloths: Burp Cloths and Unpaper Towels
Burp cloths are one of my go-to handmade baby gifts. I have given them to friends over the years and received a lot of positive feedback. For this set, I wanted to make my own pattern.
I named it Super Simple Home Cloths rather than limiting it to burp cloths because the same shape can serve several purposes. Depending on the fabric, these can become reusable paper towels, everyday cleaning cloths, or placemats. And yes, this project is fat quarter friendly.
The free pattern is designed to be printed, traced, and cut on the fold. I typically pair quilting cotton on one side with a more absorbent fabric, such as flannel or terry cloth, on the other.
Sew the cloth
- Cut the front and back. Use the pattern on the fold for each fabric.
- Place the pieces right sides together. Pin or glue baste the perimeter with washable school glue and a hot, dry iron. Leave an opening of about 4 inches along one side.
- Sew with a 1/2-inch seam allowance. Go slowly around the rounded corners and backstitch at both ends of the turning opening.
- Trim the curved seam allowances. I used pinking shears around the corner sections to help reduce bulk.
- Press the opening’s seam allowances back. Then turn the cloth right side out and use your fingers to shape the corners.
- Work out the seams and press. Smooth each edge so the cloth lies neatly.
- Close and topstitch. Glue baste the opening closed and topstitch around the perimeter. I stitched about 1/2 inch from the edge; make sure the turning opening is securely caught, adding stitching closer to that edge if needed.
Overlap the topstitching for a few inches when you return to the starting point to secure it.
Make a little cloth bouquet
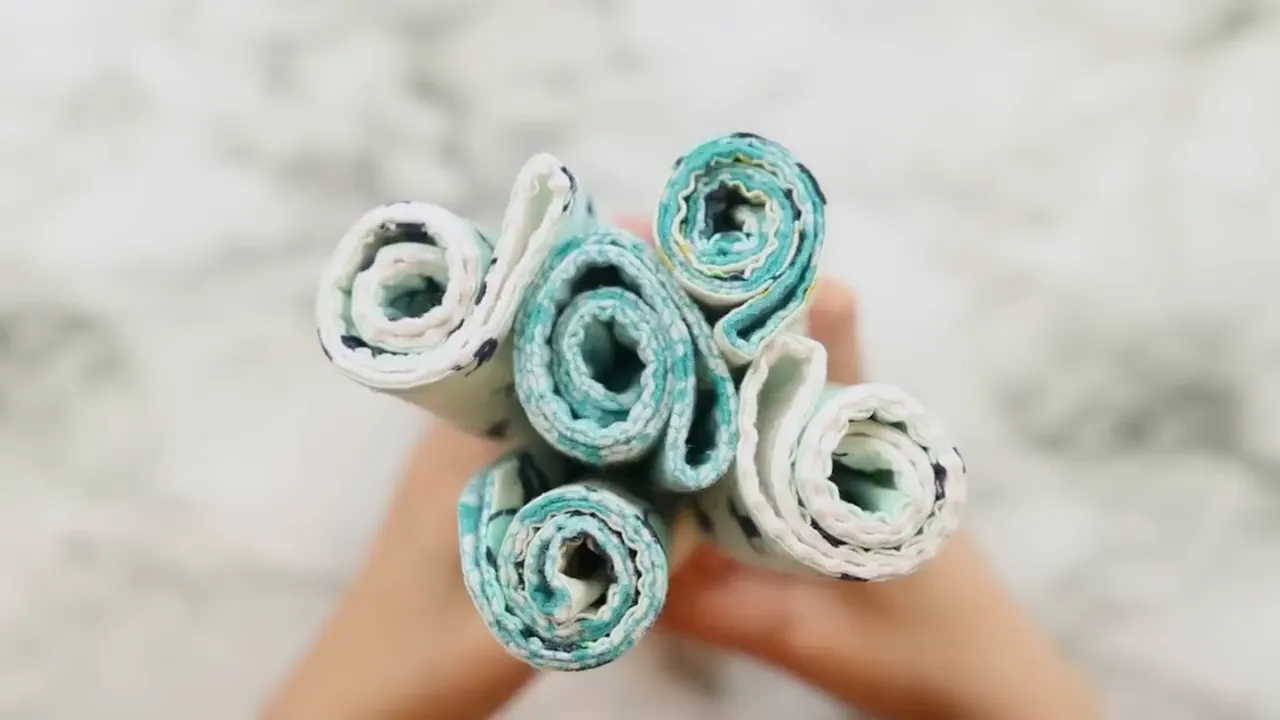
For presentation, fold each cloth in half and roll it up. Group several together into a little bundle so the coordinating prints and absorbent backing fabrics show.
Make the Gift Set Personal With Fabric
Alison and Lynn were waiting until the birth to find out whether their baby was a boy or girl, so I chose fun, gender-neutral prints. Alison has a horse, which gave me the perfect reason to pull out some favorite horse fabrics.
I used prints from Cotton + Steel along with fabric from Melissa Mortenson’s Derby Style line. I had bought quite a bit when it was available, and this felt like exactly the right project for it.
That personal connection is my favorite part of sewing gifts. The projects do not all have to match perfectly. A few related colors, some prints chosen especially for the family, and a mix of useful items make the whole set feel thoughtful.
If you want a quick finish, the home cloths or knit hats are good places to start. If you are ready for a little more fiddling, the booties are a satisfying challenge. Either way, you get to turn fabric you love into something made especially for a new little person.


