Glue basting is one of my favorite ways to make sewing and quilting a little less fussy. In the right situation, it saves time, replaces pins, and keeps fabric exactly where I want it before I stitch. That extra control can make a real difference in accurate piecing and sharp points.
I’m using it here on scrappy hexagon mug rug coasters made with cute Ghost Town quilting cotton. The folded edges create a faux binding around the front, and there are quite a few layers to hold together. Trying to pin all of that? Not my first choice.
The trick is choosing the right glue and fabric, applying only what you need, and letting the glue dry before heading to the sewing machine.
Key Takeaways
- Use Elmer’s Washable School Glue and a fine-tip bottle for controlled application.
- Glue basting works best on lightweight to medium-weight cotton fabrics.
- Dry the glue before sewing, using a low-heat dry iron to speed the process.
- Skip glue basting when the seam allowances need to be pressed open.
Start With the Right Glue and Supplies
For this method, I recommend Elmer’s Washable School Glue specifically. Elmer’s makes several kinds of adhesive, so don’t assume every white glue bottle is interchangeable. Check the label for the washable school glue formula.
It’s an inexpensive option compared with specialty quilting basting glues. I’ve heard mixed opinions about generic washable school glue, and I’ve used both, but I can’t say every generic performs the same way. If you’re unsure, the name-brand washable school glue is my recommendation.
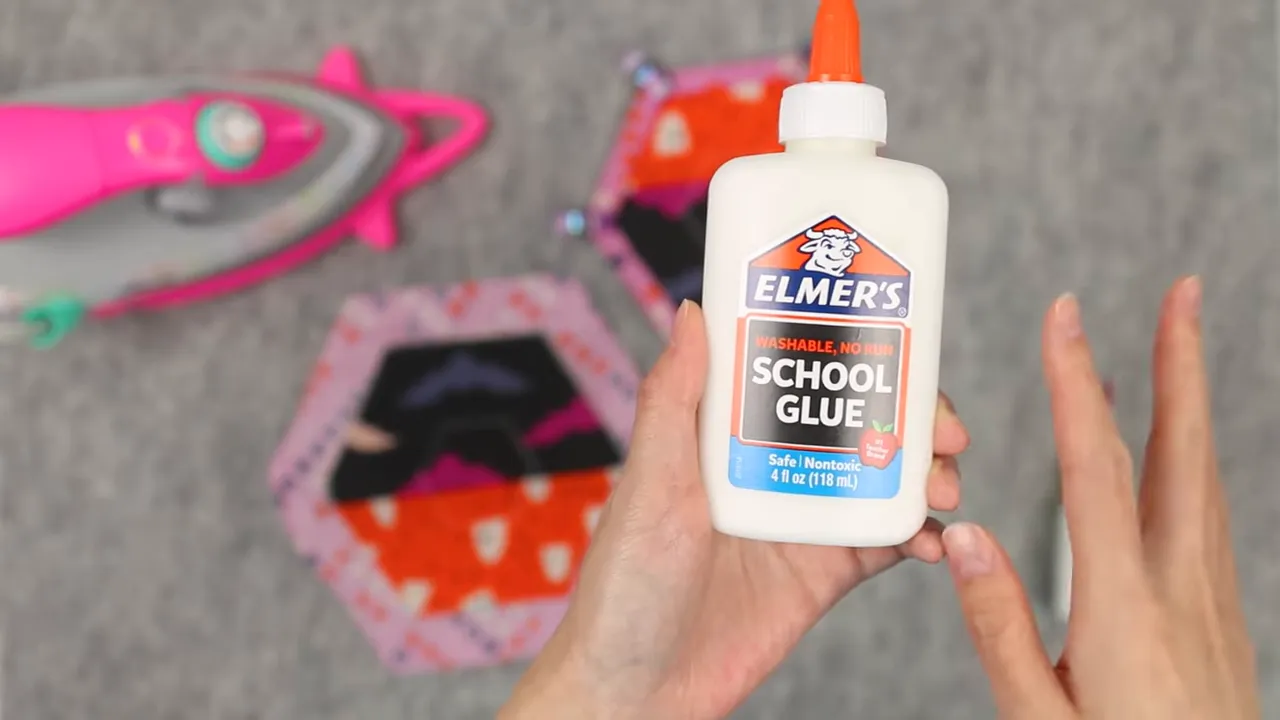
Here’s what I keep nearby:
- Elmer’s Washable School Glue: The adhesive I use for this technique.
- A fine-tip applicator bottle: Much easier to control than the original bottle opening. These are the closest option I found to mine.
- An iron: I’m using a small Oliso project iron, set to low heat with no steam.
- Sewing clips: Helpful for keeping bulky folds and corners in place while they dry.
- A water pen: Useful for cleaning up a little stray glue on the fabric.
Some product links are affiliate links. I purchased the supplies used here, and this project is not sponsored.
A fine-tip bottle really does help you use less glue. Occasionally, dried glue will clog the opening. Clear it with a pin, or wash out the nozzle if it gets gummed up.
Choose Fabric That Works With Glue Basting
My best results are with lightweight to medium-weight natural fabrics, especially 100% cotton quilting fabric. Cotton-linen blends can work, too.
This isn’t a technique I rely on for slippery polyester, synthetic fabrics, or polyester blends. Super-heavy fabrics, such as heavy canvas, also aren’t ideal because the adhesive doesn’t provide a particularly strong hold.
There’s a distinction between gluing heavy fabric itself and holding a cotton fold over a layered project. My mug rug contains fabric, canvas, and quilt batting, but I’m using the glue to secure the folded cotton edges. Those bulky areas need a little extra help.
If you’re working with something other than regular cotton or quilting cotton, test it on a scrap first rather than committing to the whole project.
Think About Your Seam-Pressing Plan First
I use glue basting for quilt piecing as well as binding. Holding the pieces in position before sewing helps me get more accurate quilt blocks and cleaner points.
But there’s one situation where I’m likely to skip it: seams that need to be pressed open.
If you glue the seam allowances together, then try to open them after stitching, you’ll have to pull the glued fabric apart. That can be messy, and the exposed adhesive can transfer to your iron as you press.
I glue basted the piecing on the front of these mug rugs because I was pressing the seams to the side. Decide how your seams need to be pressed before choosing glue over pins.
How I Glue Baste a Folded Mug Rug Binding
On this hexagon project, I’m folding the outer fabric inward once, then folding it again to form the faux binding on the front. I work around the six sides, checking the corners as I go.
1. Apply a very thin line of glue
Start with as little glue as you can get away with. You don’t need to coat the fabric or squeeze out a thick bead. A fine line is enough for the simpler areas where one layer of cotton meets another.
I normally keep the glue in places that will be hidden inside the finished project, such as within the binding. That way, a little remaining residue won’t be visible.
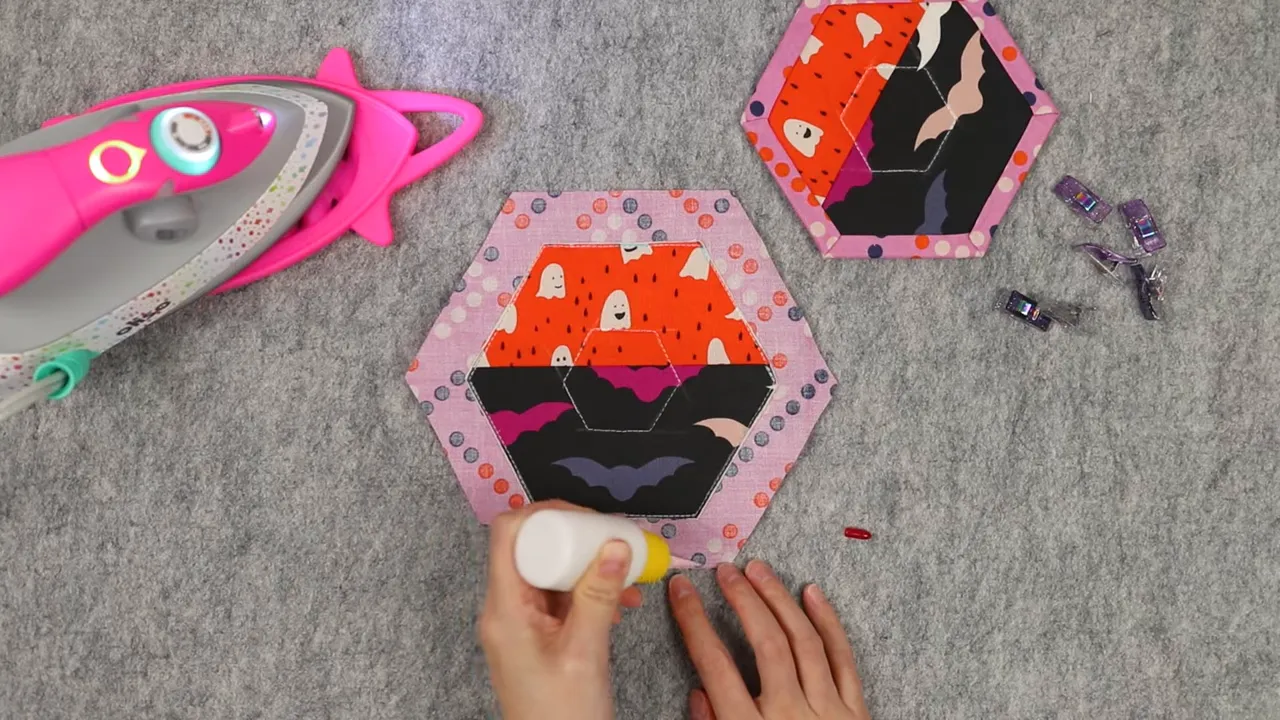
2. Fold accurately before drying the glue
Fold the edge into position and check the alignment. On the hexagon, I use the points as a reference to make sure the folds are landing where they should.
This is where glue basting is especially useful: I can take a moment to get everything precise, then secure that placement before sewing. I’m not trying to manage shifting fabric and pins at the same time.
3. Dry the glue with a dry iron
I use a dry iron on low heat, without steam, to help set and dry the glue. In my experience, it doesn’t need super-high heat.
Pressing speeds things up so you don’t have to wait for every section to air-dry. You can also leave the project to dry naturally. I prepared one of these mug rugs the night before, and the folds stayed in position once the glue was dry.
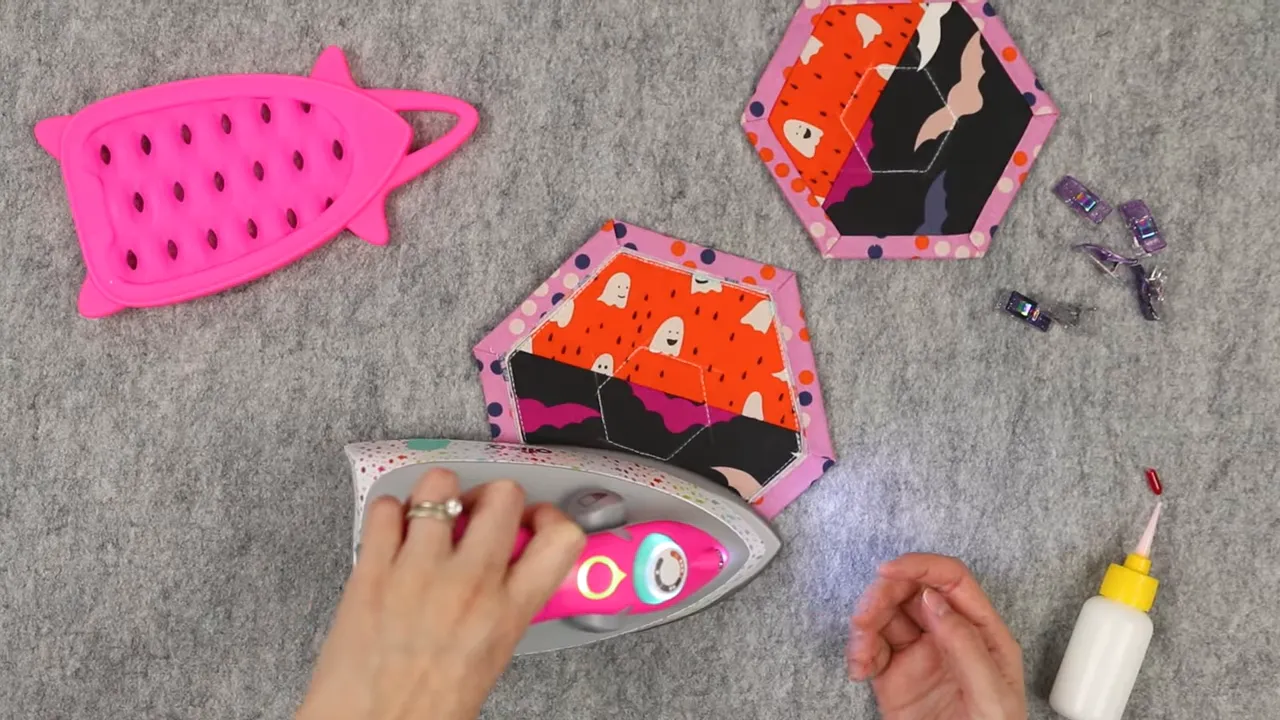
4. Add a little more glue at bulky overlaps
Using a light hand doesn’t mean every part of the project needs exactly the same amount. Where the fabric doubles up at a corner, I add a little more glue for security.
The second fold also needs more help because it’s holding a thicker stack of fabric. On this mug rug, I fold that edge past the seam line and check the points again.
The idea is to match the amount of glue to the layers you’re holding. Keep it minimal on flat sections, and increase it modestly where the folded fabric wants to spring back. Those heavier applications are tucked inside the binding, between multiple layers.
5. Clip any stubborn sections while they dry
Sewing clips are handy at the corners and thicker overlaps. If a fold needs help staying put, I clip it and give the glue time to dry.
Once dry, the glue holds the fabric well enough for stitching without pins. That’s particularly useful on this project, where the batting, canvas, fabric, and folded edges make pinning awkward.
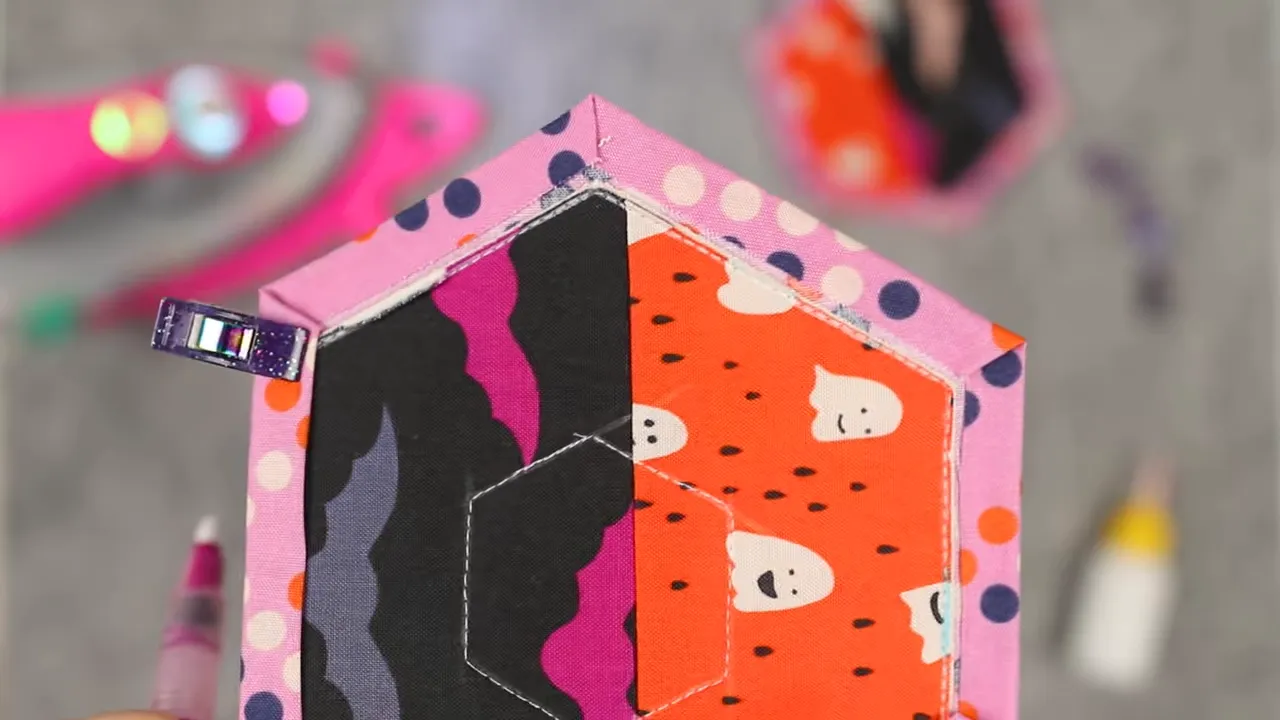
6. Stitch the binding down
With the glue dry and the edges secure, the mug rug is ready for the sewing machine. I edge stitch all the way around to finish the binding.
I’m also using a walking foot to help reduce further shifting as the layers feed through the machine. The glue is there to hold the placement temporarily; the stitching finishes the job.
Does Glue Basting Gum Up the Sewing Machine Needle?
In my experience, Elmer’s Washable School Glue has not gummed up my needle. I haven’t run into problems at the sewing machine using this method.
The important part of my routine is that the glue is dry before I sew. I apply it sparingly where possible, press it dry, and then stitch. That’s the process behind my results, not a guarantee for every adhesive or application.
Cleaning Up Glue and Residue
If a little glue gets on the right side of your fabric, it’s not the end of the world. Catching it right away makes cleanup easier, and I use a water pen to help wash away small spots.
Washability is a big reason I choose this particular glue. In a separate test, I applied a very generous amount to a piece of quilting cotton, then washed it in a bowl of water. It pretty much came out. That was my own informal test, so I’d still test your fabric if residue is a concern.
These mug rugs aren’t projects I expect to wash constantly, which makes hidden glue placement especially helpful. Any small amount left inside the folded binding won’t be visible on the outside.
If glue residue does get on the iron, I use an iron cleaner to remove it. Check your iron’s care instructions before cleaning the soleplate. Elmer’s product information is also a useful reference when confirming which adhesive you have.
Use Glue Basting Where It Makes Sewing Easier
I don’t use washable school glue for every sewing application. Fabric type, weight, layers, and the way you plan to press the seams all matter.
For quilting cotton piecing and folded binding like this, though, it’s a really useful option. A fine-tip bottle, a light application, a dry iron, and a few clips can replace a lot of pinning hassle while keeping those carefully arranged edges in place.
And a scrappy Halloween mug rug is a pretty cute way to practice. You can always use another spot for a drink on your desk, right? Whatever you’re making, keep it fun.


