A handmade Halloween does not have to mean sewing an entire costume. Sometimes a couple of scrunchies, a little quilted coaster, and a bag covered in bats are plenty. Add some friendly ghosts and witchy cats, and the sewing room is officially feeling festive.
For this round of Halloween sewing, I’m using the Ghost Town collection by Dana Willard for Figo Fabrics. Orange ghost prints, lavender bats, colorful dots, and cats in pointed hats make a fun mix for small projects. The same collection ties everything together without making every piece identical.
The lineup is simple: hair scrunchies, a tie-on dog bandana, a hexagon mug rug, and a lined Japanese knot bag. Each one gives those Halloween prints a different place to shine.
Getting the Halloween Sewing Supplies Together
Along with the fabric and coordinating thread, these are the tools and supplies I’m using throughout the projects:
- A sewing machine for straight stitching and topstitching
- Fabric scissors, paper scissors, and pinking shears
- A rotary cutter, clear quilting ruler, and cutting mat
- An iron and wool pressing mat
- Sewing clips, pins, and pattern weights
- Elastic and a threading tool for the scrunchies
- A fabric tube turner with a matching pushing stick
- Washable school glue in a small precision applicator bottle
- Batting and backing fabric for the mug rug
My pressing setup includes the Oliso M3Pro Project Steam Iron and a Gypsy Quilter felted wool pressing mat. Pressing is a recurring part of this sewing session, from preparing fabric to smoothing turned seams and setting folded edges.
A little preparation between seams makes the finishing easier. I also use small amounts of washable glue to hold selected edges in position before sewing. It is a temporary helper, not a replacement for stitching.
Halloween Hair Scrunchies
First up: big, gathered scrunchies in orange ghosts and lavender bats. These are a fun way to wear Halloween fabric without committing to a whole outfit.
Prepare and sew the fabric tubes
For these scrunchies, I start with 5-inch-wide strips cut across the width of fabric. WOF is simply shorthand for width of fabric.
I fold each strip lengthwise with the right sides together, prepare the edges, and sew the long seam to create a tube. The lavender and orange versions use the same basic process, so it is easy to work through both at the same stage.
Turn the tubes right side out
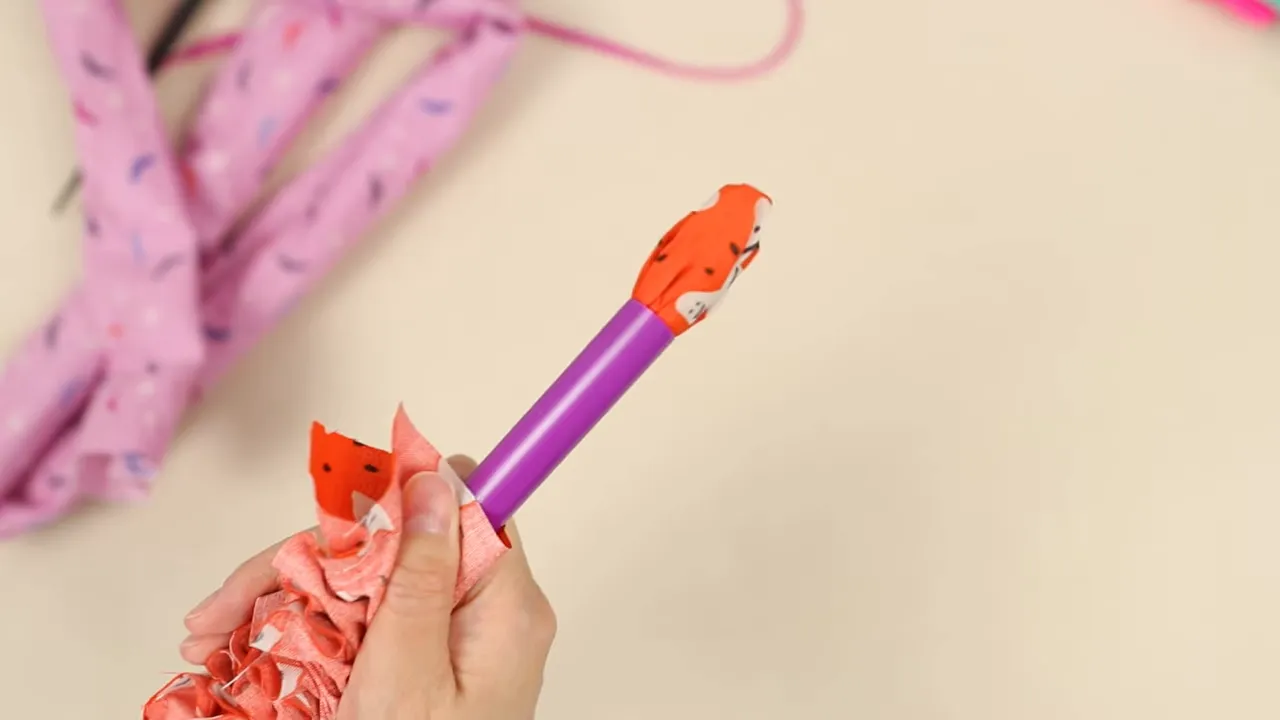
A tube-turning tool is particularly handy here. The hollow tube goes inside the fabric casing, and the matching stick pushes the fabric end through it. Once the fabric starts coming through, I work the rest along the tool until the printed side is on the outside.
Rather than trying to pull the whole strip through in one go, I gather and ease the fabric along in sections.
Join, gather, and finish
With the tube turned, I bring its short ends together and sew the join. An opening remains for threading the elastic through the casing.
I use a threading tool to feed the elastic around, secure the elastic ends, and distribute the gathers. Then I turn the opening’s raw edges inward, press them into place, and stitch it closed.
The result is a pair of wonderfully full scrunchies. The orange ghosts feel bright and playful, while the lavender bats are a softer take on Halloween.
For the complete construction instructions, use my free simple hair scrunchie tutorial, including the details needed to finish the elastic and opening.
A Tie-On Halloween Dog Bandana
The orange ghost fabric also becomes a dog bandana with a triangular front, a curved neckline, and long ties. It is a small project, but the shaping gives it a more finished look than a plain folded triangle.
I’m using the free dog bandana pattern and template from Quilter’s Candy. The template used here is labeled Small 15 inches. Check the pattern’s sizing guidance before cutting rather than treating that label as a finished neck measurement.
Assemble the template and cut the fabric
I trim and join the printed pattern pages, then cut out the curved template. After preparing and pressing the fabric, I position the template on the folded piece and trace its shape.
The cutting creates the curved neck edge and narrow tie extensions. Taking time with that shape now helps keep the two sides consistent.
Sew, trim, and turn
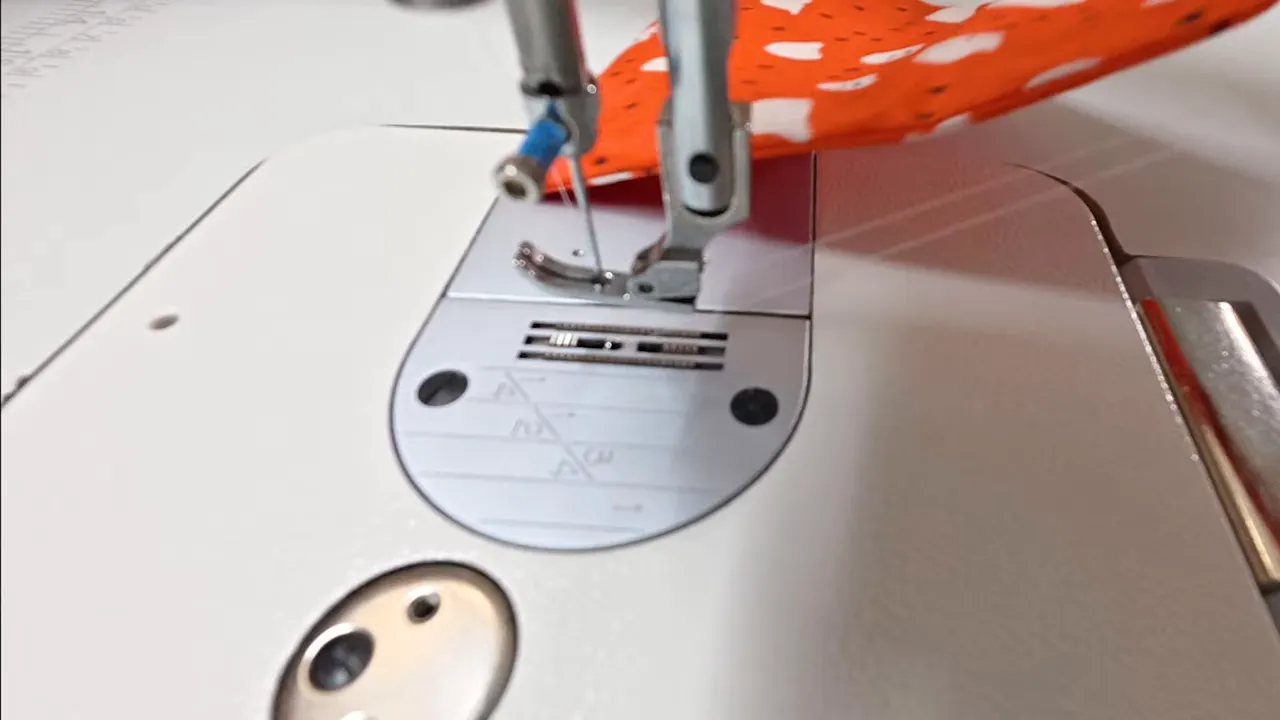
With the fabric right sides together, I sew around the bandana, leaving an opening for turning. The narrow ties need a little patience at the machine, especially where they meet the wider triangular section.
After sewing, I trim the seam allowances with pinking shears, keeping clear of the stitching. Then I turn the bandana right side out and carefully work out the ties and point.
A thorough press brings the edges into shape. Finally, I fold in the turning opening and stitch it closed.
A Quilted Hexagon Mug Rug
Next is a little Halloween sewing for the table: a hexagon mug rug with orange ghosts, black bat fabric, and a pink and lavender dotted border.
This project combines fabric, batting, and backing with visible quilting. It is a nice change of pace after sewing and turning the scrunchies and bandana.
Layer and mark the hexagon
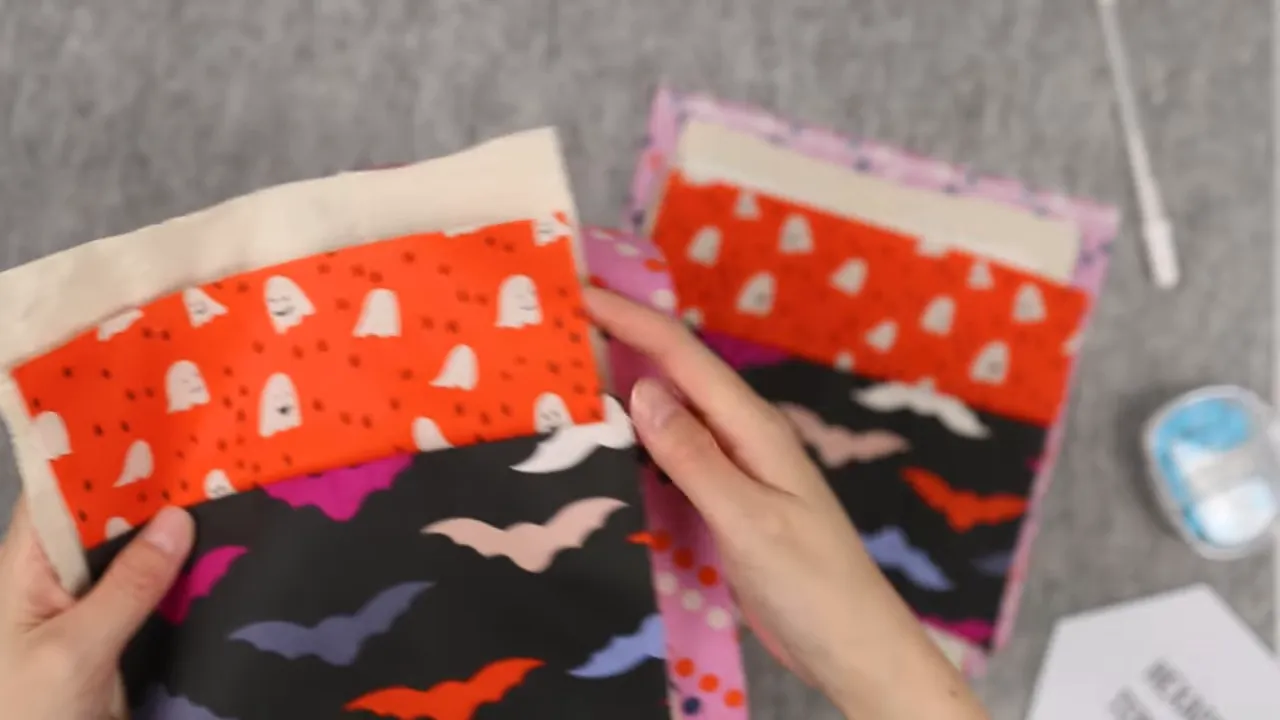
I start with a top featuring a strip of orange ghosts above the black bat print, layered with batting and a larger backing piece. The hexagon template goes on top, and I trace around it to establish the shape.
Before quilting, I pin the layers together so they stay aligned as the piece moves through the machine.
Quilt the layers
The quilting follows a series of nested hexagons. I stitch a section, stop to pivot at a corner, and continue around the shape.
The light thread shows clearly against the black fabric, giving the mug rug a geometric detail without hiding the bats. This is one of those places where a simple stitch pattern does plenty.
Trim and finish the border
After quilting, I trim the piece into its hexagon shape, keeping extra backing around the quilted center. That backing folds over to form the border.
I work around the six sides, folding and pressing the backing over the raw edges. Small amounts of washable glue help hold the folds, with clips keeping selected corners secure. Once everything is prepared, I stitch around the border.
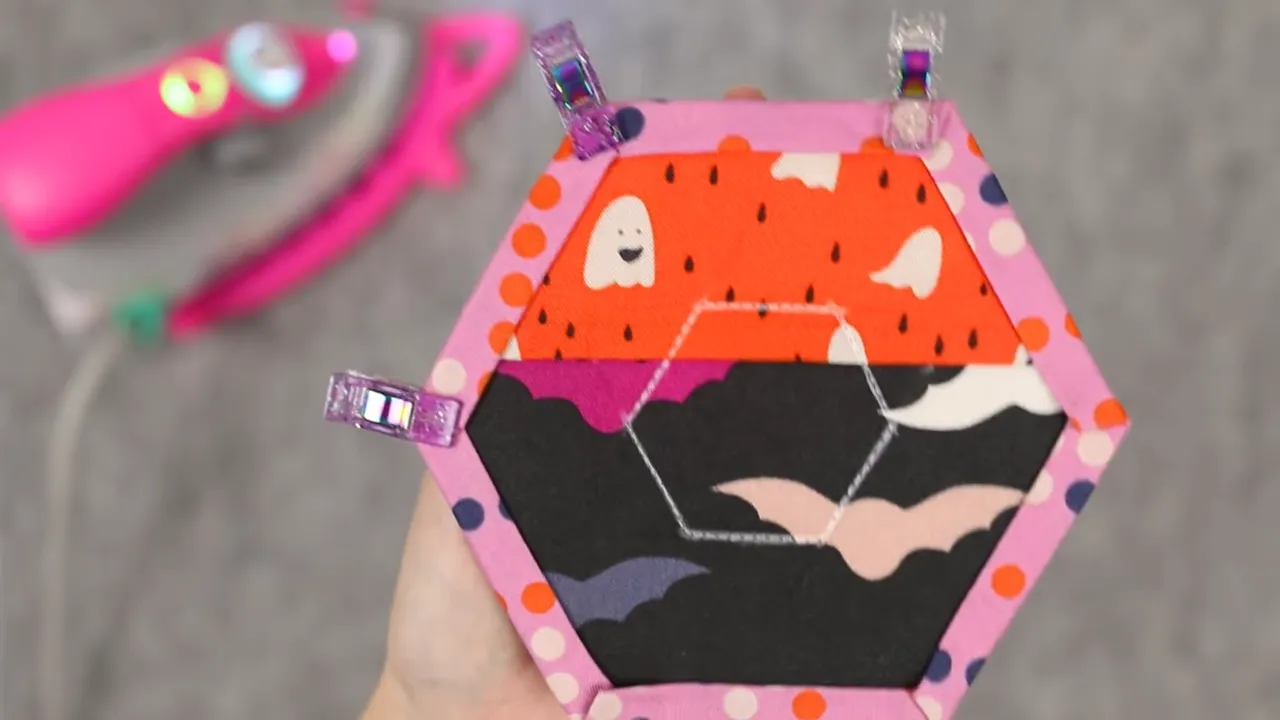
My free Hexy Mug Rug pattern and tutorial provides the template and full construction details.
A Reversible Japanese Knot Bag
The final project pairs black bat fabric with white witchy-cat fabric in a Japanese knot bag. This one has a rounded body and two handles of different lengths. Pass the longer handle through the shorter one to close the top.
I’m using the Easy Japanese Knot Bag paid pattern by Sewn Wyoming. Follow the pattern for the cutting layout, seam allowances, and construction sequence. The handle arrangement makes the order of assembly important.
Prepare the outer fabric and lining
I cut the shaped pieces from both prints, then press and arrange them for assembly. The bat print and cat print make a fun contrast: dark and bold on one side, light and busy on the other.
Before sewing, I align the corresponding edges and use small amounts of washable glue and pressing to help keep the layers in position.
Sew the shaped edges and turn the handles
The bag involves several curved seams around the handles and body. I guide those curves steadily through the machine, repositioning the fabric as needed rather than pulling it around the presser foot.
After stitching, I trim the seam allowances and use pinking shears along curved sections. The handles are then worked right side out, with a safety pin helping guide the fabric through a narrow section.
Pressing at this stage makes a big difference. Once the handles are turned, I smooth the seams so the edges sit neatly before continuing.
Finish the body and turning opening
With the handle sections prepared, I align and sew the remaining body seams, preserving an opening for turning. Then I bring the bag right side out, settle the lining inside, and press the rounded edges.
The final opening is folded inward and sewn closed. One last press finishes the bag.
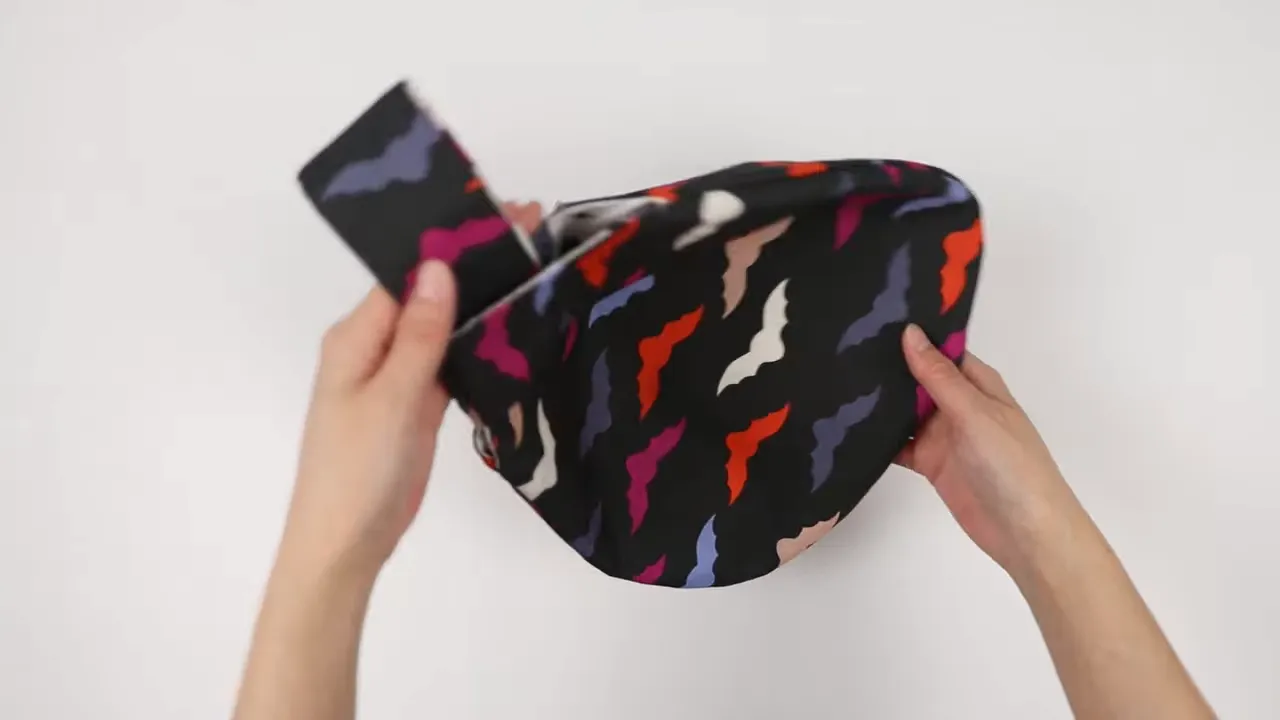
The finished bag can be turned to show either print. Threading the long handle through the short one gives it that distinctive knot-bag shape, with no separate zipper or clasp.
A Little Handmade Halloween
Two scrunchies, a dog bandana, a quilted mug rug, and a reversible bag: a small collection of useful things, all with a little Halloween personality.
What ties these projects together is not complicated construction. It is the combination of playful fabric, straightforward stitching, and attention to the finishing steps. Press the folds, take your time turning the narrow sections, and give those curved seams a little care.
There is no need to make everything at once. Pick the project that sounds fun, pull out a favorite Halloween print, and enjoy a relaxed bit of seasonal sewing.


