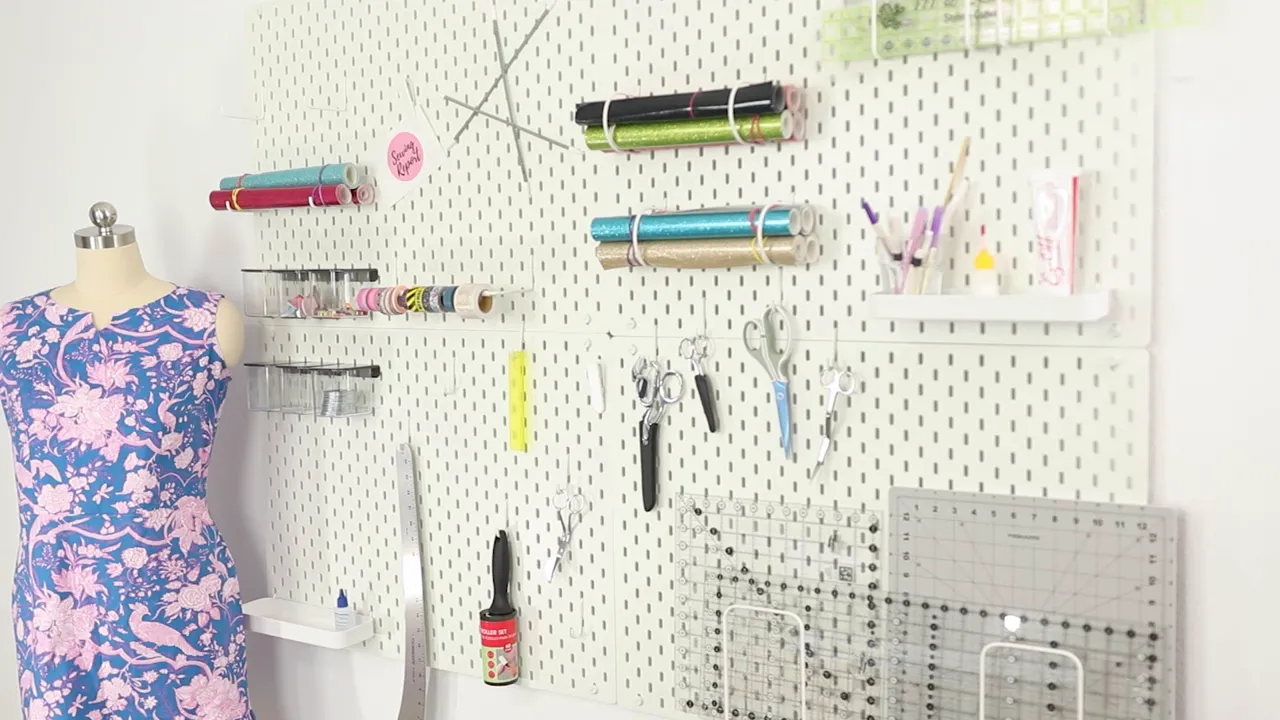
The boring white wall in my craft space finally got an upgrade! I installed the IKEA Skådis pegboard system, and now that wall does double duty as craft storage and a filming backdrop. Even better, the supplies I reach for all the time are right at my fingertips instead of tucked away in a drawer.
My sewing, crafting, and filming space is actually the living room of our house. After moving about five times since starting Sewing Report, this is the first place where I’ve felt comfortable putting things on the walls and getting a little more settled. I had been interested in this system since it first came out, so this purchase was a long time coming.
What You'll Learn
- Choose mounting screws with heads large enough to secure the Skådis rails properly.
- Use IKEA’s spacing measurements and check each rail with a level throughout installation.
- Fit the included bottom spacers to keep each pegboard parallel to the wall.
- Arrange frequently used craft supplies where they are visible and easy to reach.
Why I Chose IKEA Skådis for My Craft Room
My husband, James, recently installed a traditional pegboard in our garage. That works well for tools, but I really liked the look of the IKEA Skådis pegboard and all the different accessories available for it.
Once I considered everything we would need to buy for a traditional pegboard setup, the pricing seemed fairly comparable. For me, the accessories were a big part of the appeal. I wanted a wall storage system I could arrange around my sewing and craft supplies, then change as needed.
Here’s what I bought for this setup:
- Four white pegboards, approximately 30 by 22 inches each, arranged two across and two high.
- A mix of Skådis accessories for hanging tools, holding small supplies, and adding shelf storage.
- An initial purchase totaling about $122.
That was my spending at the time, not a current price estimate. IKEA was also out of stock on quite a few accessories I wanted to try, so I placed an online order for more. If you have a specific arrangement in mind, check accessory availability before making the trip.
Supplies to Have Ready Before Installation
I am not particularly handy, so I enlisted James for the installation. He handled all four boards in under an hour and seemed to find the project fairly easy. Thank you, James, for spending part of your day off improving the craft room!
These are the supplies we recommend having on hand:
- Round-head mounting screws with heads large enough for the rail holes.
- Drywall anchors, if appropriate for your wall.
- A screwdriver or power drill/driver.
- A bubble level.
- A measuring tape.
- A pencil or pen for marking mounting locations.
Pay attention to the screw-head size. The screws we used came with our drywall anchors, but their heads were barely large enough for the mounting rail. I would choose a larger head rather than repeat that close fit. The wall-mounting hardware also needs to suit your wall, so use the IKEA assembly instructions alongside this account of our installation.
The screws used to attach the pegboard to its rail are separate from the screws used to mount the rail to the wall. Our boards included the board-attachment hardware and bottom spacers.
How We Installed Four Skådis Pegboards
1. Level and Install the First Mounting Rail
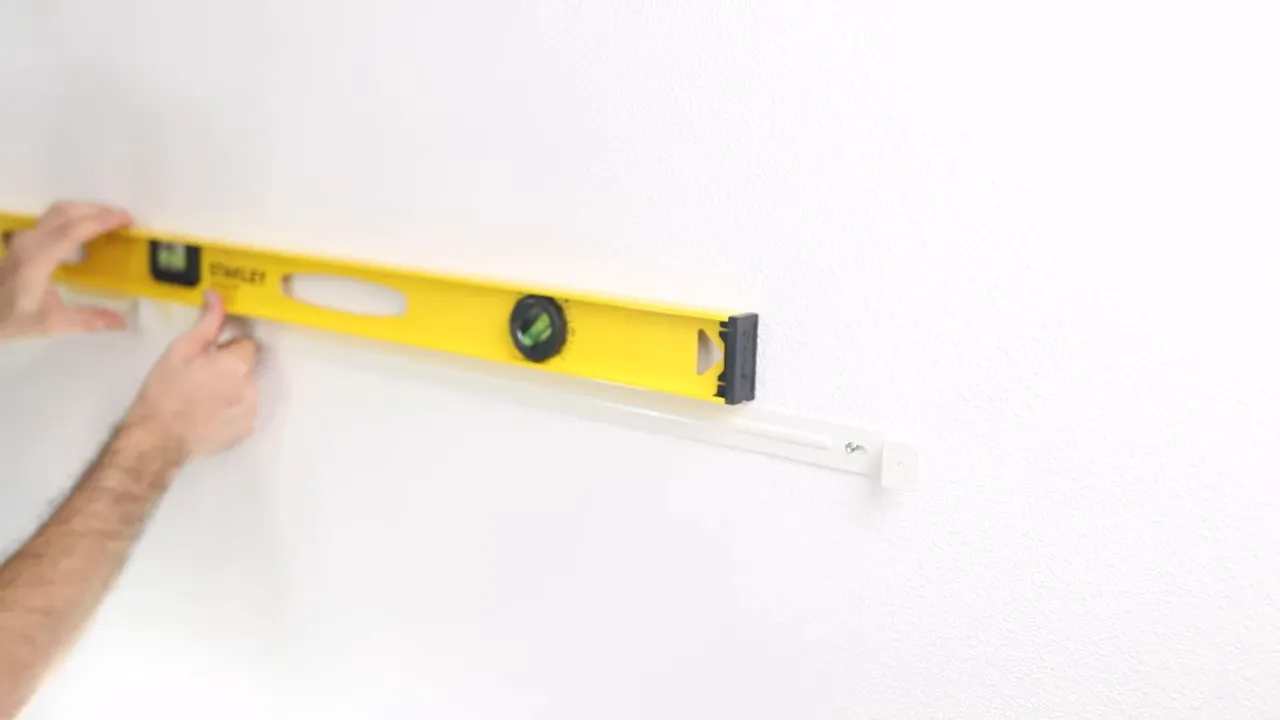
James started by positioning the first mounting rail, checking it with the bubble level, and marking the screw holes. He then installed the wall anchors and attached the rail with screws.
He checked the level again as he worked, making small adjustments before finishing. That became a recurring theme throughout the installation: position, check, adjust, and check again.
2. Position the Second Rail Beside It
When installing multiple boards, the rail spacing matters. IKEA’s instructions include measurements for placing boards beside or above one another, so this is not a place to eyeball it.
For our side-by-side arrangement, James measured 6½ inches from the relevant screw hole on the installed rail to locate the next mounting position. That was a screw-hole reference measurement for our layout, not a gap between the finished boards.
He used the level across the installed rail to help align the second one. This time, he drove the screws partially into the wall anchors before placing the rail over them, then tightened and adjusted it.
3. Attach the Bottom Two Pegboards
Once the rails were installed, attaching the boards was pretty simple. The included screws go through the board’s mounting holes and into the rail.
The bottom of each board is not screwed directly into the wall in this setup. Instead, the included screws and spacers hold the lower edge away from the wall so the board sits parallel to it.
James fitted the bottom spacers after hanging the first board. For the second board, he put the bottom screws and spacers on first, then attached the board to its rail. That was a useful little change in the order of operations.
4. Use the Lower Boards to Help Position the Upper Row
To find the placement for an upper board, James temporarily attached it to its mounting rail and held the assembly above the installed lower board. This let him check the position against the boards already on the wall.
He used a tiny screwdriver to mark the mounting-hole locations, then separated the board from the rail. With the board out of the way, he installed the wall anchors and mounted just the rail.
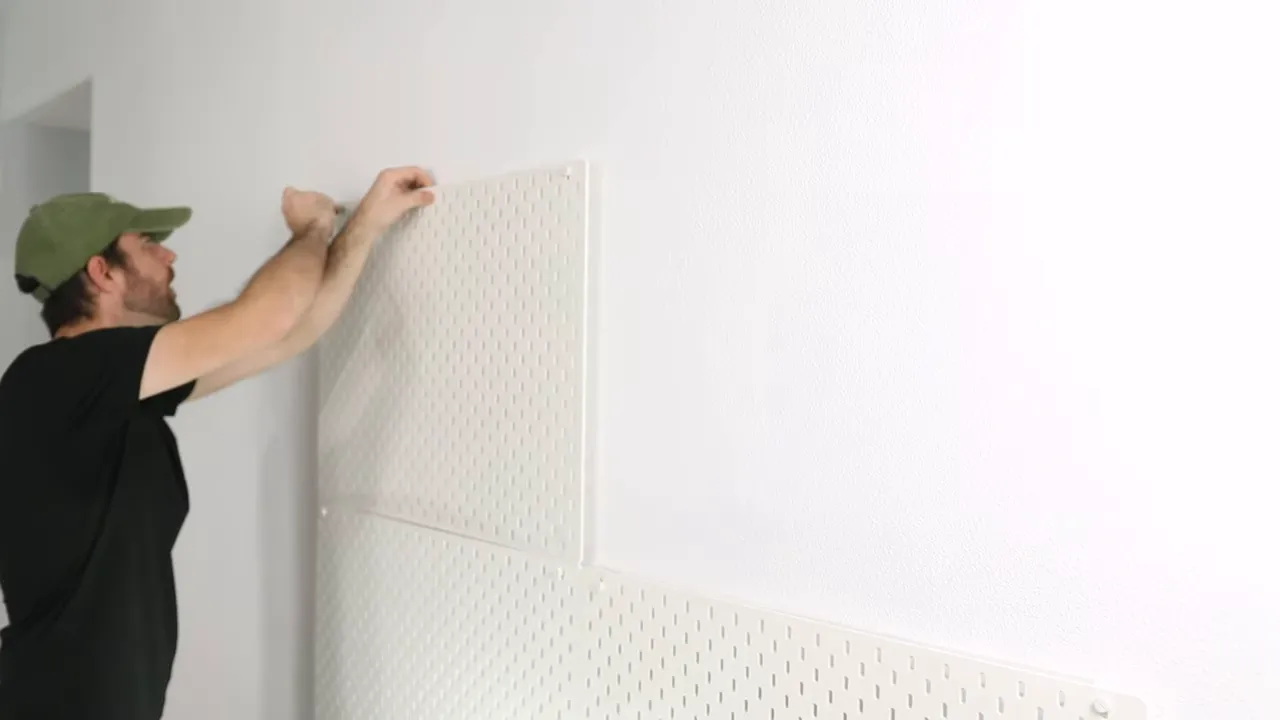
Before attaching the board again, he checked the rail with the level and made small side-to-side adjustments.
5. Take Extra Care With the Fourth Board
The fourth pegboard was probably the trickiest to fit because it had to line up with the boards already installed beside and below it.
James repeated the same process: establish the position, install the anchors and screws, fit the rail, and check the level. The last rail needed a little more adjustment before the final board went on.
The biggest installation lesson was to keep checking alignment throughout the project. Attaching the boards themselves was straightforward. Getting four boards to sit neatly together took the extra attention.
Putting the Skådis Accessories to Work
With the pegboards installed, I could get to the fun part: arranging the supplies! I filled the wall with the accessories I had picked up and started giving my frequently used tools a home.
My arrangement includes:
- Hooks for scissors and other hanging tools, keeping them visible and easy to grab.
- Clear containers for small notions, so I can see what’s inside.
- A shelf for a cup of pens and small bottles, keeping those items upright and accessible.
- Holders for large clear rulers, rather than leaving them tucked away elsewhere.
- Horizontal storage for craft-material rolls and decorative tapes, making the colors and patterns easy to find.
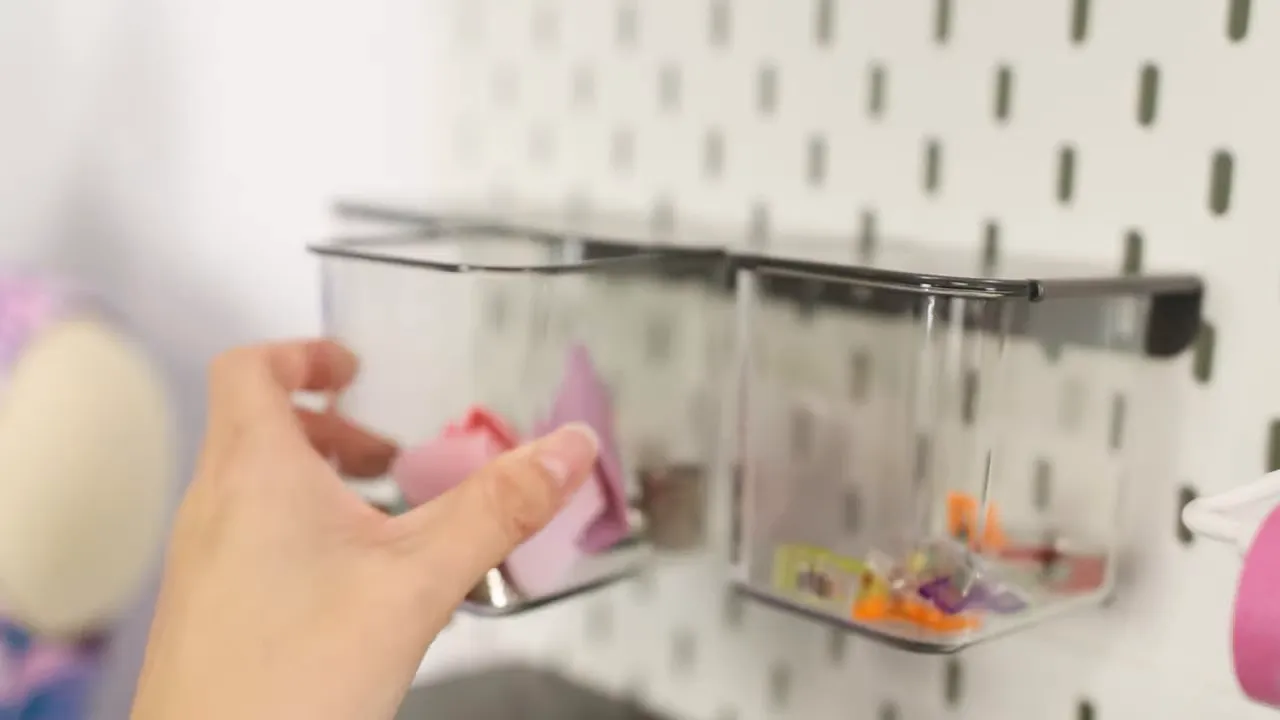
I already had more accessories on the way, and I was interested in exploring Skådis hacks, too. This first arrangement was a starting point, not something I needed to commit to forever.
My First Impression: A Useful Craft Room Upgrade
So far, I love how this turned out. All four pegboards took James less than an hour to install, the plain wall looks much more interesting, and the supplies I use frequently are now within easy reach.
That last part is the biggest practical improvement. Instead of opening drawers or going out of my way to find something, I can see the tools and materials right in front of me. The finished wall also makes a great filming backdrop, which is a nice bonus when your craft room and recording space share the living room.
For this initial setup, Skådis gave me exactly what I wanted: accessible craft storage that looks good enough to leave on display.


