I’m not usually a huge Halloween person, but apparently the right fabric can change that. Give me cute ghosts, colorful bats, and little cats in witch hats, and suddenly I have a whole collection of Halloween sewing projects.
These five ideas are relatively quick, approachable, and a great way to use smaller cuts of fabric. Most use a free pattern, a free tutorial, or no pattern at all. The Japanese knot bag is the only paid pattern, and while it was the most involved project of the bunch, it was still very manageable.
There are options for handmade gifts, Halloween accessories, trick-or-treat bags, and a few cute things for around the house. Nothing needs a huge fabric commitment, either. These projects work with half-yard cuts or less for the featured prints, with lining and other materials depending on the project.
Some links are affiliate links. I purchased the materials and pattern myself, and these projects are not sponsored.
Table of Contents
- The Fabric That Started My Halloween Sewing Spree
- 1. Halloween Scrunchies
- 2. A Little Halloween Dog Bandana
- 3. A Mini Tote or Halloween Gift Bag
- 4. Scrappy Halloween Mug Rugs
- 5. A Reversible Japanese Knot Bag
- Pick a Project That Sounds Fun
The Fabric That Started My Halloween Sewing Spree
All of my featured prints are from Ghost Town by Dana Willard for Figo Fabrics. It’s quilting cotton, and I genuinely think this is one of the cutest Halloween collections I’ve ever seen.
The combination of pink, purple, orange, black, and white feels playful rather than spooky. There are ghosts, two scales of bat prints, kitty witches, and a geometric blender that coordinates with everything.
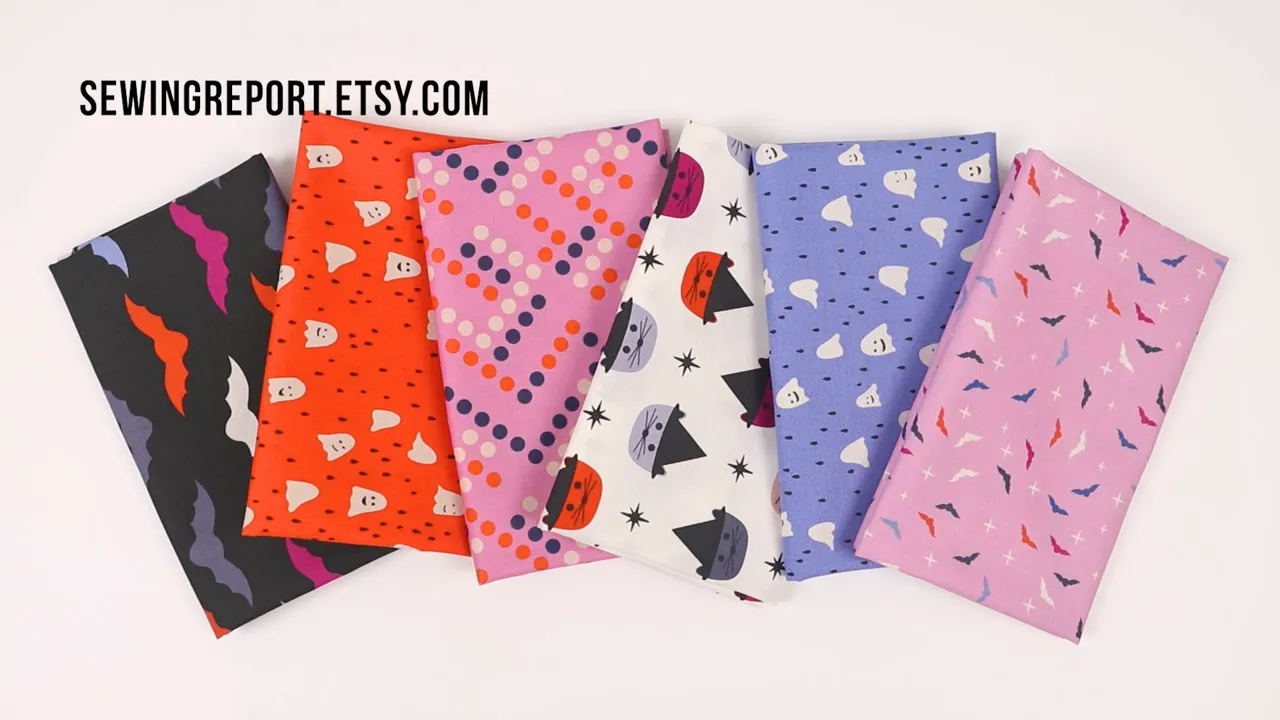
I stocked half-yard bundles in my Etsy shop, with six different prints and a half yard of each. That’s three yards altogether, which gives you plenty of possibilities for mixing and matching small projects. Availability is limited, and if you’re ordering close to Halloween, allow time for both shipping and sewing. Holiday delivery is not something I can guarantee.
1. Halloween Scrunchies
The easiest place to start is a scrunchie. I made two: one in the pink and purple small-bat print and another in the orange ghost print. Together, they took me about an hour.
For each one, I used:
- A 5-inch-wide strip cut across the fabric width, approximately 42 inches long.
- Thread.
- Narrow elastic, which I believe was 1/4 inch wide for these samples.
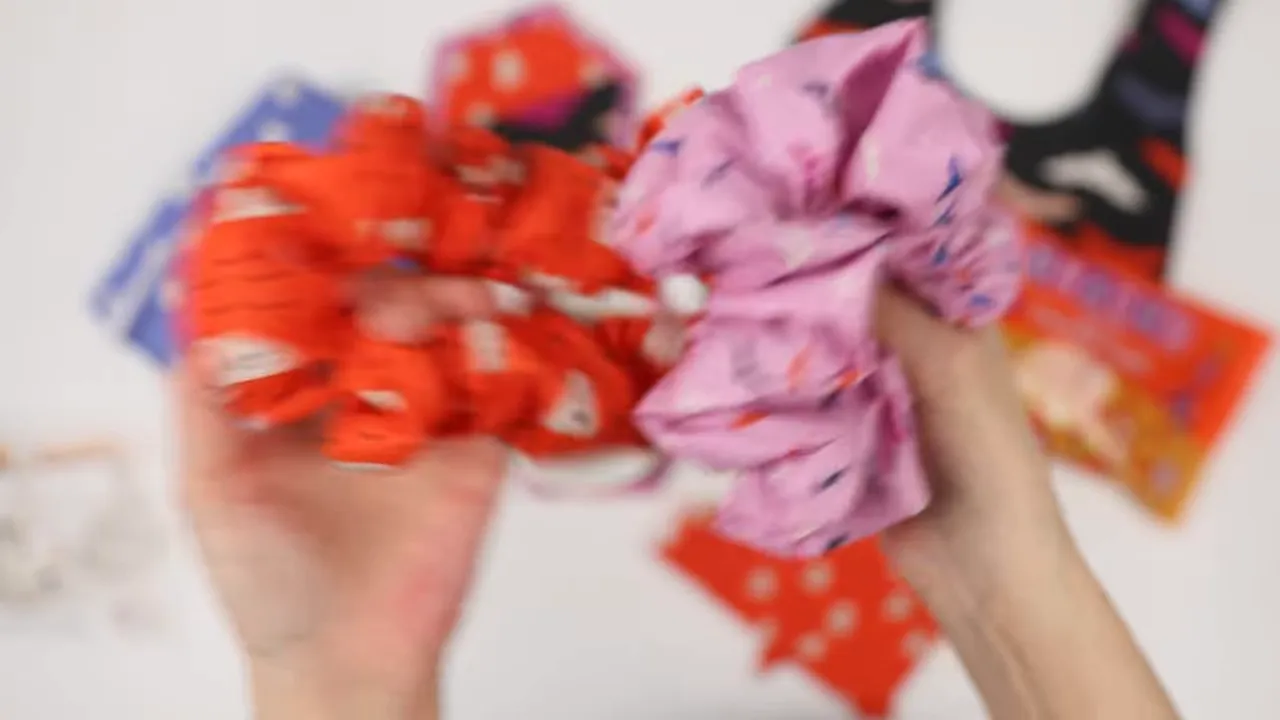
I have very thick hair, and these were roomy enough for me to wrap around twice. But that’s the nice thing about making your own scrunchies: you can change the proportions. Make them skinnier, fuller, smaller, or larger to suit your hair and the look you like.
Quilting cotton is what I used here, but you aren’t limited to that. Rayon or silk are other options if you prefer a smoother fabric that may be gentler on your hair.
For the finish, I took the quick route and topstitched the turning opening closed. The stitching disappears pretty well into the gathers, and for a little seasonal accessory, I’m completely happy with that.
My free scrunchie tutorial walks through the method I find easiest. The original examples use Christmas fabric, but the construction is the same. These would be cute for yourself, as gifts, or as matching accessories for your whole Halloween crew.
2. A Little Halloween Dog Bandana
My mom recently adopted a small dog from a friend, so naturally I had to make the dog a Halloween accessory, too.
I used the free dog bandana pattern from Quilters Candy. When I downloaded it, the pattern was available by signing up for their email list, and it arrived by email.
The small size required a 15-by-15-inch square of fabric. There were still offcuts left after cutting out the shape, so this is another project that doesn’t take much fabric.
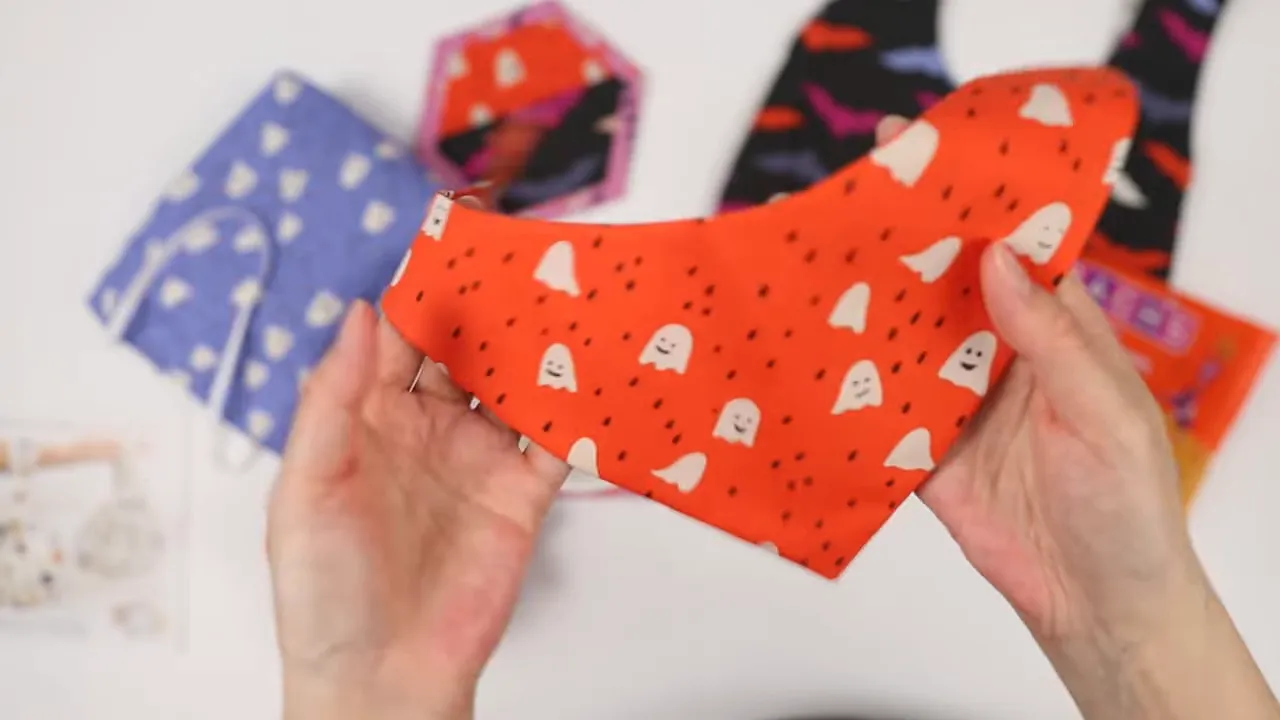
What I particularly like is the shape. It’s a one-piece bandana with a curved neckline, which helps reduce fabric bunching around the neck. The angled ends are a really cute detail, too.
The pattern offers multiple sizes, so you can choose the appropriate one for the dog you’re sewing for rather than trying to make one size work for every pet. Mine came together very quickly, and I already want to make another in a different fabric.
3. A Mini Tote or Halloween Gift Bag
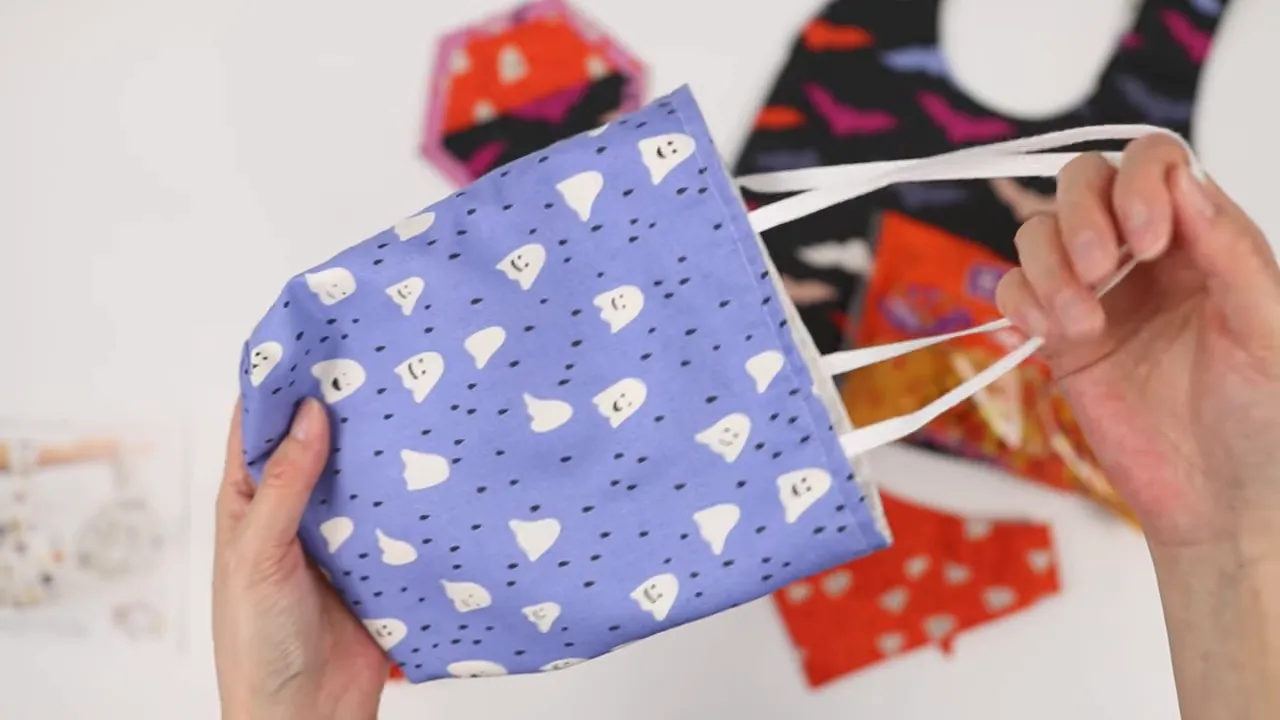
This little purple ghost tote was an experiment. I didn’t use a pattern, and I don’t have a finished tutorial for this particular bag. I was testing a different way to make boxed corners after finding a sewing technique on Instagram.
The bag has a purple ghost-print exterior, white lining, and handles made from 1/4-inch white cotton twill tape. I love cotton twill tape and use it all the time, including to wrap fabric bundles for the shop.
What Worked and What I’d Change
The boxed-corner technique worked reasonably well, but it wasn’t a magic fix. One exterior corner lined up better than the other, and the lining corners weren’t quite as neat as I wanted.
That might have been user error. Sometimes you try one of those popular sewing tricks and think, “Okay, is this actually going to work?” In this case, it mostly did, and I learned something from trying it.
To finish the bag, I left a turning opening in the lining, turned everything right side out, and topstitched that small opening closed.
If I made another version, I would:
- Shorten the body a little to change the proportions.
- Spend more time refining the boxed corners, especially in the lining.
- Use more substantial handles if I enlarged it for trick-or-treating.
Even as a test project, it makes a cute little gift bag. A larger version could work as a trick-or-treat tote. Not every sewing project has to be perfectly planned to be useful, and a small bag is a nice opportunity to practice a construction technique.
4. Scrappy Halloween Mug Rugs
If you have little pieces left from your other projects, mug rugs are a great way to use them. Think of them as small fabric coasters for a coffee mug or glass.
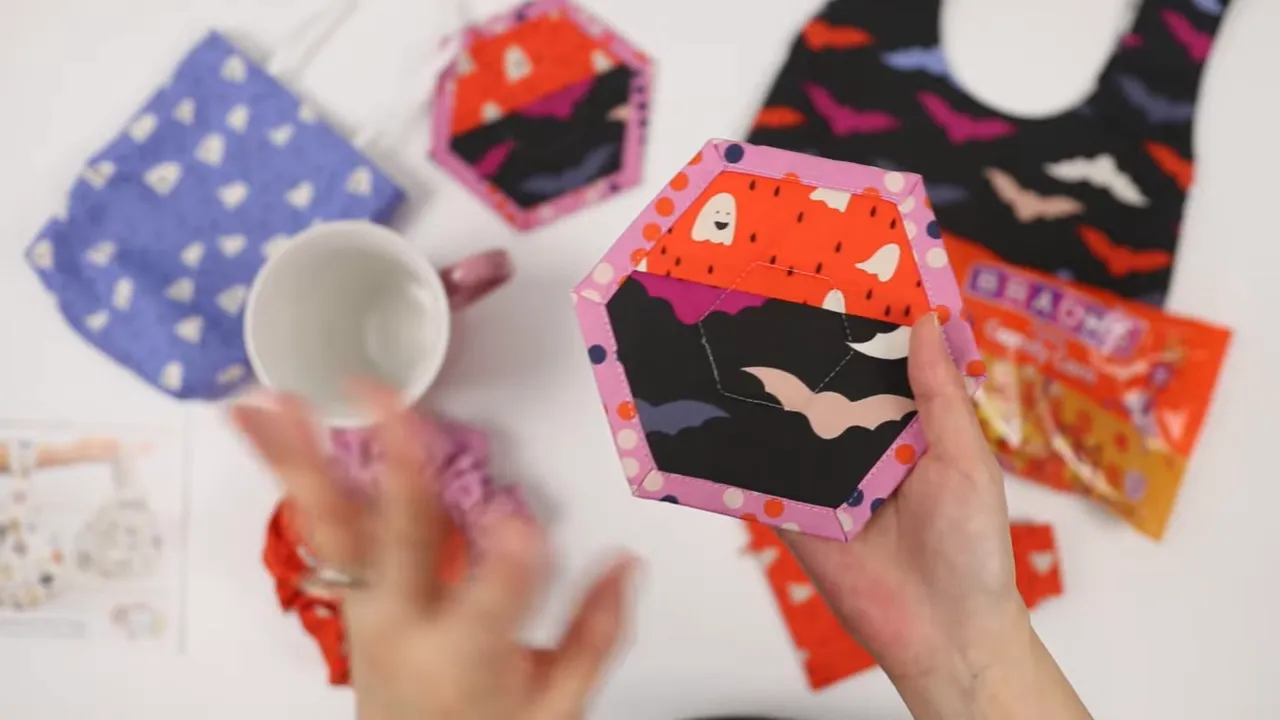
I made two using three coordinating fabrics. The fronts combine orange ghosts with the larger bats, and the backs use the pink geometric print. Some of those front pieces were actual scraps from the other Halloween projects.
The Layers Give Them Some Substance
Along with the decorative front and backing fabric, I used quilt batting and a fairly heavy cotton canvas layer. The canvas gives the mug rug more body, so it feels substantial and holds its shape nicely.
The edge finish is a faux binding. Rather than attaching a separate binding strip, you fold the backing fabric over to the front to create the border. I also used these mug rugs as examples when demonstrating glue basting.
My Hexy Mug Rug tutorial and free pattern resources cover the project, including the downloadable template available through my website.
A matching set of four or six would make a sweet handmade gift. Small coordinated sets are also something to consider for craft fairs or an Etsy shop. For me, the biggest appeal is turning those adorable leftover pieces into something I’ll actually use.
5. A Reversible Japanese Knot Bag
The Japanese knot bag was the most involved project here, but it still wasn’t especially difficult. Honestly, I had built this one up in my head. I’d wanted to make a knot bag for a long time and looked through quite a few tutorials and patterns, but something about the construction intimidated me.
I finally chose the Japanese Knot Bag pattern by Sewn Wyoming because the approach made sense to me and felt like a good match for my sewing skills.
The pattern comes in two sizes. The small size is described as using a fat quarter, and the large size as using a half yard. You’ll also need to account for your lining fabric. I made the large size with the big bat print on one side and the kitty witches on the other.
How the Knot Closure Works
The bag has two handles of different lengths. Pass the long handle through the short handle, then carry it by the long handle. That pulls the top together and creates the knot-like look.
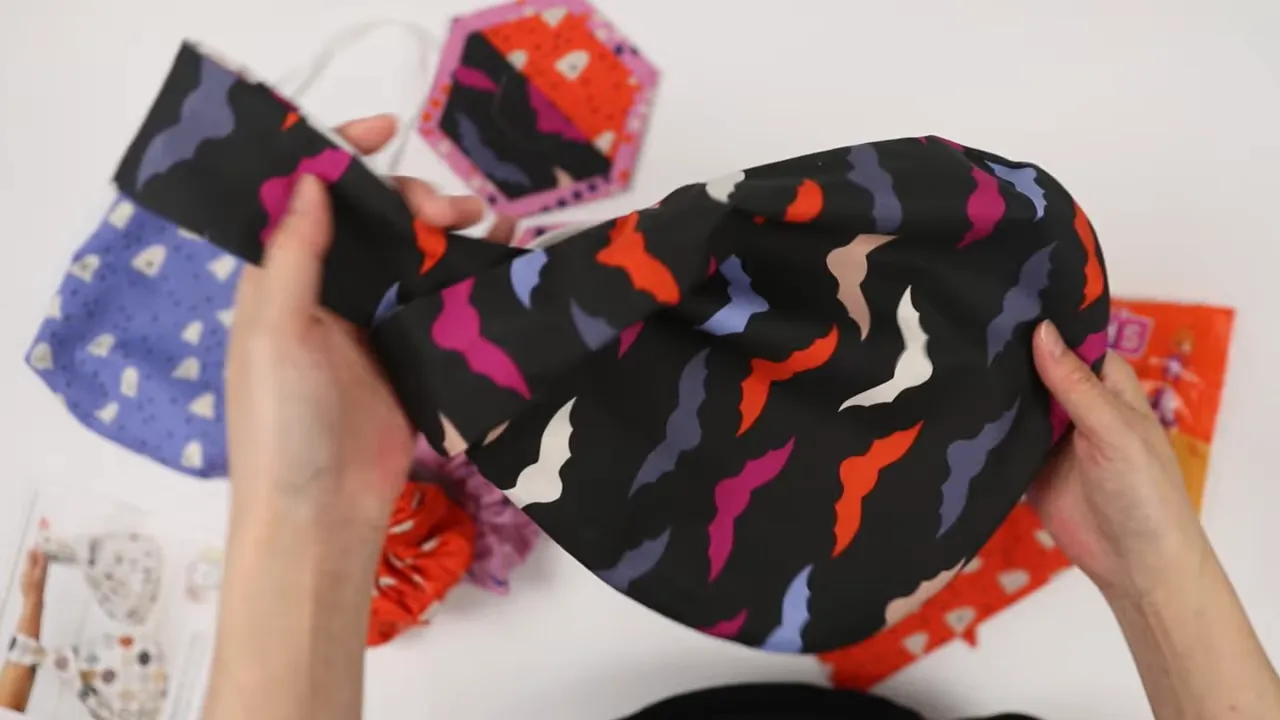
It’s a fun option for a Halloween bag, especially if you don’t need an enormous candy haul. The large version holds a decent amount, but I’d think of it more as a smaller trick-or-treat bag than a maximum-capacity candy carrier.
My Honest Take on the Instructions
The pattern was inexpensive, and I’m happy with what I got for the price. Of the patterns and tutorials I considered, this was the easiest for me to understand and execute.
That said, the written instructions aren’t as extensive as those from some other independent pattern designers. The designer has a supporting video for the trickiest part, which involves sewing and turning the handle sections. That part was initially a little confusing, but once I got through it, the rest was fairly straightforward.
Making the Bag Reversible
The pattern wasn’t specifically presented as reversible, but I wanted both of those cute prints to have their moment.
There are turning openings to close in the short-handle area and in the lining. Instead of machine stitching them shut, I used a hand-sewn ladder stitch on both openings. Taking that extra time gave me a discreet finish on either side.
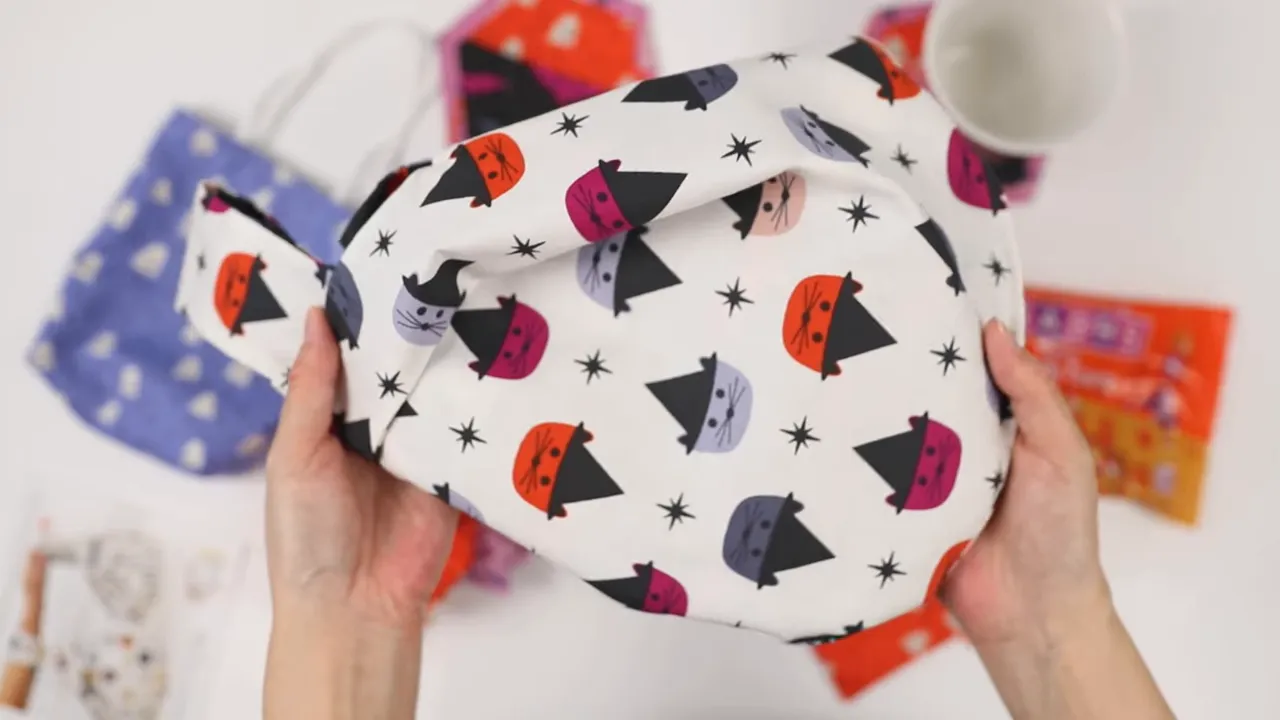
The hand sewing didn’t take very long, and now I can turn the bag inside out and use the kitty-witch print as the exterior without an obvious topstitched turning opening.
The side seams were the other areas that gave me a little trouble. Mine aren’t completely perfect, but the imperfections aren’t particularly noticeable. I also needed to press the bag quite a bit because some areas wanted to wrinkle.
Overall, I’m really pleased with the result. This was a good reminder that sometimes a project feels more intimidating before you start than it does once you’re actually sewing it.
Pick a Project That Sounds Fun
If you want the simplest starting point, I’d choose scrunchies or the dog bandana. If you have a pile of scraps, make mug rugs. For a useful little bag, try a mini tote, or take on the knot bag if you’re ready for a slightly more involved project.
There are other good options for handmade Halloween bags, too. My lined and unlined drawstring bag tutorials offer another approach, and fabric baskets are another possibility.
If the Ghost Town prints have won you over like they did me, check my shop for remaining half-yard bundles. Whether you use those or pull something from your stash, you don’t need yards and yards of fabric to make a few really cute Halloween projects.
|
The goal isn’t a perfectly coordinated collection or flawless boxed corners. It’s making something you enjoy. Whatever you’re sewing, make it fun.


