There are three things I always have ready at my sewing machine: a thread catcher, thread nips, and a tailor’s awl. Nothing too complicated, and one of them is practically free.
If you’re just getting started with sewing, little things like these can make your time at the machine easier. They help me keep the work surface tidy, trim threads quickly, and hold fabric in place without bringing my fingers too close to the needle.
These are tools I purchased myself and have used for years. They’re not just sitting around looking useful. They’re part of my everyday sewing routine.
This article contains affiliate links. As an Amazon Associate, I earn from qualifying purchases.
Start With a Machine That’s Ready to Sew
My daily driver is the Juki DDL-8700 industrial straight stitch machine. Is it a little overkill? Probably. But I absolutely love it. Mine came with a table and a built-in light, and having a dedicated setup means I can sit down and get right to sewing.
I keep it threaded with white Glide polyester thread, with a bobbin already installed. It’s a neutral color that works for a lot of my sewing and quilting, so I’m not starting every session from scratch.
This machine only does a straight stitch. It doesn’t do everything, but I’ve made it work for most of my projects, and I’ve also figured out how to fit a walking foot to it. If you’re comparing industrial machines, Juki’s industrial sewing resources are a useful place to check manufacturer information.
The important part of my setup is the convenience: the machine is threaded, the work surface is ready, and my three essentials are within reach.
1. A Party Cup as a Thread Catcher
Yes, my first sewing machine essential is a Solo party cup. I’ve been using the same one for several years as a tiny tabletop trash can.
Whenever I trim thread tails or collect little scraps and loose fibers, they go straight into the cup. Later, I empty it into the larger trash can.
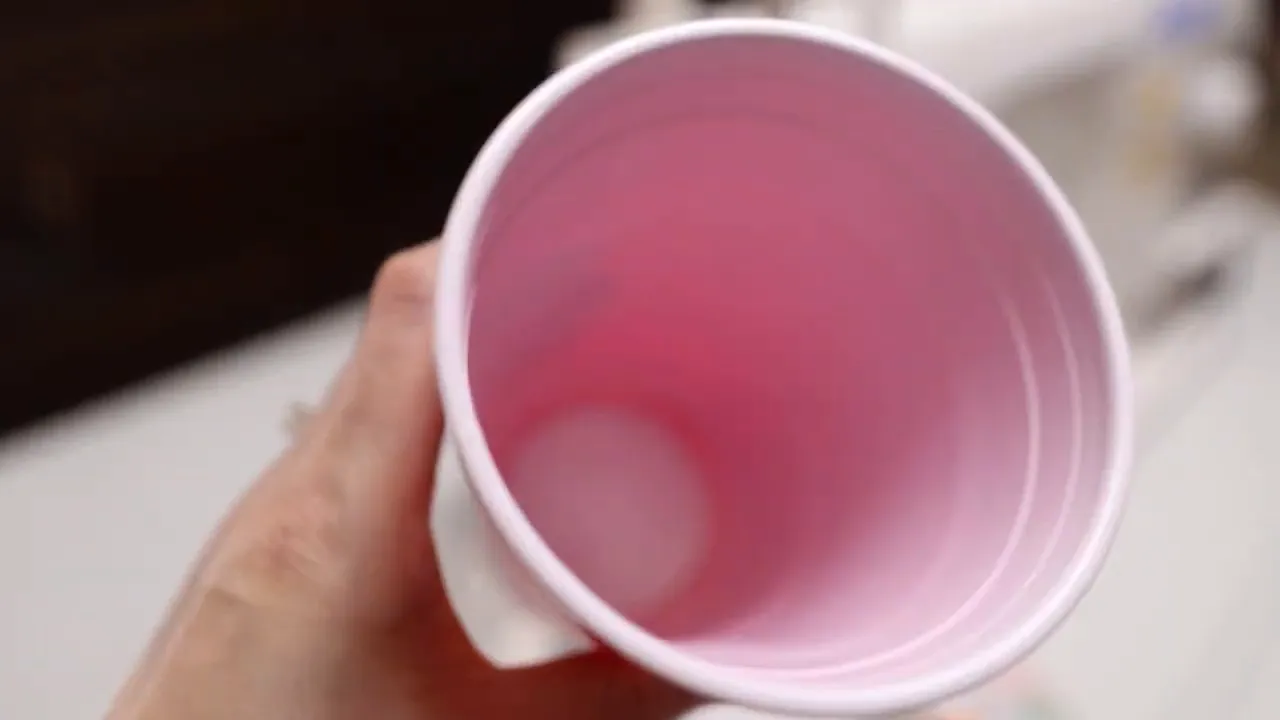
A thread catcher does not need to be fancy to be useful. This one is inexpensive, or essentially free if you already have a cup around. I keep it on the sewing table or whatever work surface I’m using.
Having a place to put those tiny clippings immediately is what makes it convenient. I can snip a thread, drop it into the cup, and keep going instead of leaving a little pile beside the machine.
2. Spring-Action Thread Nips for Quick Trimming
I have plenty of scissors and cutting tools, but at the sewing machine, I reach for my Gingher spring-action thread nippers.
These are the 4.5-inch stainless steel knife-edge nippers. They work for left-handed or right-handed cutting, and the spring action makes them convenient for quick thread trimming. Just squeeze to cut.
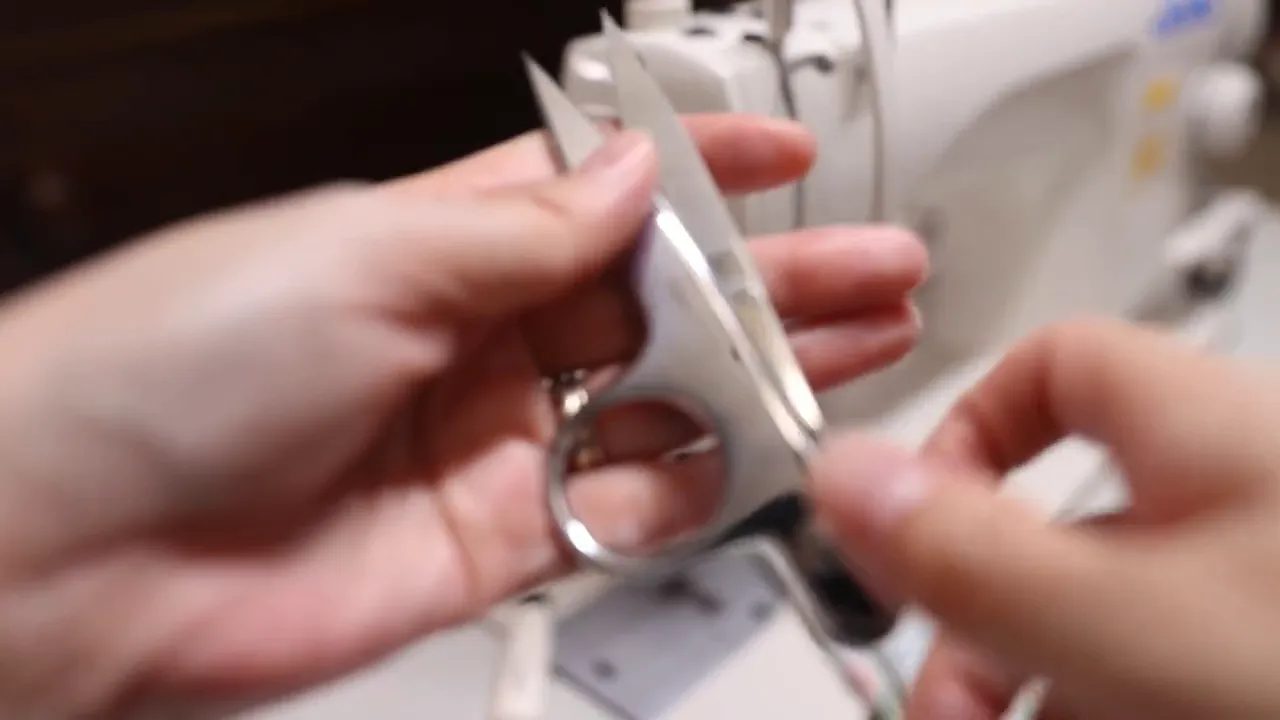
I’ve had this pair for years, and I really like the quality. They’re comfortable in my hand, and I can hold them in a way that feels natural rather than fussing with my grip every time I need to trim something.
They’re especially handy for:
- Trimming the starting thread tails after a seam is underway.
- Clipping threads between separate pieces.
- Cutting a finished project free from the machine.
The nips and cup work together. Trim the threads, drop them into the cup, and move on. It’s a small habit, but I repeat it throughout a sewing session.
3. A Tailor’s Awl as an Extra Finger
The third item might seem a little unexpected: a Clover straight tailor’s awl.
Tailor’s awls come in different shapes, including curved versions. Mine is straight, and I don’t use it much for punching holes. Instead, I use it like an extra finger at the sewing machine.
When I need to hold a small section of fabric in place near the needle, I would much rather have the awl there than my fingertip. Its fine point lets me steady a corner or fabric edge where my hand would be in the way.
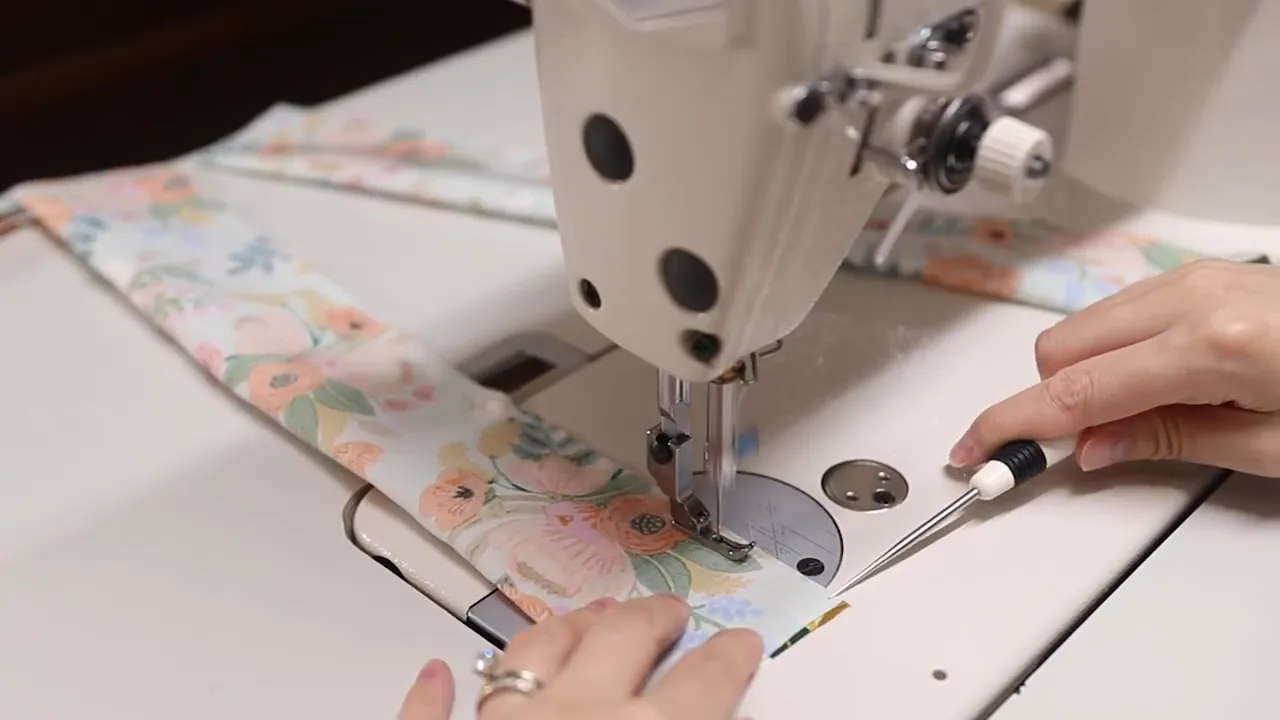
For this kind of guiding, I’m holding the fabric against the machine bed, not trying to pierce it. That helps keep the layers from shifting as I approach an edge or turn a corner.
The awl gives me more precise control while keeping my fingers farther from the needle. It is still a sharp tool, so keep both the point and your fingers clear of the needle’s path. I slow down when I get to those small, close-up areas.
I know there are other tools marketed specifically as an extra finger. This is simply the one I’ve found works really well for me.
How I Use All Three During a Sewing Project
A scarf project is a good example of how these tools fit into my routine. I’m working with Rifle Paper Co. rayon, using a quarter-inch seam allowance and leaving a small opening for turning.
For this project, I glue-basted the fabric layers, so I don’t have pins to remove as I sew. That makes the process a little easier.
Begin the seam and clear the starting threads
I start at the edge of the turning opening, hold the thread tails back for the first few stitches, and backstitch to secure the beginning.
Once I’ve sewn a few inches, I pause to trim the starting tails with the thread nips. Those clippings go straight into the cup. If there are threads connecting separate pieces, I clip those too.
Steady the fabric as the corner approaches
Along the longer sections, I guide the fabric with my hands. As the corner gets close to the needle, I pick up the awl and use its point to keep the layers in position.
I slow down as I approach the pivot so I can maintain the quarter-inch seam allowance. After turning the corner, I use the awl again to steady the short edge as I continue sewing.
This is where that extra point of contact really helps. I can support the fabric on either side of the stitching area without trying to squeeze a finger into a space that’s too close to the needle.
Finish with the next session in mind
At the end of the seam, I backstitch where needed and trim the threads. When I’m finished for the day, I leave thread tails on the machine for the next project.
That brings the setup back to where I like it: threaded and ready to go.
A Few More Habits That Make Sewing Easier
Clean the work surface first
Before sewing, I usually wipe down the table with water wipes, a damp cloth, or another suitable cleaner. I want a clean surface before laying out the fabric.
A lint roller is also worth keeping nearby, especially when you’re working with fabric that sheds a lot.
Use the seam guide that works for you
I’ve tried a couple of separate seam guides, but I didn’t really care for them. My preference is to use the seam markings on the needle plate and guide the fabric by hand.
That’s just the method I find most comfortable. I keep the fabric aligned visually and use the awl when I need more control near an edge.
Know your presser foot setup
I like a narrow presser foot, particularly for topstitching. The original foot that came with my machine has a needle guard, while the narrow foot I’m using is a different setup. Be mindful of the space around the needle and the safety features on your own machine.
Keep Your Sewing Essentials Simple
My must-have sewing machine tools aren’t a huge collection: a cup for scraps, comfortable thread nips, and an awl to help guide the fabric. Each one has a clear job, and keeping them close makes my sewing routine more convenient.
If you’re new to sewing, pay attention to the little moments when you stop to find something or struggle to hold a small edge in place. A few well-chosen tools can make those moments easier without making your setup complicated.
I also sell fabric and curated sewing supplies in my Sewing Report Etsy shop if you’re gathering materials for your next make.
Whatever you’re making, keep it approachable and make it fun.


